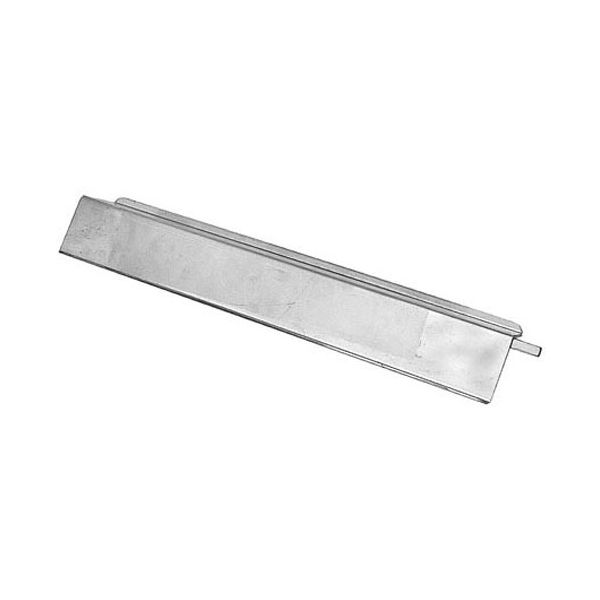
Rankin Delux TB-02 .125" Broiler Radiant 20" X 4-3/4" 1/2" SS
Special Price $241.80 Regular Price $379.00
In stock
SKU
TB-02
Manufacturer:

The Rankin Delux TB-02 .125" Radiant functions as a broiler heat distribution and cooking efficiency improvement system. This stainless steel radiant measures 20" x 4-3/4" while using .125" stainless steel for its construction to provide durable performance under high temperatures. This offers stability through its 1/2" lip turned out on both sides and its 3/8" square bar welded underneath. The product design improves heat transfer between elements which results in controlled cooking conditions and prevents flare-ups. The radiant works perfectly with broiler series DRB, RB-8, TB-3, and TB-8 to help commercial kitchens achieve better grilling results and energy savings.
Dimensions
- Length: 8.308 In
- Width: 1.81 In
- Height: 0.713 In
- Weight: 7.193 lbs
Product Notes
- Ss Radiant,
- [ 20" X 4-3/4" ] [ Material .125" Ss] [, 1/2'' Lip
- Turned
- Out On Both Sides ,2" Long 3/8" Sq Nar Welded Under V
- Pertrudes 1"
- Rankin-Delux Broiler Series Drb, Rb-8, Tb-3, Tb-8