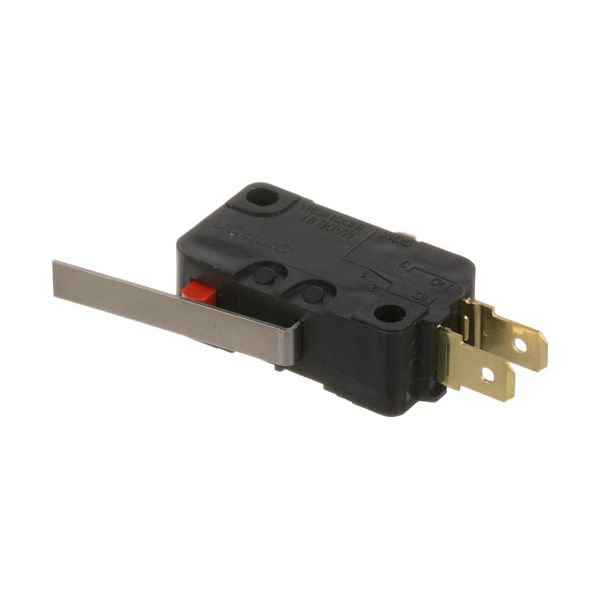
TurboChef TBC102012 Interlock Switch W/ 3/16" Tab, 16A/250VAC

$9.76
Out of stock
SKU
TBC102012
The TurboChef TBC102012 Interlock Switch is an electrical button that has internal contacts that change when a door or panel is moved and uses a 3/16" tab to connect electrical contacts and supports up to 16 A at 250 VAC. The contacts of the switch are closed or opened by switching the associated access point, which is used to switch the power flow. It is attached to the inside of the access mechanism of compatible ovens and cooking systems in such a way that the actuator is activated.

Dimensions

  • Length: 2.5 In
  • Width: 1.5 In
  • Height: 1 In
  • Weight: 0.02 lbs
https://partsfe.com/media/catalog/product/t/u/turbochef-tbc102012-interlock-switch-w-3-16-tab-16a-250vac-50373.jpg

Product Notes

  • Intrlock Switch,
  • 16A/250Vac, (3) 3/16" Tab Term
  • Turbo Chef Convection Oven: Hhb2,
  • Convection & Microwave Oven: Ngc, Ngc2, I3, I5
Write Your Own Review
You're reviewing:TurboChef TBC102012 Interlock Switch W/ 3/16" Tab, 16A/250VAC
Your Rating
Customer Questions
What maintenance is required for the TurboChef TBC102012 Interlock Switch?

Inspect the interlock switch regularly for damage, misalignment, or loose mounting. Clean surrounding debris to ensure proper actuation and accurate safety connection. Check electrical terminals for tight connections and signs of arcing. Replace immediately if intermittent switching or damage is detected.

What are common issues with the TurboChef TBC102012 Interlock Switch?

  • Failure to activate due to misalignment.
  • Electrical contact wear causing intermittent operation.
  • Loose or damaged terminal connections.
  • Mechanical sticking from debris buildup.
  • Broken actuator tab affecting safety interlock.
  • Arcing or overheating under load.

We strive to provide our customers with a hassle-free and efficient shopping experience. Our shipping policy ensures the timely delivery of your orders and complete customer satisfaction. View More

We are committed to ensuring your complete satisfaction with every purchase. We understand that circumstances may arise where you must return a product or request a refund. If for any reason you are not satisfied, you may return the item(s) according to the terms outlined below. View More

This Payment Policy outlines the terms and conditions governing all payments made for products purchased through our website. By making a purchase, you agree to be bound by this Payment Policy. View More

Installation Steps

Step1: Turn off electrical power and secure unit with lockout/tagout procedures.

Step2: Open access panel to reach the existing door interlock switch assembly.

Step3: Disconnect wiring terminals and note original connections.

Step4: Remove mounting screws and extract the defective switch.

Step5: Position and secure the new interlock switch in place.

Step6: Reconnect wiring, reinstall panel, restore power, and check door safety shutoff operation.