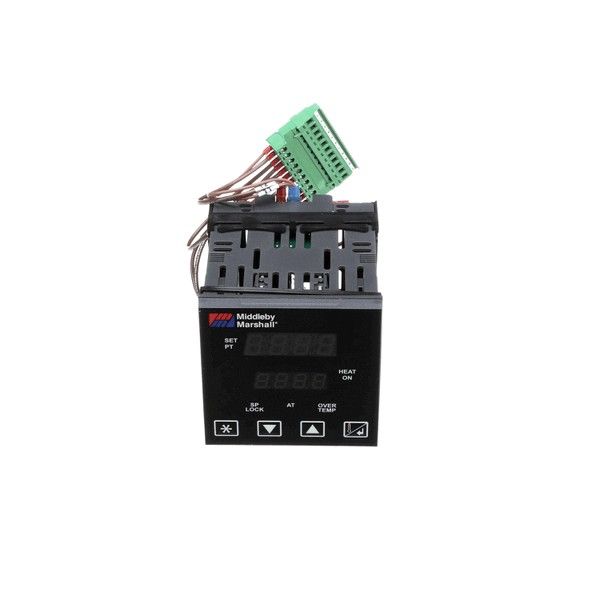
Middleby Marshall 47321 Oven Digital Temperature Controller

$1,946.56
In stock
SKU
47321
The Midd⁠leby Marshall 47321 Digital Temperature Control‌le​r is an electronic co‌n‍trol com⁠ponent designed for use in‍ compatible commercial oven systems. This co⁠ntrolle‍r m⁠onitors and regulates oven‍ temperature settings, supports maintaining accurate​ heat levels during cooking operations. Commonly i⁠nstalled in restaurant kitchens, and commercial f‌o‌od preparation constructions, it is used‌ durin‍g mainte​nance or rep‌lace‌me‍nt of cont‌r‌ol units to resto⁠re prope⁠r temp‌er‌a⁠tur⁠e managem​ent. As part o⁠f the ovens control system,⁠ the⁠ digital‌ temperature controller processes input fr‌om t‌emperat​ure sensors‌ and adjusts heating operations to su​ppo‍rt c⁠onsistent cooking performance and oper​ationa​l accuracy through‍out service cy‍cles.

Dimensions

  • Length: 1 In
  • Width: 1 In
  • Height: 1 In
  • Weight: 1 lbs
https://partsfe.com/media/catalog/product/m/i/middleby-marshall-47321-oven-digital-temperature-controller-40764-2.jpg

Equipment Compatibility:

Product Specifications:

Key Features:

Write Your Own Review
You're reviewing:Middleby Marshall 47321 Oven Digital Temperature Controller
Your Rating
Customer Questions
What maintenance is required for the Middleby Marshall 47321 Digital Temperature Controller?

Keep the controller clean and free of dust, ensuring proper ventilation around the unit. Regularly inspect wiring connections for looseness or corrosion. Calibrate oven temperature settings periodically to maintain accuracy. Avoid moisture exposure to prevent electrical damage.

What are common issues with the Middleby Marshall 47321 Digital Temperature Controller?

  • Inaccurate oven temperature readings due to sensor drift.
  • Display malfunction or flickering.
  • Unresponsive control buttons.
  • Intermittent power supply or relay failure.
  • Overheating causing shutdowns.
  • Loose wiring connections causing intermittent operation.
  • Sensor failure or inaccurate control response.

We strive to provide our customers with a hassle-free and efficient shopping experience. Our shipping policy ensures the timely delivery of your orders and complete customer satisfaction. View More

We are committed to ensuring your complete satisfaction with every purchase. We understand that circumstances may arise where you must return a product or request a refund. If for any reason you are not satisfied, you may return the item(s) according to the terms outlined below. View More

This Payment Policy outlines the terms and conditions governing all payments made for products purchased through our website. By making a purchase, you agree to be bound by this Payment Policy. View More

Installation Steps

Step1: Turn off oven power and disconnect from electrical supply to ensure safety.

Step2: Remove existing old controller panel and note wiring connections carefully before disassembly.

Step3: Mount new controller into panel opening aligning brackets securely.

Step4: Reconnect wires according to original configuration, ensuring tight and correct placement.

Step5: Restore power and test temperature settings; monitor operation for safe performance.

Step6: Check for overheating and loose connections.