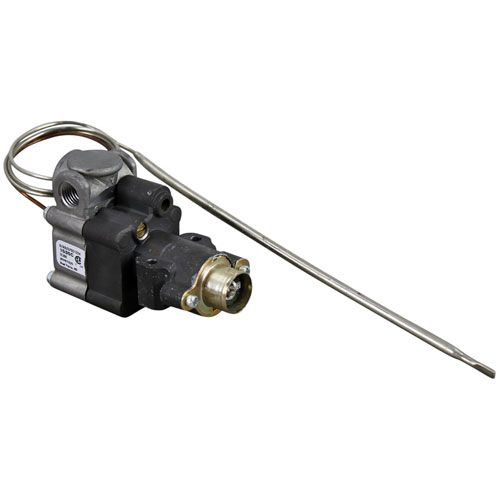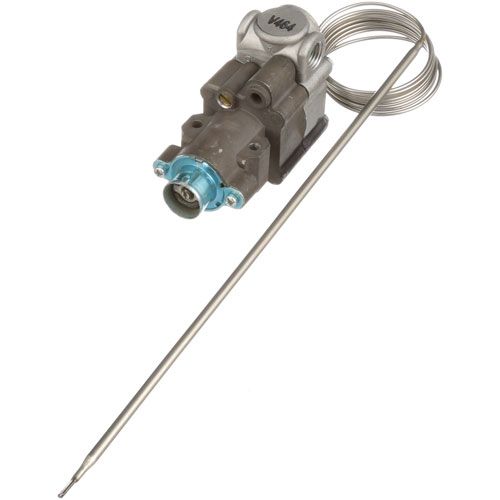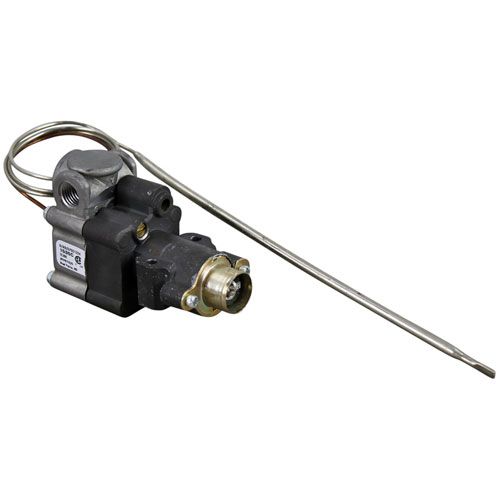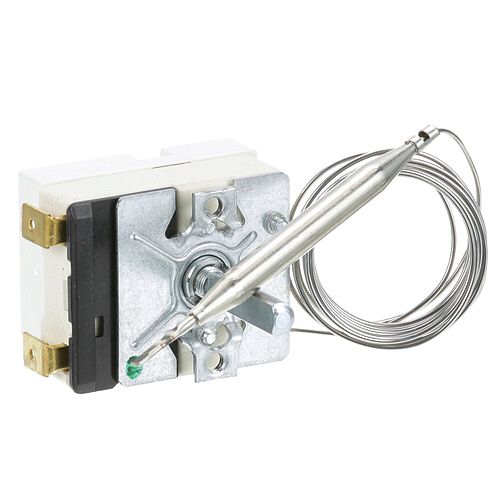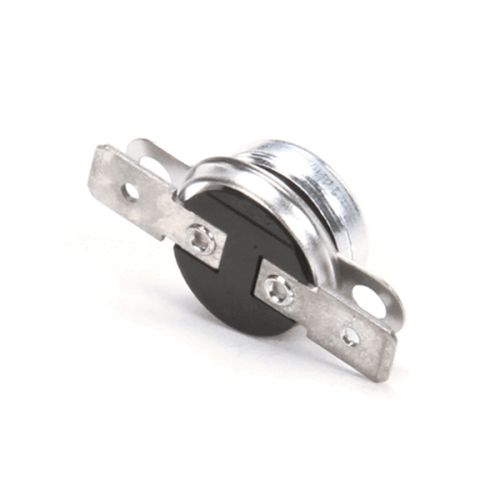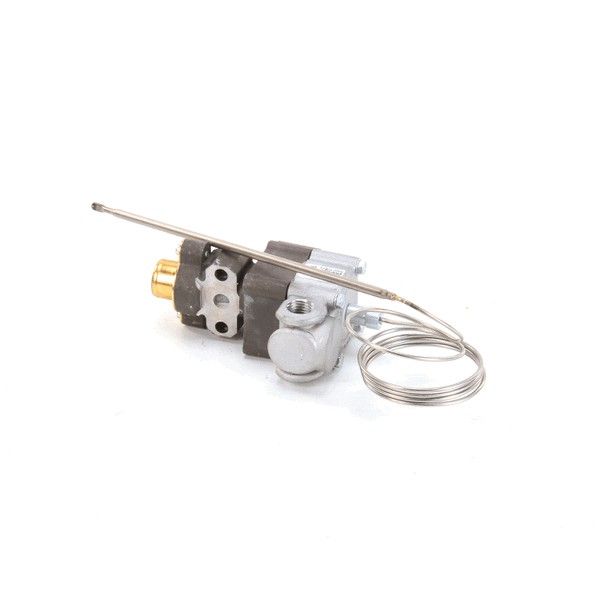
Garland 4523501 Oven Thermostat BJWA- GD

Special Price $354.14 Regular Price $482.95
In stock
SKU
4523501
The Garland 4523501 Thermostat is temperature-regulating equipment it has a temperature control of between 100°F and 500°F to allow the control of oven heat for the best cooking experience. The thermostat has a 36-inch capillary tube, which makes it possible to regulate temperature over different types of cooking. The 3/16” x 8” size is recommended for use in commercial kitchen oven applications where dependability is paramount. This thermostat operates by feeling the temperature inside the oven and turning on the heating elements to keep the set temperature thus avoiding overheating to ensure even and efficient cooking of the food.

Dimensions

  • Weight: 0.882 lbs
https://partsfe.com/media/catalog/product/g/a/garland-4523501-oven-thermostat-bjwa-gd-71904-2.jpg
Manufacturer Name: Garland
Product Number: 4523501
OEM Part Number: 4523501
Product Description: Viewed From Rear: See "Bj Outlet Positions" ;W/ By-Pass Adj At Top & Gas Inlet Down;Bj Thermostat, 100-500F, 36" Cap, 3/16" X 8" Nickel;Bulb, 0 Degrees Rotation - Body Down - Gas Inlet Down.;Outlet 1/4" Fpt, "D" Left.;No Pilot Adj., Narrow Flange.;For Knob W/Hub Use # 22-1449;For Knob Inset Use Gar2225200, Reads 450-100F;Garland Griddle Gd-15Gth, Gd-24Gth, Gd-36Gth
Similar Models:NONE
Dimensions:
Length:9in/22.86cm
Width:2.75in/6.98cm
Height:2in/5.08cm
Weight:0.63lbs/285.76g

Choose the best Commercial kitchen & Restaurant equipment parts and supplies from PartsFe!

  • Same Day Shipping

  • Best Quality And Best Price

  • Wide Range of Inventory

  • Best Customer Service

Have More Questions or Need Help to Place The Order?
Reach us at 866-863-0907 or contact@partsfe.com

GARLAND:
Write Your Own Review
You're reviewing:Garland 4523501 Oven Thermostat BJWA- GD
Your Rating
Customer Questions
What maintenance is required for the Garland 4523501 Thermostat?

Inspect the oven thermostat regularly for secure mounting and proper wiring connections. Clean any grease or debris around the unit to maintain accurate sensing. Periodically test temperature response for consistency. Always disconnect power before servicing to avoid electrical hazards or damage.

We strive to provide our customers with a hassle-free and efficient shopping experience. Our shipping policy ensures the timely delivery of your orders and complete customer satisfaction. View More

We are committed to ensuring your complete satisfaction with every purchase. We understand that circumstances may arise where you must return a product or request a refund. If for any reason you are not satisfied, you may return the item(s) according to the terms outlined below. View More

This Payment Policy outlines the terms and conditions governing all payments made for products purchased through our website. By making a purchase, you agree to be bound by this Payment Policy. View More

Installation Steps

Step1: Turn off gas and electrical supply, then allow oven to cool fully.Wear protective gloves.

Step2: Remove front control panel to access thermostat assembly and capillary bulb routing.

Step3: Disconnect wiring terminals, labeling each connection for correct reassembly.

Step4: Remove old thermostat and mount new Thermostat securely in position.

Step5: Insert bulb into sensing well without bending or pinching capillary tube.

Step6: Reconnect wiring, restore power, and test temperature control stability and safety cutoff function.