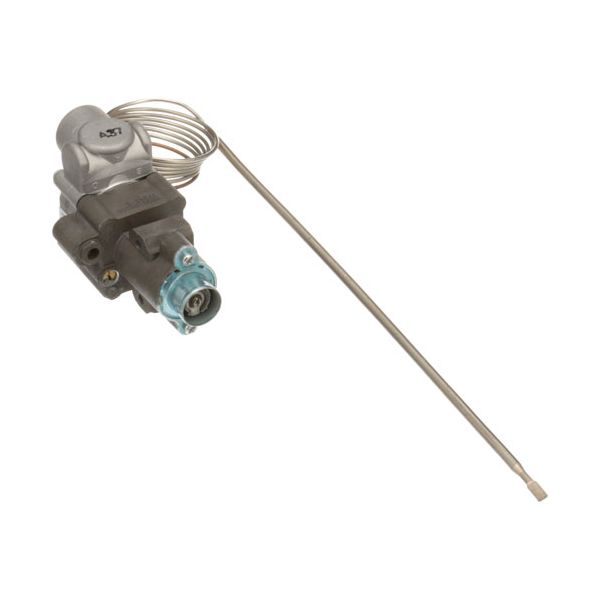
Vulcan Hart 00-719298 Oven Thermostat BJWA 3/16" X 11, 36"
Special Price $272.61 Regular Price $427.29
In stock
SKU
00-719298
Manufacturer:

The Vulcan Hart 00-719298 Oven Thermostat BJWA is designed to provide better results by maintaining the correct temperature. This is easy to install as it measures 3/16” X 11, 36” This maintains temperatures to ensure that the chefs get the right conditions for cooking hence achieving the better results. Perfect for restaurants, bakeries, and any catering establishment, this top of the line thermostat is long lasting and is designed to help increase efficiency and uptime. It is used in every kitchen to ensure that energy is used optimally, making it necessary.
Dimensions
- Length: 11 In
- Width: 2.5 In
- Height: 6 In
- Weight: 1 lbs
Product Notes
- Viewed From Rear: See "Bj Outlet Positions"
- W/ By-Pass Adj At Top & Gas Inlet Down
- [ Type - Bjwa ] [ Temp 250-500 ] [ Bulb 3/16" X 11" ]
- [ Cap 36" ] [ Out "C" 1/4" Fpt Rear ], Rotation 90 Cw, ]
- [ Wide Flange Body ] No Pilot.
- Wolf Knob # # 22-1208 Bj T'Stat Knob, [ 2" Dia ]
- [ Off-Low-500] [Mount 11/16" Dia.]
- [Position Up], 3/4" Protrusion On Back Of Knob.
- [ Gen Use Dial # 22-1029 Off-Low-250-500,
- Includes Adaptor: # 26-1197]
- Wolf Oven Ch, Chss.