
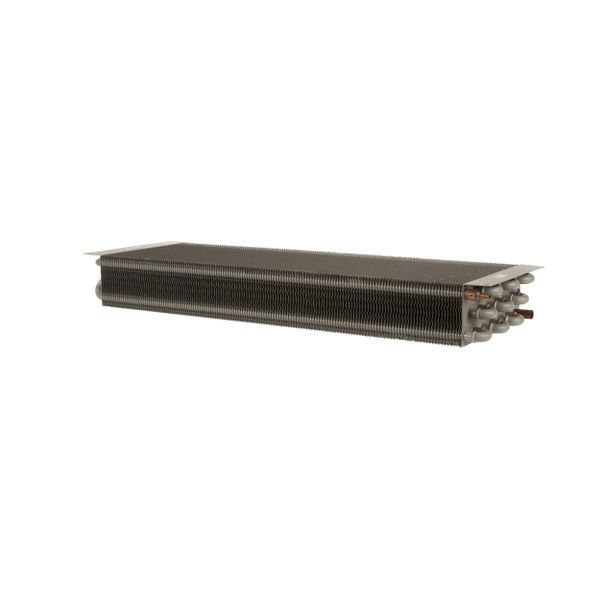
True 800202 Evaporator Coil 27" X 8 3/4" X 3 1/4"
Special Price $345.63 Regular Price $636.95
In stock
SKU
800202
Manufacturer:

The True 800202 Evaporator Coil 27 x 8 3/4 x 3 1/4 is a circulation of refrigerant in its tubing to absorb the heat of the surrounding air as the changes state. Air flows over the coil surface and heat transfer takes place which supports in cooling cycle in the system. This is located within the part of compatible refrigeration units, which is located behind interior panels with airflow flowing over the coil. The size of the coil measured can be incorporated into specific assemblies with appropriate spacing of airflow.
Dimensions
- Weight: 0 lbs
Product Notes
- Type: Evaporator Coil
- Dimensions: 27" X 8-3/4" X 3-1/4"