
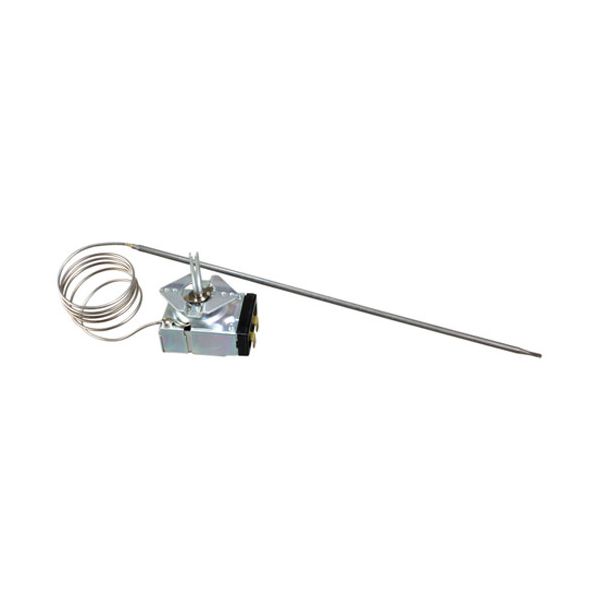
Tri-Star TS-1160 Fryer Thermostat KXT Cap 36" 175°F-500°F

Special Price $125.32 Regular Price $203.25
In stock
SKU
TS-1160
Manufacturer:

The Tri-Star TS-1160 Thermostat with KXT Cap 36" functions as a precise temperature control partfor fryers. This thermostat maintains accurate fryer temperature control through its 175°F to 500°F operational range. The partmaintains operational life in hot conditions because of its sturdy build installation becomes simple because of this 36" KXT capillary's flexible design which also makes maintenance requirements minimal. improve kitchens benefit from this component because it enables better energy efficiency along with minimizing inconsistencies during cooking while improving overall food quality.

Dimensions

  • Length: 13 In
  • Width: 2 In
  • Height: 3 In
  • Weight: 0.35 lbs
https://partsfe.com/media/catalog/product/t/r/tri-star-ts-1160-fryer-thermostat-kxt-cap-36-175-f-500-f-88758.jpg

Product Notes

  • [ Type- Kxt ][ Temp 175-500 ][ Bulb 3/16" X 12-1/4" ]
  • [ Cap 36" ][ Dial Off-200-500, A2399, K-293, # 22-1209 ]
  • American Range Ar-C, M1
  • Imperial Oven Series: Icv, Icvd, Ir W/Convection Oven.
  • Royal Range- Range Convection Oven
  • Tri-Star Oven Tscv
AMERICAN RANGE:
BAKERS PRIDE:
TRI-STAR:
Write Your Own Review
You're reviewing:Tri-Star TS-1160 Fryer Thermostat KXT Cap 36" 175°F-500°F
Your Rating
Customer Questions
What maintenance is required for the Tri-Star TS-1160 Thermostat KXT Cap?

Inspect and calibrate the thermostat regularly to ensure accurate temperature control. Clean connections and capillary tube to prevent buildup or corrosion. Check wiring for wear and secure fittings to maintain safe fryer operation.

What are common issues with the Tri-Star TS-1160 Thermostat KXT Cap?

  • inaccurate temperature readings or drifting calibration.
  • failure to heat or maintain set temperature.
  • damaged capillary tube or loose sensor.
  • intermittent electrical connection or switch failure.

We strive to provide our customers with a hassle-free and efficient shopping experience. Our shipping policy ensures the timely delivery of your orders and complete customer satisfaction. View More

We are committed to ensuring your complete satisfaction with every purchase. We understand that circumstances may arise where you must return a product or request a refund. If for any reason you are not satisfied, you may return the item(s) according to the terms outlined below. View More

This Payment Policy outlines the terms and conditions governing all payments made for products purchased through our website. By making a purchase, you agree to be bound by this Payment Policy. View More

Installation Steps

Step1: Turn off gas and electrical supply; allow fryer to cool completely.

Step2: Remove the control panel and disconnect thermostat wiring.

Step3: Carefully remove the old thermostat sensing bulb and capillary without kinking.

Step4: Install the new thermostat, positioning the bulb correctly in the fryer well.

Step5: Reconnect wiring as labeled and secure mounting hardware.

Step6: Restore power and gas, then test temperature accuracy within the range and check for safe operation.