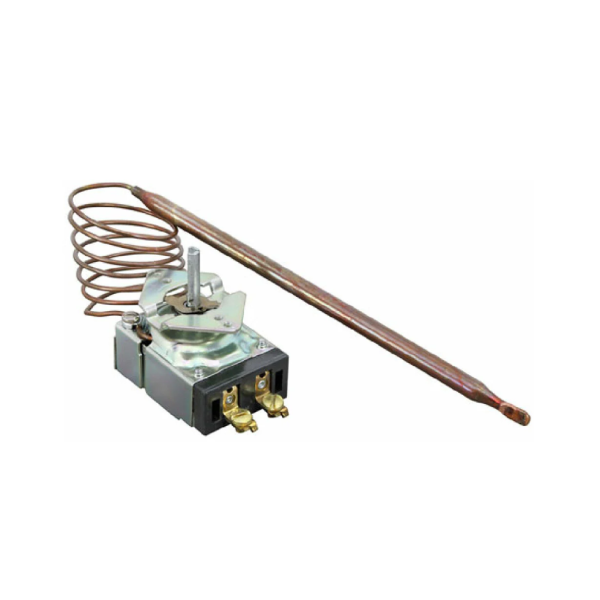
Prince Castle 197-140 Toaster Thermostat K-1190-36, 285-600°F, 36" Capillary
Special Price $63.79 Regular Price $154.47
In stock
SKU
197-140
Manufacturer:

The Prince Castle 197-140 Thermostat is a system that controls the amount of heat in a vertical toaster by regulating the amount of electric current, sent to the heating coils. It operates by measuring the internal temperature, and adjusting the power levels to ensure that the heat level is kept constant, to achieve uniform operation. This is a component that is installed in commercial bun toasters, and is usually installed in the control panel of the unit where it can be easily accessed to make adjustments.
Dimensions
- Length: 1.875 In
- Width: 8.875 In
- Height: 2.625 In
- Weight: 0.52 lbs
Product Notes
- T'Stat, K-1190-36
- Temp 285-600 F, Cap 36", Bulb 5/16" X 7-3/4" Copper,
- .187" D-Stem Flat Down, 2 Screw Terminals
- Does Not Include Dial, Exact Dial Is # 22-1108
- Knob, Black W/White Print.
- [ 2-1/4" Dia ] [ Off-10-1] [Mount .187] [ Flat Down ]
- Gen Use Dial A252, K-116, # 22-1007 Black & Silver T'Stat
- Knob [ 2" Dia ] [ Off-550-200] [Mount .187"]
- [Position 4-Way]
- Toaster Series: Slim Toaster 197 & 297.
- Prince Castle
- Toaster Series: Slim Toaster 197 & 297.