
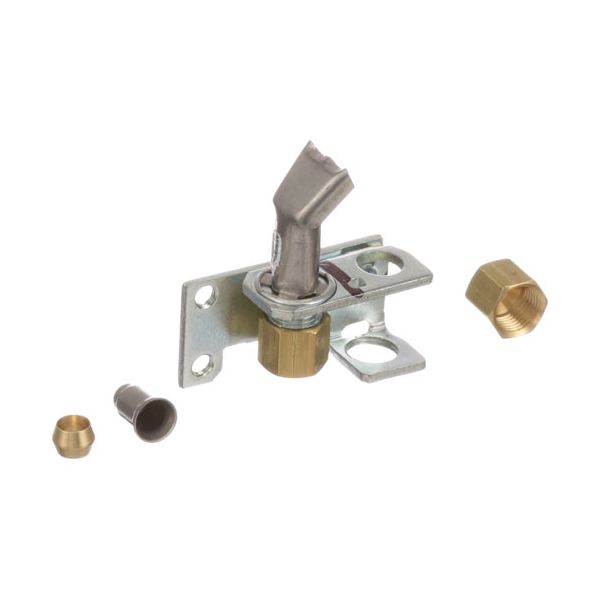
Hobart 412787-00001 Oven Pilot NAT/LP

Special Price $32.84 Regular Price $58.65
In stock
SKU
412787-00001
Manufacturer:

Hobart 412787-00001 Oven Pilot NAT/LP works on the concept of igniting a controlled flame, which turns on the main burner when the gas flow is turned on. It also has a fixed pilot flame, which is fed with natural gas or liquid propane, based on the equipment installation. This pilot is attached close to the burner section of the gas appliance cabinet. It is designed to accommodate ignition parts, and it aids in the sustenance of a constant contact of flames during start cycles. The assembly is linked to the gas lines and ignition equipment.

Dimensions

  • Length: 2 In
  • Width: 2 In
  • Height: 0.75 In
  • Weight: 0.2 lbs
https://partsfe.com/media/catalog/product/h/o/hobart-412787-00001-nat-lp-oven-pilot-61772-2.jpg

Product Notes

  • Nat/Lp Pilot, Factory # 2Ch-10, 1830-115, 1830-500,
  • Tube Size 3/16" & 1/4", Flame Pattern Right
  • Garland Oven Series: Bco, Eco, G48P, G2000, Ico.
  • Southbend Oven 321D After 1982 (1982 & Prior Use Oem #
  • 1164282).Series: 136 & 142 W/Suffix C Or D But W/O Co
  • Prefix, 300 W/F Suffix.
  • Us Range Oven Series: Performer Ii (Right Side) W/Standing
  • Pilot.(Units W/Electronic Pilot Use M-214)
  • Vulcan Hart Oven 260L-77R, 319A-77R, 399A-77R, Series: Eg,
  • Vg.Sg-60L-77R, Sg-260L-77R.24L, 48L, 481L/Lc, 148L/Lc,
  • 36L/Lc, 60L/Lc/Lcc 160L/Lc, 260L/Lc/Lcc
  • Wolf Model?
Write Your Own Review
You're reviewing:Hobart 412787-00001 Oven Pilot NAT/LP
Your Rating
Customer Questions
What maintenance is required for the Hobart 412787-00001 Pilot?

Clean the pilot assembly regularly to remove carbon buildup and debris. Ensure proper gas flow and verify that the flame remains steady. Inspect connections for leaks or wear. Proper maintenance ensures secure ignition and consistent oven performance during operation.

What are common issues with the Hobart 412787-00001 Pilot?

  • Pilot not igniting or staying lit.
  • Clogged orifice restricting gas flow.
  • Weak or unstable flame causing ignition failure.
  • Gas leaks affecting safe operation.

We strive to provide our customers with a hassle-free and efficient shopping experience. Our shipping policy ensures the timely delivery of your orders and complete customer satisfaction. View More

We are committed to ensuring your complete satisfaction with every purchase. We understand that circumstances may arise where you must return a product or request a refund. If for any reason you are not satisfied, you may return the item(s) according to the terms outlined below. View More

This Payment Policy outlines the terms and conditions governing all payments made for products purchased through our website. By making a purchase, you agree to be bound by this Payment Policy. View More

Installation Steps

Step1: Turn off gas supply and disconnect electrical power to oven, allow unit to cool completely.

Step2: Remove access panel and carefully disconnect old pilot assembly, noting routing of tubing.

Step3: Install new pilot assembly securely, reconnect tubing and ensure proper alignment.

Step4: Restore gas supply, check for leaks using soapy solution, then relight pilot following manufacturer instructions.

Step5: Verify stable flame operation and secure panel before returning oven to service.