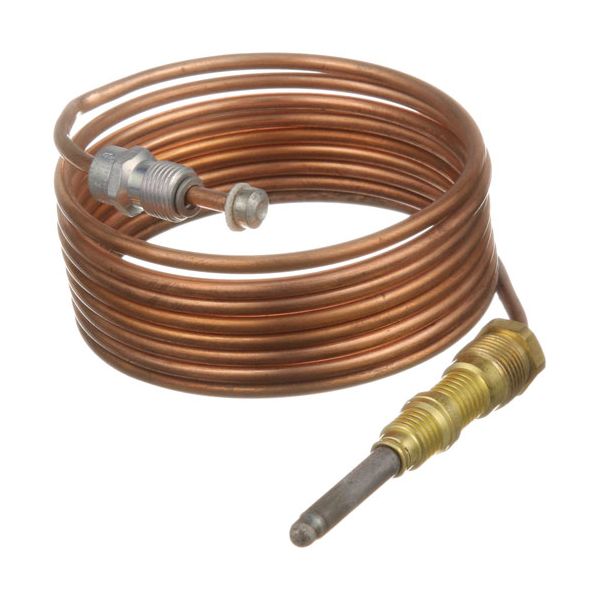
Vulcan Hart 412788-60 Oven Thermocouple 72"
Special Price $41.38 Regular Price $53.75
In stock
SKU
412788-60
Manufacturer:

The Vulcan Hart 412788-60 Oven Thermocouple 72" works on the concept of detecting the temperature change by producing a small electrical voltage in the presence of heat to detect and regulate the flow of gas through appliances. It operates by generating a thermoelectric current, which makes the gas valve either open or close depending on changes in temperature. This thermocouple is built to be constructed directly into the burner assembly of commercial cooking equipment, so that it is placed near the flame to detect the presence of heat, and can be properly operated.
Dimensions
- Length: 3 In
- Width: 2.5 In
- Height: 1 In
- Weight: 0.4 lbs
Product Notes
- Heavy-Duty 72" Thermocouple, 20-30 Milevolt.
- Coaxial Thermocouple Threads = 11/32"-32