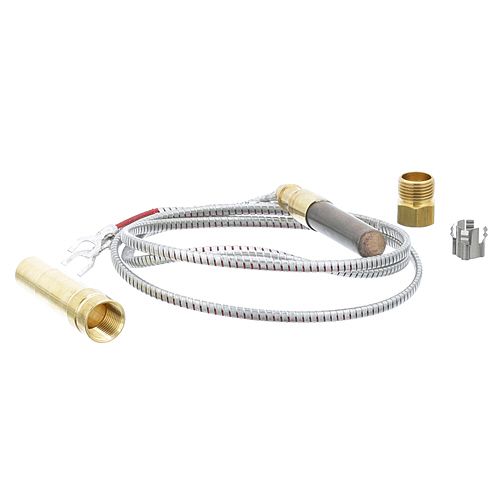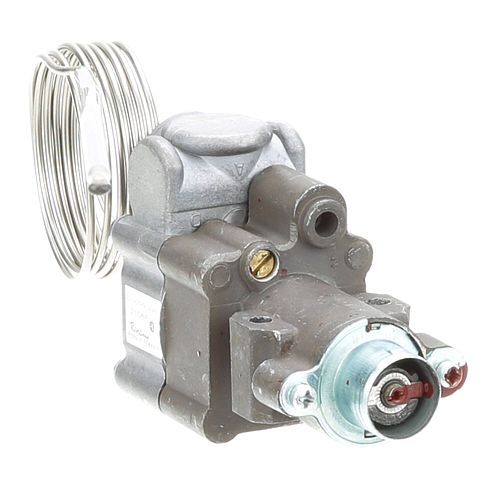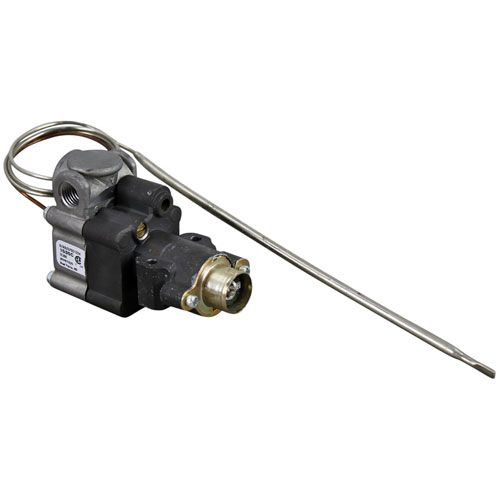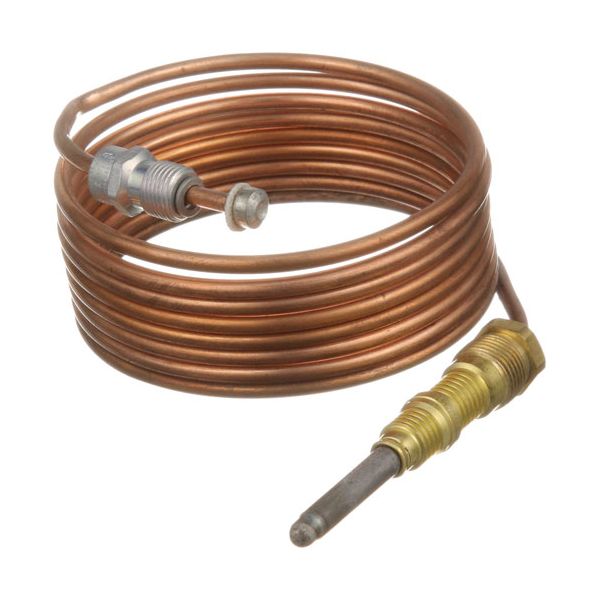
Bakers Pride M1296X Oven Thermocouple 72" Long
Special Price $41.38 Regular Price $53.75
In stock
SKU
M1296X
Manufacturer:

The Bakers Pride M1296X Thermocouple is a temperature detector that is used to measure and control the amount of gas flowing in the commercial oven system. This component is 72" long and operates in a manner that when it senses the heat of the pilot flame. The thermocouple is an essential element of the oven system as it ensures the right temperature control and prevents the flow of gas in case the flame is not present. Its long length also enables it to be properly routed and placed in the installation or replacement of compatible oven setups.
Dimensions
- Length: 3 In
- Width: 2.5 In
- Height: 1 In
- Weight: 0.4 lbs
Product Notes
- Heavy-Duty 72" Thermocouple, 20-30 Milevolt.
- Coaxial Thermocouple Threads = 11/32"-32