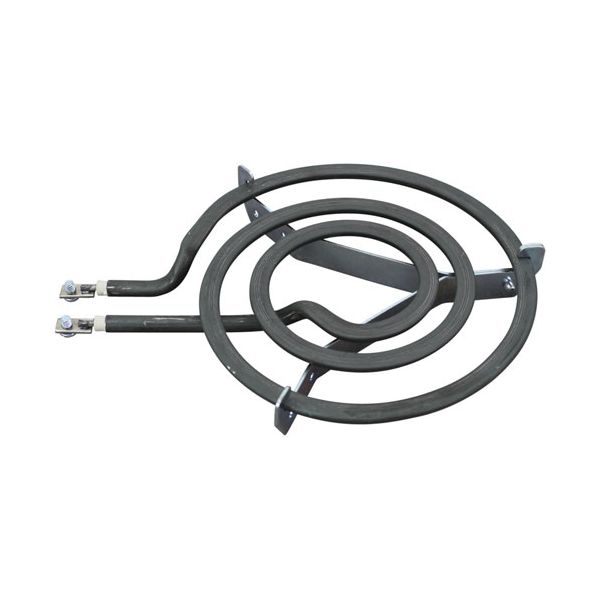
Wells 60408 Warmer Element 240V 825W 6" DIA
Special Price $60.36 Regular Price $108.82
In stock
SKU
60408
Manufacturer:

The Wells 60408 Warmer Element is designed for heating applications, offering efficient heat transfer and durability for various commercial use cases. it type of heater that is tends to be used in the food warmers such as the SS8T, SS10T, SW8, and SW10 Models and it is 240V, 825W Heating Element. With a diameter of 6 inches, it provides the right heat to warm food in the kitchens. This single-phase element is fitted with flag terminals with screws #26-2899, 8-32 X 1/4” SS for quick connection. This element is perfect for maintaining the temperature of the food, increasing food hygiene.
Dimensions
- Length: 8 In
- Width: 5.5 In
- Height: 1 In
- Weight: 0.3 lbs
Product Notes
- Element, [ 240V 825W 1Ph ] [ 6" Dia. ]
- [Terminals {Flag W/Screw }, [8-32],
- Includes Screws # 26-2899, 8-32 X 1/4" Ss
- Wells Food Warmer Ss8T, Ss10T, Sw8, Sw10