
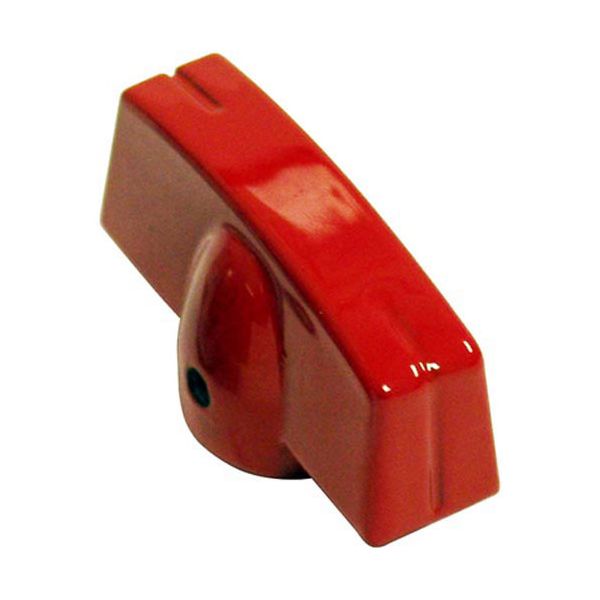
Hobart 804197 Handle

$19.84
In stock
SKU
804197
Manufacturer:

The Hobart 804197 Handle is a grip and control part that is applied to commercial foodservice equipment. It provides a safe place of contact for opening, closing, or positioning of an attached door, cover, or access panel. The handle is installed on the specific mounting point where it can be used by the operators to communicate with the appliance when it is in normal operation or during maintenance. It is placed in such a way that it has safe and controlled handling of moving parts within the unit.

Dimensions

  • Length: 2 In
  • Width: 0.75 In
  • Height: 2 In
  • Weight: 0.1 lbs
https://partsfe.com/media/catalog/product/h/o/hobart-804197-red-color-aluminum-knob-1-7-8-x-7-8-mount-3-8-round-240-flat-d-hole-42203-2.jpg

Product Notes

  • Aluminum Knob Painted Red [ 1-7/8" X 7/8" ]
  • [Mount 3/8" Round].240" D Hole,[Flat D], Set Screw Down
  • (Note: For Polished Aluminum Use # 22-1200 )
  • (For Black Aluminum Use # 22-1298 )
  • Vulcan
  • Broiler Hcb44 (Old 7844L), Hcbo40 (Old 7840Al).
  • Grill Where Applicable.
  • Oven 24L,36(L,Lc),48L,60(L,Lc,Lcc), 148(L,Lc), 160(L,Lc),
  • 260(L, Lc,Lcc), 481(L,Lc), 8030
Write Your Own Review
You're reviewing:Hobart 804197 Handle
Your Rating
Customer Questions
What maintenance is required for the Hobart 804197 Knob?

Inspect the knob regularly for looseness on the shaft and tighten if needed. Clean with mild detergent to prevent grease buildup. Avoid harsh chemicals that can fade color or damage aluminum finish. Ensure smooth operation.

What are common issues with the Hobart 804197 Knob?

  • Loose fit on shaft causing slipping.
  • Worn flat D hole leading to poor grip.
  • Fading or discoloration from heat/chemicals.
  • Cracks or breakage from impact or over-tightening.
  • Stripped mounting hole reducing control.
  • Grease buildup causing sticky rotation.

We strive to provide our customers with a hassle-free and efficient shopping experience. Our shipping policy ensures the timely delivery of your orders and complete customer satisfaction. View More

We are committed to ensuring your complete satisfaction with every purchase. We understand that circumstances may arise where you must return a product or request a refund. If for any reason you are not satisfied, you may return the item(s) according to the terms outlined below. View More

This Payment Policy outlines the terms and conditions governing all payments made for products purchased through our website. By making a purchase, you agree to be bound by this Payment Policy. View More

Installation Steps

Step1: Turn off appliance power and ensure control shaft is clean and aligned before installation.

Step2: Align knob’s stem opening with control shaft and push firmly until fully seated for proper fit.

Step3: Rotate knob to verify smooth operation and proper positioning on all settings.

Step4: Ensure power remains off during adjustment restore power and test all settings for correct function; avoid forcing knob.