
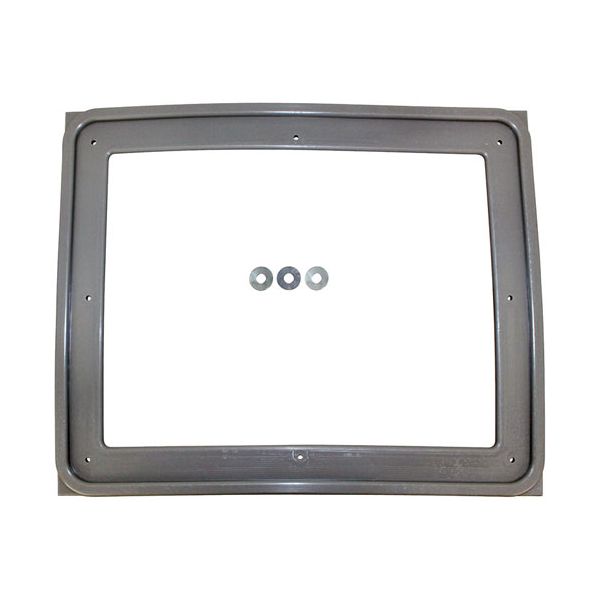
Vulcan Hart 857085-00002 Oven 5-Pan Door Gasket Kit

Special Price $233.64 Regular Price $360.00
In stock
SKU
857085-00002
The Vulcan Hart 857085-00002 Oven 5-Pan Door Gasket Kit is a replacement gasket, the tools required for the replacement of the door gasket are contained in this kit to guarantee a tight fit. It also keeps the temperature constant, it forms an air tight enclose preventing wastage of energy. The gasket reduces heat loss hence shortens the time taken to cook food and therefore, saves on costs of utility. This gasket is perfect for the commercial kitchen and provides long service and dependable oven service, which makes it one of the essentials to maintain in a commercial kitchen.

Dimensions

  • Length: 14.75 In
  • Width: 7 In
  • Height: 4 In
  • Weight: 1.4 lbs
https://partsfe.com/media/catalog/product/v/u/vulcan-hart-857085-00002-oven-5-pan-door-gasket-kit-42514-2.jpg

Product Notes

  • Door Gasket Kit 5 Pan I, Rubber, Gray, 15 X 18-1/2
  • Fits Vulcan Hart Steamer Models~
  • C24Ea, C24Ea10, C24Ea3, C24Ea3 Pro, C24Ea5, C24Ea5 Pro,
  • C24Ea6, C24Ga10, C24Ga6, Hc24Ea3, Hc24Ea5, Hc24Eo3, Hc24Eo5
Write Your Own Review
You're reviewing:Vulcan Hart 857085-00002 Oven 5-Pan Door Gasket Kit
Your Rating
Customer Questions
What maintenance is required for the Vulcan Hart 857085-00002 Door Gasket Kit?

Clean the oven gasket regularly with mild soap and warm water to remove grease and food residue. Inspect it for cracks, hardening, or gaps to ensure proper sealing. Ensure the door closes evenly to maintain compression and prevent heat loss.

What are common issues with the Vulcan Hart 857085-00002 Door Gasket Kit?

  • Loss of sealing causing heat escape.
  • Cracking of gasket material.
  • Warping from repeated high heat exposure.
  • Grease buildup leading to poor door closure.
  • Uneven compression along oven door frame.

We strive to provide our customers with a hassle-free and efficient shopping experience. Our shipping policy ensures the timely delivery of your orders and complete customer satisfaction. View More

We are committed to ensuring your complete satisfaction with every purchase. We understand that circumstances may arise where you must return a product or request a refund. If for any reason you are not satisfied, you may return the item(s) according to the terms outlined below. View More

This Payment Policy outlines the terms and conditions governing all payments made for products purchased through our website. By making a purchase, you agree to be bound by this Payment Policy. View More

Installation Steps

Step1: Turn off oven and disconnect power; allow unit to cool completely; wear heat-resistant gloves.

Step2: Remove old gasket carefully from door channel using gentle pulling.

Step3: Clean channel thoroughly to remove grease and debris for proper seal.

Step4: Align new gasket starting at top center ensuring correct orientation.

Step5: Press firmly into channel around full perimeter until fully seated.

Step6: Secure corners and ensure even sealing along entire door edge.

Step7: Restore power and test door seal for proper operation.
