
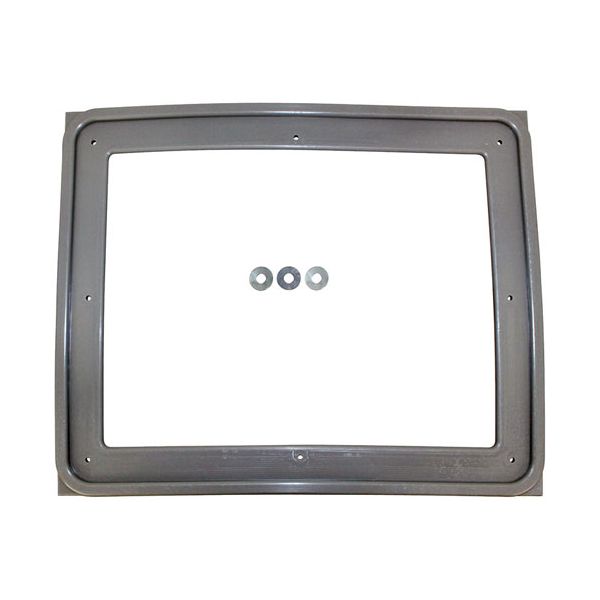
Vulcan Hart 00-857085-00002 Oven 5-Pan Door Gasket Kit
Dimensions
- Weight: 1.836 lbs
Door Sealing:
Creates a continuous contact surface between the closed oven door and the cabinet frame. As the door closes, the gasket compresses against the surrounding surface to reduce open gaps around the cooking chamber. Maintaining consistent compression helps limit the escape of heated air and supports the oven's intended thermal environment.
Flexible Compression:
Uses its flexible construction to accommodate repeated door opening and closing. The gasket compresses when the door is closed and returns toward its original profile when the door is opened, allowing the sealing surface to remain functional through normal equipment use.
Replacement Guidelines:
Replace the Door Gasket Kit 5-Pan if the gasket is cracked, torn, hardened, flattened, deformed, or no longer provides a proper seal around the oven door. The part number 00-857085-00002 and 5-pan door gasket kit configuration should be verified before replacement to ensure the correct gasket kit is selected. Replace the gasket kit if deterioration affects sealing, door closure, heat retention, or normal oven operation.
Common Failure Symptoms:
Equipment Compatibility:
Intended for compatible Vulcan Hart commercial ovens requiring the 00-857085-00002 gasket configuration. Verify the equipment model, gasket configuration, and original manufacturer part number before ordering to ensure the correct component is selected.
Technical Specifications:
Brand: Vulcan Hart
Part Number: 00-857085-00002
Product Name: Door Gasket Kit
Configuration: 5-Pan
We strive to provide our customers with a hassle-free and efficient shopping experience. Our shipping policy ensures the timely delivery of your orders and complete customer satisfaction. View More
We are committed to ensuring your complete satisfaction with every purchase. We understand that circumstances may arise where you must return a product or request a refund. If for any reason you are not satisfied, you may return the item(s) according to the terms outlined below. View More
This Payment Policy outlines the terms and conditions governing all payments made for products purchased through our website. By making a purchase, you agree to be bound by this Payment Policy. View More
Step1: Turn off the oven and allow it to cool completely to prevent burns.
Step2: Open the oven door and carefully remove the old gasket from the retaining clips or channel.
Step3: Clean the gasket groove thoroughly to remove grease and debris.
Step4: Align the new gasket evenly around the door frame.
Step5: Press the gasket firmly into the clips or channel without stretching.
Step6: Ensure a tight, uniform seal, then close the door and test for proper fit.
