
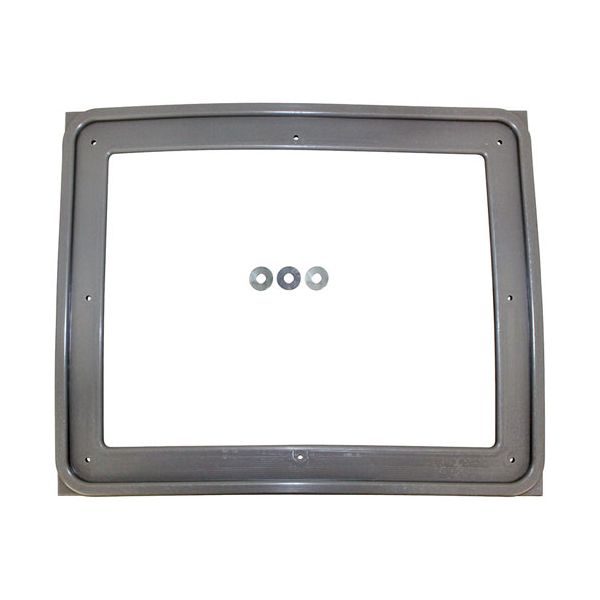
Vulcan Hart VH00-857085-00002 Oven 5-Pan Door Gasket Kit

Special Price $233.64 Regular Price $360.00
In stock
SKU
VH00-857085-00002
Vulcan Hart VH00-857085-00002 Oven 5-Pan Door Gasket Kit is a spare part which have a 5-pan capacity. This door gasket simply sits into the slot to give a tight fit preventing heat loss when cooking and thus being energy friendly. When well fitted, it offers insulation to heat saving energy and cooking at the best quality. It is easy to fit the kit and it improves the efficiency of the oven in general. In particular it is adjusting the temperature optimal for cooking in order to improve the quality of the dish and the shelf-life of the appliance.

Dimensions

  • Length: 14.75 In
  • Width: 7 In
  • Height: 4 In
  • Weight: 1.4 lbs
https://partsfe.com/media/catalog/product/v/u/vulcan-hart-vh00-857085-00002-oven-5-pan-door-gasket-kit-65223.jpg

Product Notes

  • Door Gasket Kit 5 Pan I, Rubber, Gray, 15 X 18-1/2
  • Fits Vulcan Hart Steamer Models~
  • C24Ea, C24Ea10, C24Ea3, C24Ea3 Pro, C24Ea5, C24Ea5 Pro,
  • C24Ea6, C24Ga10, C24Ga6, Hc24Ea3, Hc24Ea5, Hc24Eo3, Hc24Eo5
Write Your Own Review
You're reviewing:Vulcan Hart VH00-857085-00002 Oven 5-Pan Door Gasket Kit
Your Rating
Customer Questions
What maintenance is required for the Vulcan Hart VH00-857085-00002 Door Gasket Kit?

Inspect the door gasket regularly for cracks, compression loss, or food residue buildup. Clean it with mild detergent and warm water to maintain sealing efficiency. Ensure proper alignment to prevent heat loss and avoid harsh chemicals or sharp tools.

What are common issues with the Vulcan Hart VH00-857085-00002 Door Gasket Kit?

  • Air leaks causing heat loss.
  • Gasket hardening or cracking.
  • Uneven oven temperature.
  • Poor door seal alignment.
  • Moisture or grease buildup affecting seal.

We strive to provide our customers with a hassle-free and efficient shopping experience. Our shipping policy ensures the timely delivery of your orders and complete customer satisfaction. View More

We are committed to ensuring your complete satisfaction with every purchase. We understand that circumstances may arise where you must return a product or request a refund. If for any reason you are not satisfied, you may return the item(s) according to the terms outlined below. View More

This Payment Policy outlines the terms and conditions governing all payments made for products purchased through our website. By making a purchase, you agree to be bound by this Payment Policy. View More

Installation Steps

Step1: Turn off power and let oven cool completely before installation.

Step2: Open door and remove old gasket carefully and discard it.

Step3: Clean gasket channel thoroughly removing grease and debris buildup.

Step4: Align new gasket with corners and edges of door frame.

Step5: Press gasket firmly into retaining channel evenly around door.

Step6: Check full seal around entire door perimeter for gaps.

Step7: Close door and test for proper fit and compression.
