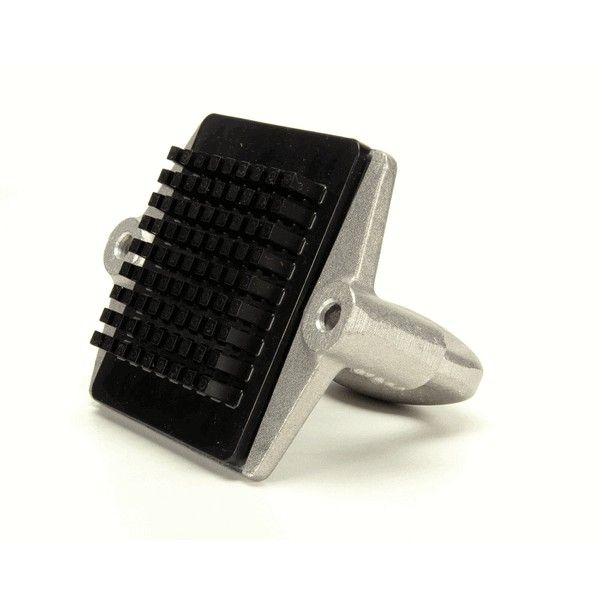
Prince Castle 910-34 Handle W/Pusher Head M910-A

Special Price $228.11 Regular Price $241.64
In stock
SKU
910-34
The Prince Castle 910-34 Handle with Pusher Head M910-A represents a durable kitchen tool that holds NSF certification for efficient food preparation tasks. The aluminum-made tool measures 3 1/4" x 3 1/4" at its handle and pusher head while the center reaches 5 1/2". The tool provides excellent performance when used to move ingredients through molds or slicers while producing uniform results and decreasing work hours. The tool offers simple maintenance requirements which makes it a dependable piece of equipment for improve kitchens. This component comes with setup instructions which enable users to start using it quickly while offering practicality for professionals working in foodservice.

Dimensions

  • Length: 8.25 In
  • Width: 6.25 In
  • Height: 6.25 In
  • Weight: 2.29 lbs
https://partsfe.com/media/catalog/product/p/r/prince-castle-910-34-handle-w-pusher-head-m910-a-24646-2.jpg

Product Notes

  • Material: Aluminum
  • Length: 3 1/4" | 83 mm
  • Width: 3 1/4" | 83 mm
  • Includes: Handle And Pusher Head
  • Nsf Certified: Y
  • Instructions Included: Y
  • Centers: 5 1/2" | 140 mm
PRINCE CASTLE:
Write Your Own Review
You're reviewing:Prince Castle 910-34 Handle W/Pusher Head M910-A
Your Rating
Customer Questions
What maintenance is required for the Prince Castle 910-34 Handle with Pusher Head?

Clean the handle and pusher head regularly to remove food debris and grease. Inspect for damage or loosening of components to ensure smooth operation. Lubricate moving joints lightly and tighten fittings as needed for safe, reliable performance.

What are common issues with the Prince Castle 910-34 Handle with Pusher Head?

  • Pusher head sticking or inconsistent movement due to internal damage.
  • Handle loosening or wobbling during repeated use.
  • Misalignment between handle and pusher head causing Low operation.
  • Corrosion or material fatigue affecting smooth functionality.

We strive to provide our customers with a hassle-free and efficient shopping experience. Our shipping policy ensures the timely delivery of your orders and complete customer satisfaction. View More

We are committed to ensuring your complete satisfaction with every purchase. We understand that circumstances may arise where you must return a product or request a refund. If for any reason you are not satisfied, you may return the item(s) according to the terms outlined below. View More

This Payment Policy outlines the terms and conditions governing all payments made for products purchased through our website. By making a purchase, you agree to be bound by this Payment Policy. View More

Installation Steps

Step1: Switch off connected system and confirm all moving parts are fully stopped.

Step2: Remove existing handle assembly by loosening mounting fasteners carefully.

Step3: Align new handle with pusher head into the designated mounting slot.

Step4: Secure fasteners evenly to ensure tight and stable attachment without over-tightening.

Step5: Test handle movement and pusher action for smooth operation and proper alignment.

Step6: Wear protective gloves and keep hands clear of pinch points during fitting.