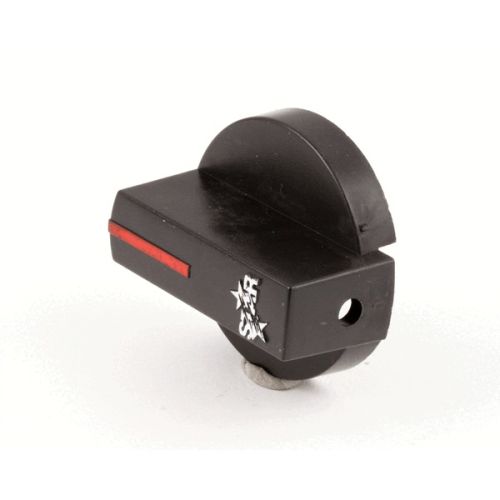
Rankin Delux RDLR-12 Knob W/Chrome Strip Black Pastic 2-1/4" X 3/4"
$44.03
Out of stock
SKU
RDLR-12
Manufacturer:

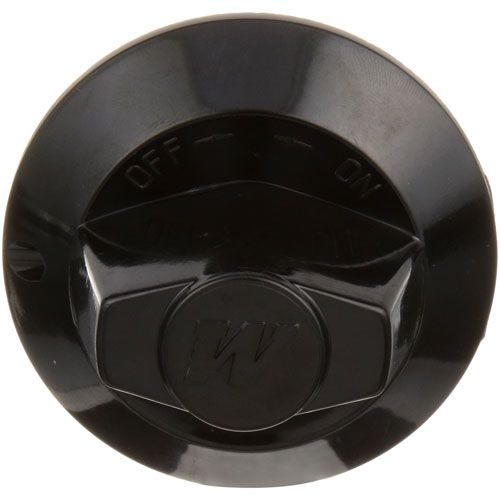
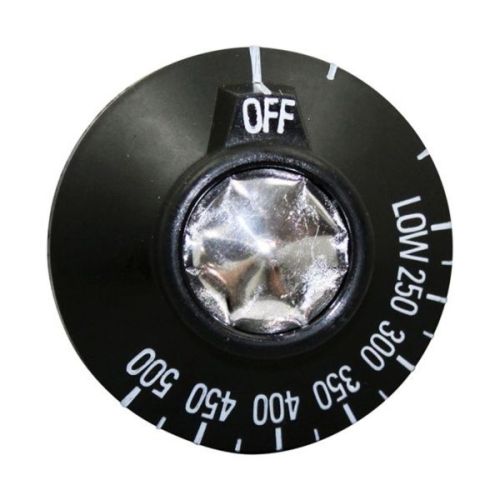
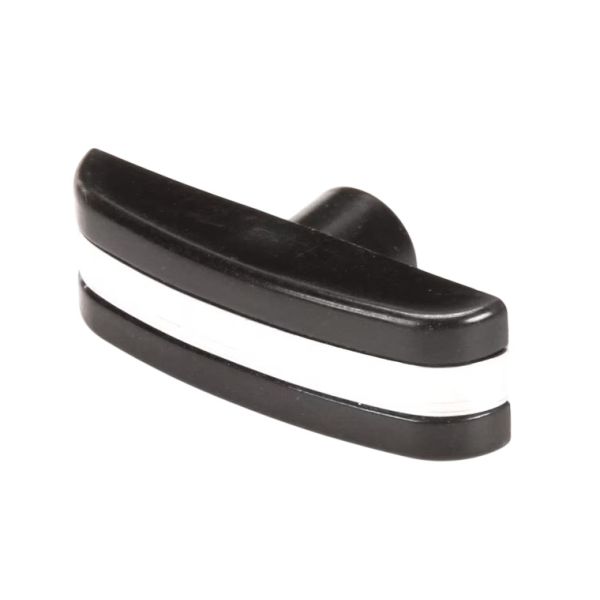
The Rankin Delux RDLR-12 Knob is a replacement control knob of commercial cooking equipment. It works by rotating around on a stem to position the gas flow to a burner. This is a chrome strip black plastic knob that can be installed on restaurant ranges, griddles, and broilers. The knob is 2-1/4 inches in diameter and 3/4 inches high with a white indicator mark and a square shaft insert to ensure a tight fit. This part is a replacement of damaged knobs or broken knobs which would also make the appliance continue with its normal functioning.
Dimensions
- Length: 2.25 In
- Width: 2.25 In
- Height: 1 In
- Weight: 0.1 lbs
Product Notes
- Black Plastic Knob With Chrome Strip [ 2-1/4" X 3/4" ]
- [Mount .240] [Position U/D]
- Rectangle , 1/2" Extention
- Rankin-Delux
- Broiler 3223-C, 4223-C. Series: 2300.