
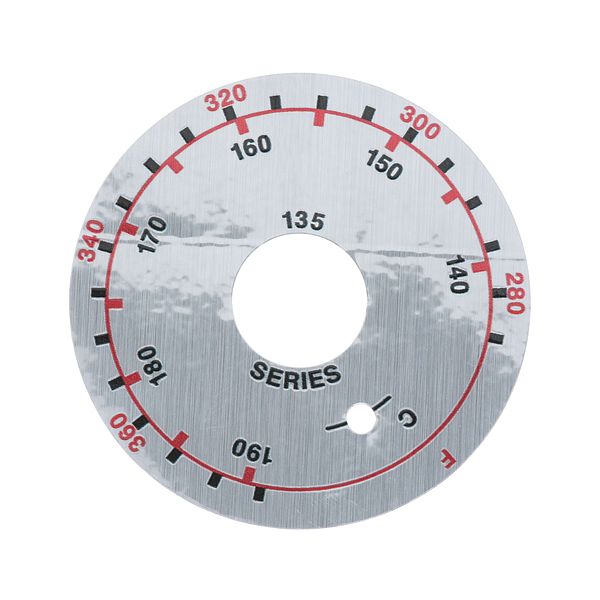
Frymaster 8021470 Fryer Dial Plate Label
Special Price $30.41 Regular Price $32.95
In stock
SKU
8021470
Manufacturer:

The Frymaster 8021470 Fryer Dial Plate Label fits on the control dial of any compatible equipment and gives clear indications of the temperature settings. It works by following the dial mechanism of the fryer, where the operators can easily make references to levels of cooking when using it. This label is fixed firmly on the control panel of the fryer so that it is seen and in the correct position at all times during use to assist in keeping the settings of the appliance consistent across several cooking sessions.
Dimensions
- Length: 3.5 In
- Width: 3.5 In
- Height: 0.5 In
- Weight: 0 lbs
Product Notes
- Dial Plate
- 280-360 F, 140-190 C
- Frymaster Fm345E, Fm45, Fmcfe, Fmcfec, J3F, J65X, Jcfx,
- Kj3Fc, Mj45, Mjcf, Mjcfe, Mjcfec