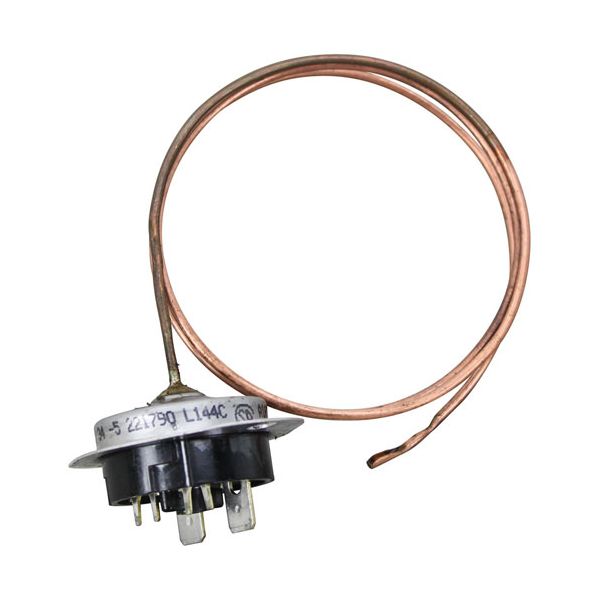
Cleveland KE55069-6 Mixer Kettle Safety Thermostat L6C 24

$99.80
Out of stock
SKU
KE55069-6
Manufacturer:
The Cleveland KE55069-6 Safety Thermostat L6C 24 is a temperature limit control of compatible commercial mixer kettles. It checks the internal temperatures and cuts off power to the heating system in case of conditions that are beyond safe working conditions. It is mounted in the control assembly of the kettle to operate the main thermostat properly to provide over temperature protection. This element assists in safe operation in institutional and production kitchens as a component of the safety control system.

Dimensions

  • Length: 3.875 In
  • Width: 1.125 In
  • Height: 1.75 In
  • Weight: 0.1 lbs
https://partsfe.com/media/catalog/product/c/l/cleveland-ke55069-6-safety-thermostat-l6c-24-for-cleveland-kettle-and-mixer-series-25069.jpg

Product Notes

  • Hi-Limit, Safety Thermostat.
  • [Ranco Type- L6C ] [ Temp 184 F, 84 C ] [ Cap 24" ]
  • Cleveland
  • Kettle Series: Kel, Kep, Ket, Sse.
  • Mixer Series: Mket.
CLEVELAND:
RANCO:
Write Your Own Review
You're reviewing:Cleveland KE55069-6 Mixer Kettle Safety Thermostat L6C 24
Your Rating
Customer Questions
What maintenance is required for the Cleveland KE55069-6 Safety Thermostat for Cleveland Kettle and Mixer Series?

Regular inspection of electrical contacts and sensor calibration is important to ensure accurate temperature control. Clean connections to prevent corrosion and loose wiring issues. Periodically check mounting integrity and ensure proper insulation to avoid overheating or false triggering.

What are common issues with the Cleveland KE55069-6 Safety Thermostat for Cleveland Kettle and Mixer Series?

  • sensor drift or inaccurate temperature readings due to calibration failure.
  • electrical contact wear causing intermittent operation.
  • wiring looseness or connector corrosion leading to shutdowns.
  • overheating or failure to trigger safety cutoff.

We strive to provide our customers with a hassle-free and efficient shopping experience. Our shipping policy ensures the timely delivery of your orders and complete customer satisfaction. View More

We are committed to ensuring your complete satisfaction with every purchase. We understand that circumstances may arise where you must return a product or request a refund. If for any reason you are not satisfied, you may return the item(s) according to the terms outlined below. View More

This Payment Policy outlines the terms and conditions governing all payments made for products purchased through our website. By making a purchase, you agree to be bound by this Payment Policy. View More

Installation Steps

Step1: Disconnect power and allow equipment to cool completely before starting work.

Step2: Remove the access panel to reach the existing thermostat assembly safely.

Step3: Note wire connections, then disconnect and remove the faulty thermostat unit.

Step4: Position the new thermostat securely in the same mounting location.

Step5: Reconnect wires firmly according to the original configuration.

Step6: Replace the panel, restore power, and test for proper temperature control.