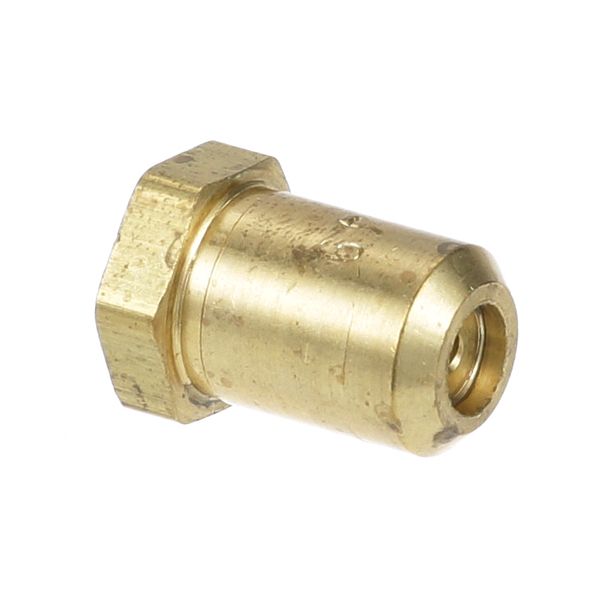
Garland M8-49 Charbroiler Burner Orifice #49
$6.08
In stock
SKU
M8-49
Manufacturer:

The Garland M8-49 Charbroiler Burner Orifice #49 is a fine-tuning component that controls the amount of gas to the flame to maintain the flame size and heat production to produce uniform cooking performance. It is mounted inside the burner inlet and it places gas in front of the ignition to facilitate the proper combustion. This orifice is used in the system to keep the flames stable, evenly distribute the heat on the cooking surface, and ensure that the cooking temperatures remain controlled when the charbroiler is in use.
Dimensions
- Length: 0.75 In
- Width: 0.25 In
- Height: 0.75 In
- Weight: 0.01 lbs
Product Notes
- Burner Orifice #49
- Imperial
- Broiler Icb-4827, Icb-6027.
- Series: Gd (Glowing Devil).
- Range Series: Ihr.