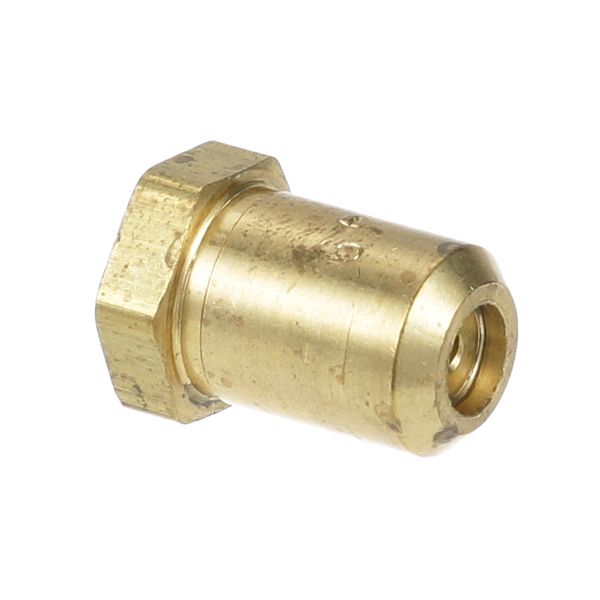
ATOSA 301040013 Burner Orifice #49
$6.08
In stock
SKU
301040013
Manufacturer:

The ATOSA 301040013 Burner Orifice #49 is a gas metering part that controls the flow of fuel to one burner in commercial cooking equipment. The calibrated orifice of the number #49 regulates the amount of gas to pass into the burner tube. It clamps into the jet holder of the burner and it is directly connected to the gas delivery system of the appliance. In the combustion system, it aids in the balanced distribution of fuels and stable operation, which leads to even cooking performance and predictable surface temperatures when in use.
Dimensions
- Length: 0.75 In
- Width: 0.25 In
- Height: 0.75 In
- Weight: 0.01 lbs
Product Notes
- Burner Orifice #49
- Imperial
- Broiler Icb-4827, Icb-6027.
- Series: Gd (Glowing Devil).
- Range Series: Ihr.