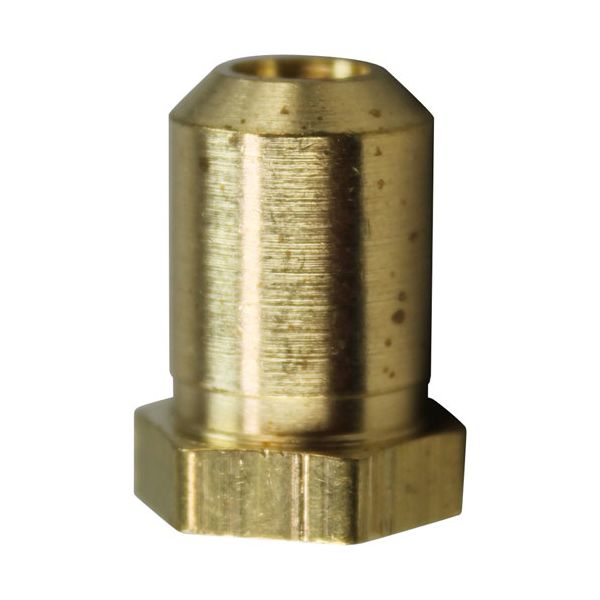
ATOSA 301040007 Charbroiler Orifice #50
$6.00
Out of stock
SKU
301040007
Manufacturer:

The ATOSA 301040007 Charbroiler Orifice #50 is a part that regulates the flow of gas to burner ports. The calibrated opening and shape of the brass hood control the amount and direction of gas that is introduced to the burner to maintain, the size and level of the flame and the amount of heat generated. It enters the burner manifold or jet holder and matches with the combustion ports. It assists in the maintenance of a proper flow of gas.
Dimensions
- Length: 0.75 In
- Width: 0.25 In
- Height: 0.75 In
- Weight: 0.022 lbs
Product Notes
- Brass Hood Orifice,
- 3/8"-27 X 1/2" High X #50
- American Range Broiler Aecb
- Garland / Us Range Oven 836 Cuisine (Lp)
- Imperial Broiler Series: Eba, Irb.
- Oven Series: Icv, Icvd. (Lp)
- Star Broiler Where Applicable. Fryer 630F
- Us Range Broiler Pma/Rb-36, Rb-26.
- Series: 1000 Front Burner, Rba (Used For Nat Gas).
- Fryer Rcf-(2424,2448).
- Oven Series: 836 Cuisine Standard Ovens,
- Performer Ii Convection Ovens With S/N Beginning With "V".
- Range Sp-1855 Small Burner, Tr H Shaped Burner.