
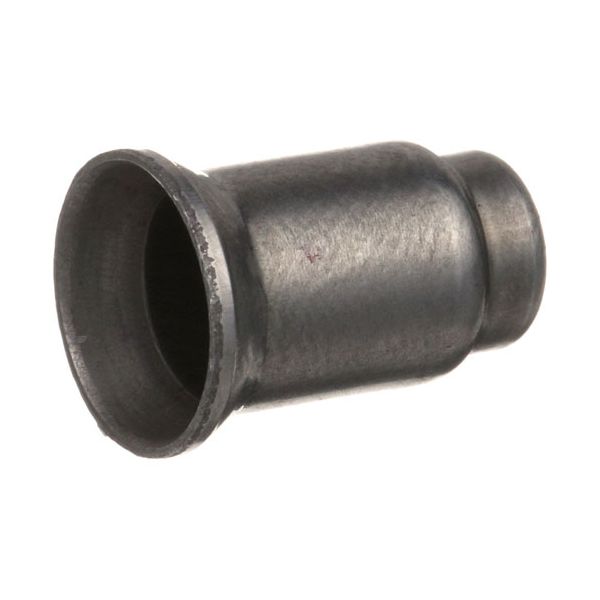
Lang 80401-09 LP Pilot Orifice

$9.14
In stock
SKU
80401-09
Manufacturer:

The Lang 80401-09 LP Pilot Orifice works by controlling the flow of propane liquid into the initial burner assembly through a fixed and microscopic hole. This adjustable aperture keeps the fuel-to-air ratio constant to keep the flame ignited to start the main fires in the heating cycle. This component is installed in the internal gas train of the equipment and fits directly into the pilot tubing connection point, which is found close to the heater head. It is fitting that it is designed to operate in high-heat conditions where the thermal stability is required to maintain the continuous operation of the appliance.

Dimensions

  • Length: 0.5 In
  • Width: 0.25 In
  • Height: 0.5 In
  • Weight: 0.01 lbs
https://partsfe.com/media/catalog/product/l/a/lang-80401-09-1-4-lp-pilot-orifice-372-x-530-87532-2.jpg

Product Notes

  • Lp Pilot Orifice, For 1/4" Pilots,
  • .016" Or #78 Hole,
  • .372" Dia X .530" Long
  • American Range Fryer
  • Blodgett Oven
  • Imperial Fryer Series If, Ihr, Ir
AMERICAN RANGE:
BLODGETT:
FRYMASTER:
GARLAND:
HENNY PENNY:
IMPERIAL:
ROYAL RANGE:
SOUTHBEND:
STAR MFG:
Write Your Own Review
You're reviewing:Lang 80401-09 LP Pilot Orifice
Your Rating
Customer Questions
What is the Best Electric Griddle?

Electric Griddle is an electronic equipment that uses an electric element as its heat source. It has a large cooking surface often made up of nonstick material. Electric Griddle has a surface which you do not find in the regular stovetop cookware. ...

What maintenance is required for the Lang 80401-09 LP Pilot Orifice?

Inspect the orifice regularly for carbon buildup, dust, or grease that can restrict gas flow. Clean carefully using a proper orifice cleaning tool or compressed air to maintain correct flame performance. Ensure it is tightly secured and properly aligned in the pilot assembly. Replace if corrosion or damage is detected.

What are common issues with the Lang 80401-09 LP Pilot Orifice?

  • Clogging from carbon or debris restricting gas flow.
  • Weak or unstable pilot flame.
  • Improper air-to-gas mixture causing ignition issues.
  • Corrosion leading to inconsistent performance.
  • Misalignment affecting accurate burner operation.

We strive to provide our customers with a hassle-free and efficient shopping experience. Our shipping policy ensures the timely delivery of your orders and complete customer satisfaction. View More

We are committed to ensuring your complete satisfaction with every purchase. We understand that circumstances may arise where you must return a product or request a refund. If for any reason you are not satisfied, you may return the item(s) according to the terms outlined below. View More

This Payment Policy outlines the terms and conditions governing all payments made for products purchased through our website. By making a purchase, you agree to be bound by this Payment Policy. View More

Installation Steps

Step1: Turn off gas and power supply, allow appliance to cool.

Step2: Access pilot assembly by removing burner panel.

Step3: Unscrew and remove existing pilot orifice.

Step4: Install new LP pilot orifice, tighten securely without over-torquing.

Step5: Check alignment and ensure proper seating.

Step6: Restore gas, check for leaks using approved solution, and test ignition.

Step7: Ensure ventilation and safety compliance before operation.

Step8: Wear protective gloves.