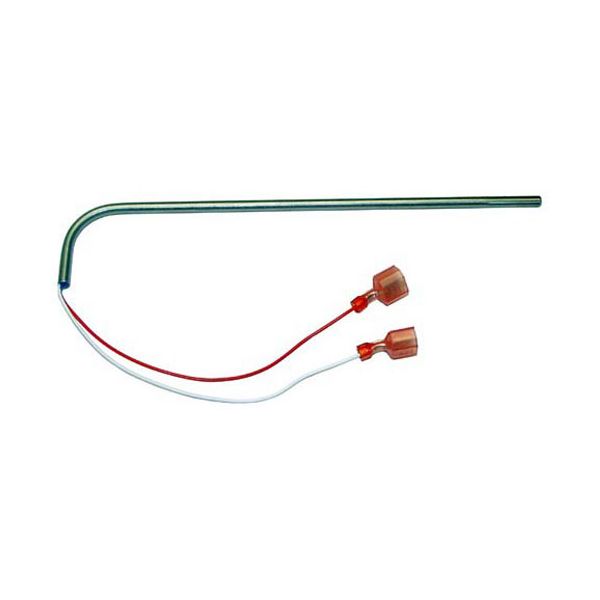
Frymaster 8064764 Temperature Probe W/ 7" Leads & 1/4" M Encapsulated Terminals 7-7/8" X 1-5/8"
Special Price $93.24 Regular Price $197.56
In stock
SKU
8064764
Manufacturer:

The Frymaster 8064764 Temperature Probe Assembly works by sensing the changes in temperature in the fryer and converting the temperature changes into electrical impulses that can be read by the control system. It operates by having a sensing element which reads the amount of heat in the oil and the equipment can maintain a strict temperature control in the cooking cycles. This temperature sensor is commonly installed inside the fryer vat or heat area and it directly measures temperature of the oil to maintain the same operation and provide thermal feedback.
Dimensions
- Length: 1.5 In
- Width: 0.2 In
- Height: 8 In
- Weight: 0.1 lbs
Product Notes
- Temperature Probe,
- 7-7/8" X 1-5/8" With 7" Leads, 1/4" M Incapsolated Terminals
- Frymaster Fryer 8Bc, 8C, 8Sms, Gbc, Gc, Gsms