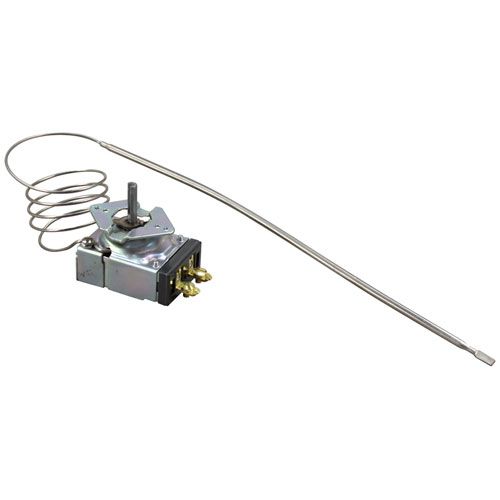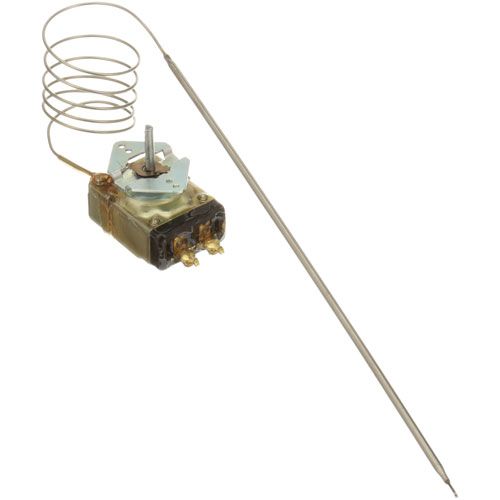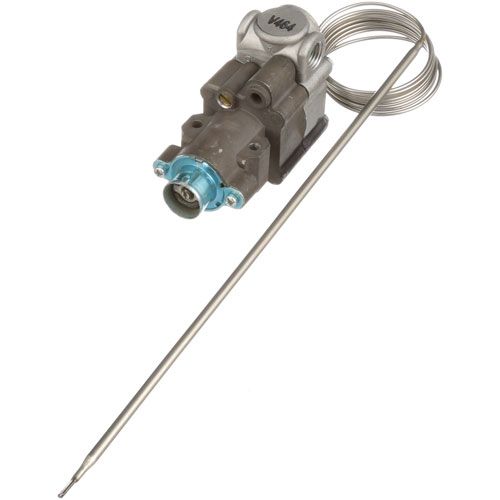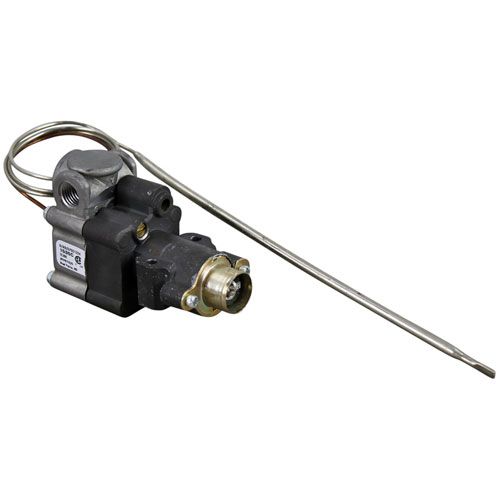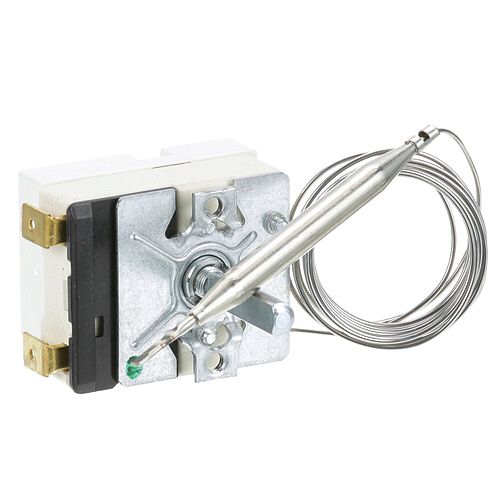
Vulcan Hart 00-411506-00003 Oven KX Thermostat

Special Price $93.87 Regular Price $144.64
In stock
SKU
00-411506-00003
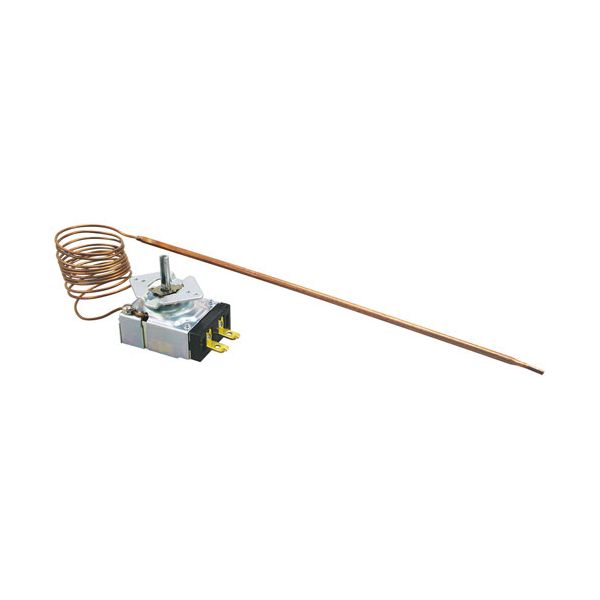
Vulcan Hart 00-411506-00003 Oven KX Thermostat is a reliable and accurate temperature control device for different commercial cooking applications. The bulb of this thermostat measures 3/16" x 11-5/8" and has a 60" capillary line that allows it to monitor and maintain temperatures from 175°F to 500°F. The heating element is sensing the internal oven temperature and adjusting accordingly to deliver optimum cooking condition. This thermostat is one of the key benefits that it can improve cooking consistency and food quality, making it a must have for chefs and kitchen operators, and supports models in the ET, GH, GHM, SG, and VC series.

Dimensions

  • Length: 12.5 In
  • Width: 2.75 In
  • Height: 2.5 In
  • Weight: 0.5 lbs
https://partsfe.com/media/catalog/product/v/u/vulcan-hart-00-411506-00003-oven-kx-thermostat-3-16-x-11-5-8-bulb-60-cap-175-500-f-70897-2.jpg

Product Notes

  • [ Type- Kx ] [ Temp 175-500 ] [ Bulb 3/16" X 11-5/8" ]
  • [ Cap 60" ] [ Mount 1 ] .187" D-Stem Flat Down,
  • For Pointer Knob Use # 22-1107. Or
  • [ Dial , # 22-1007 Off-550-200 4-Way Blk/Silver &
  • [Bezel # 26-1227]. Or
  • [Vul Dial, # 22-1270 Off-550-200 Black Flat Down ]
  • Vulcan Grill 77 (Older Electric Range), Vs, Vtm.
  • Oven 141, 241, Rgt-10.
  • Series: Et, Gh, Ghm, Sg, Vs, Vtm, Vc4Gs Vc6Gs,
  • Vc4Es, Vc6Es.
  • Wolf Convection Oven Wkgd
Write Your Own Review
You're reviewing:Vulcan Hart 00-411506-00003 Oven KX Thermostat
Your Rating
Customer Questions
What maintenance is required for the Vulcan Hart 00-411506-00003 Thermostat?

Inspect the thermostat for grease, dust, or corrosion. Clean contacts carefully and check wiring integrity. Disconnect power before servicing. Proper care ensures accurate oven temperature and a secure cooking operation.

What are the common issues with the Vulcan Hart 00-411506-00003 Thermostat?

  • The oven may underheat or overheat intermittently.
  • Temperature cycles may be inconsistent.
  • Loose or corroded wiring affects performance.
  • Delayed response when changing settings.
  • Internal mechanical wear causing erratic readings.

We strive to provide our customers with a hassle-free and efficient shopping experience. Our shipping policy ensures the timely delivery of your orders and complete customer satisfaction. View More

We are committed to ensuring your complete satisfaction with every purchase. We understand that circumstances may arise where you must return a product or request a refund. If for any reason you are not satisfied, you may return the item(s) according to the terms outlined below. View More

This Payment Policy outlines the terms and conditions governing all payments made for products purchased through our website. By making a purchase, you agree to be bound by this Payment Policy. View More

Installation Steps

Step1: Turn off power to the oven and allow it to cool completely.

Step2: Remove the old thermostat from the control panel, keeping note of wire connections.

Step3: Install the new thermostat in the same orientation, ensuring proper alignment.

Step4: Reconnect wires securely to their original terminals.

Step5: Tighten mounting screws without overtightening.

Step6: Power on the oven and verify correct temperature operation.