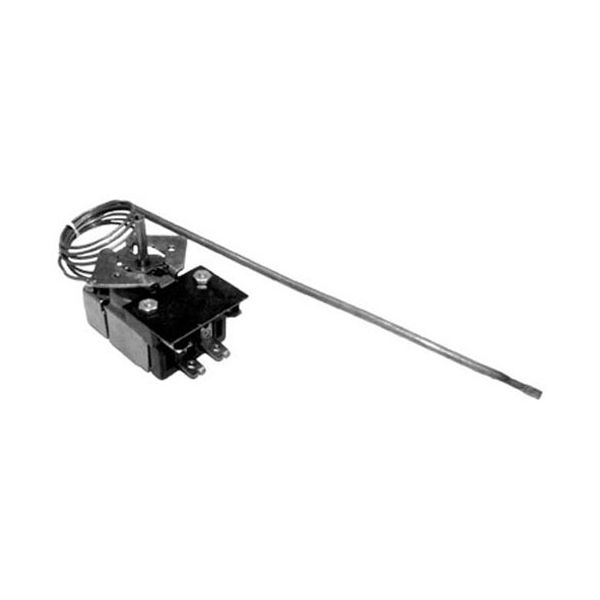
Garland 1948302 Oven Thermostat W/ Blub, 3/16" X 12-1/4"
Special Price $234.04 Regular Price $373.28
In stock
SKU
1948302
Manufacturer:

The Garland 1948302 Thermostat SJ is a replacement part that regulates the correct temperature in commercial ovens. It has a 3/16-inch sensing bulb that is 12 1/4 inches in length and 72 inches in capillary. It measures interior heat and provides adjustments to maintain the same cooking performance. This thermostat is installed in the control system of the oven to control heating cycles in order to have accurate temperature settings. It is also vital in ensuring even distribution of heat and is a necessity in the accuracy of its use in professional kitchen setups.
Dimensions
- Length: 12 In
- Width: 2.5 In
- Height: 2.5 In
- Weight: 0.8 lbs
Product Notes
- [ T'Stat - Sj ] [ Temp 300-650 ]
- [ Bulb 3/16" X 12-1/4" ] [ Cap 72" ]
- [ Dial To Use # 221205 Off-700-300 ]
- Bakers Pride