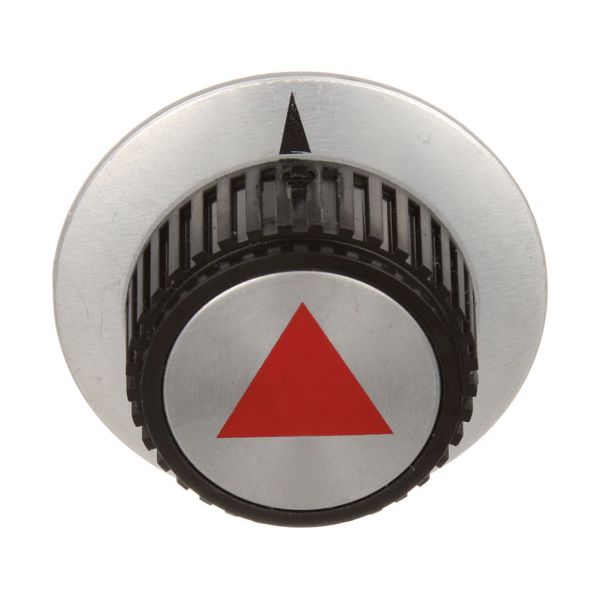
Vulcan Hart VH824277 Indicator Knob
Special Price $48.96 Regular Price $70.63
In stock
SKU
VH824277
Manufacturer:

The Vulcan Hart VH824277 Indicator Knob is a manual interface that interacts with the inner thermostat or valve stem to control the level of heat. The component has integrated markings which, as the part turns, align with a fixed point on the appliance to convey temperature settings or modes of operation. This is a regulation dial that is placed on the front manifold or header panel of compatible commercial stoves. It is used as direct replacement for faded or scribbled initial controls.
Dimensions
- Length: 2.5 In
- Width: 2.5 In
- Height: 1.125 In
- Weight: 0.17 lbs
Product Notes
- Knob, Black & Aluminum T'Stat Indicator
- [ 2-1/2" Dia ] [ Pointer] [Mount .187"] [Flat Down ]
- Vulcan
- Grill Series: 900A, Heg, Mgg-A, Rtsg
- Wolf
- Griddle Agt