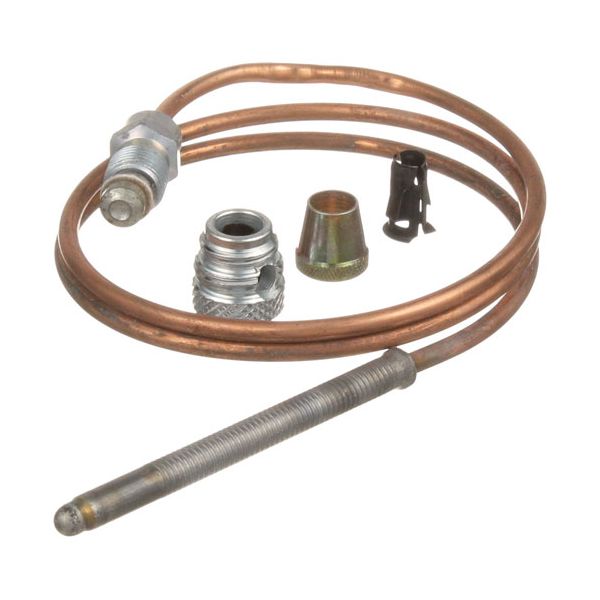
Blodgett Z1182580 Thermocouple 24" 20-30 MV1970 Series

Special Price $49.20 Regular Price $63.89
In stock
SKU
Z1182580
The Blodgett Z1182580 Thermocouple 24 inch 20 30 MV 1970 Series produces a small electrical signal when its sensing tip is heated by the pilot flame, and this allows flame detection to be used to control the gas. The junction is then warmed by the pilot flame to generate voltage, which is transmitted to the gas control system to control burner operation. It is close to the pilot-compatible ovens or cooking equipment, where direct heat exposure can be felt. The lead has enough reach to be connected to the control module.

Dimensions

  • Length: 5.75 In
  • Width: 5 In
  • Height: 0.5 In
  • Weight: 0.1 lbs
https://partsfe.com/media/catalog/product/b/l/blodgett-z1182580-24-thermocouple-20-30-mv1970-series-41554.jpg

Product Notes

  • 1970 Series, 24" Thermocouple, 20-30 Mv
  • Coaxial Thermocouple Threads = 11/32"-32.
  • Blodgett Model?
  • Jade Grill, Oven, Where Applicable.
  • Magikitch'N Broiler Series: Rmb
  • Magikitchn Mkg(48,60,72)
  • Pitco Fryer Export Units Only.
  • Rankin Grill Series: Gt.
  • Southbend Grill Sgs-(24-1,36-1,48-1,60-1).
  • Griddle Platinum Series (Units With P Prefix)
BLODGETT:
RANDELL:
RANKIN DELUX:
SOUTHBEND:
Write Your Own Review
You're reviewing:Blodgett Z1182580 Thermocouple 24" 20-30 MV1970 Series
Your Rating
Customer Questions
What maintenance is required for the Blodgett Z1182580 Thermocouple?

Inspect the thermocouple regularly for soot, corrosion, or loose connections near the pilot assembly. Clean the tip gently to ensure proper flame contact. Ensure it is correctly positioned in the pilot flame. Always turn off gas supply before servicing.

What are common issues with the Blodgett Z1182580 Thermocouple?

  • Pilot light not staying lit.
  • Damage or inconsistent millivolt output.
  • Poor flame contact with thermocouple tip.
  • Loose or faulty connection to gas valve.
  • Premature failure due to overheating or misalignment.

We strive to provide our customers with a hassle-free and efficient shopping experience. Our shipping policy ensures the timely delivery of your orders and complete customer satisfaction. View More

We are committed to ensuring your complete satisfaction with every purchase. We understand that circumstances may arise where you must return a product or request a refund. If for any reason you are not satisfied, you may return the item(s) according to the terms outlined below. View More

This Payment Policy outlines the terms and conditions governing all payments made for products purchased through our website. By making a purchase, you agree to be bound by this Payment Policy. View More

Installation Steps

Step1: Turn off gas and electrical supply and allow equipment to cool.

Step2: Access burner compartment and locate old thermocouple.

Step3: Disconnect sensor lead and mounting hardware carefully.

Step4: Install new thermocouple in original position ensuring proper flame contact.

Step5: Secure connections and reassemble panels.

Step6: Restore gas and power, then test ignition and verify stable flame operation. Safety: ensure no gas leaks; use a qualified technician if unsure.