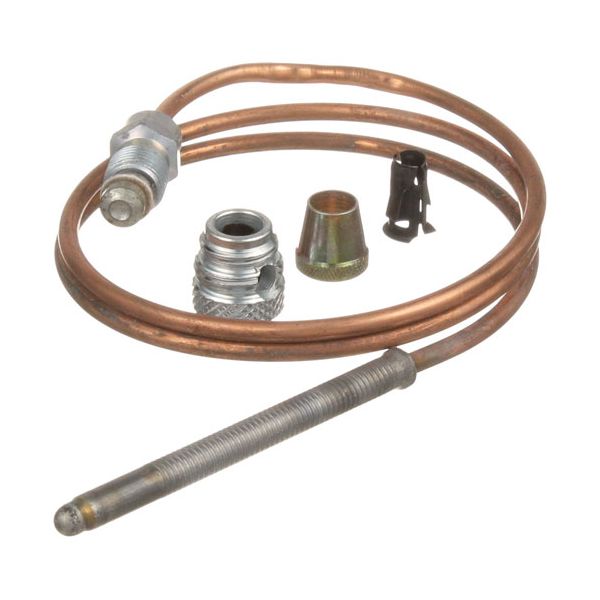
Southbend 1182580 Thermocouple 24" 20-30 mV 1970 Series
Special Price $49.20 Regular Price $63.89
In stock
SKU
1182580
Manufacturer:

The Southbend 1182580 Thermocouple 24" provides electrical output in response to changes in flame temperature at the sensor junction, and is a millivolt output system that is heated at the tip. The output of this is 20-30mV, which is passed through the lead to control safety circuits, which in turn control gas flow in compatible systems for consistent signal transmission in gas valve control assemblies. The 24" thermocouple is used in 1970 Series gas equipment assemblies for flame sensing and ignition monitoring to detect flame for pilot safety and to provide continuous temperature feedback operation.
Dimensions
- Length: 5.75 In
- Width: 5 In
- Height: 0.5 In
- Weight: 0.1 lbs
Product Notes
- 1970 Series, 24" Thermocouple, 20-30 Mv
- Coaxial Thermocouple Threads = 11/32"-32.
- Blodgett Model?
- Jade Grill, Oven, Where Applicable.
- Magikitch'N Broiler Series: Rmb
- Magikitchn Mkg(48,60,72)
- Pitco Fryer Export Units Only.
- Rankin Grill Series: Gt.
- Southbend Grill Sgs-(24-1,36-1,48-1,60-1).
- Griddle Platinum Series (Units With P Prefix)