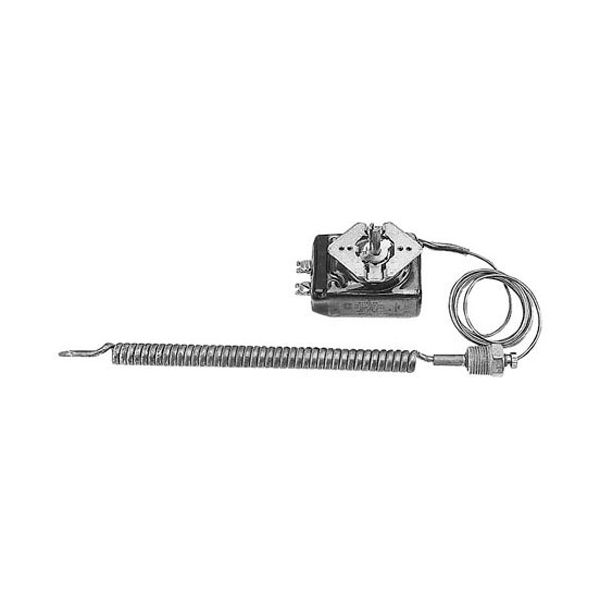
Groen 145018 Oven Thermostat K 8 Coiled 48

Special Price $137.81 Regular Price $233.58
In stock
SKU
145018
The Groen 145018 Thermostat K 8 Coiled 48 helps kitchen equipment maintain temperatures exactly between 8°F and 48°F. This twisted thermostat works well in cooking and cooling, with a temperature range from 8°F to 48°F. This thermostat was made to last, working well in any challenging situation. This thermostat works in many kitchen devices, like steamers, ovens, and other tools. The thermostat saves energy, keeps temperatures right, and goes in easily, which helps kitchen devices work better and last longer.

Dimensions

  • Length: 12 In
  • Width: 2.5 In
  • Height: 3 In
  • Weight: 0.9 lbs
https://partsfe.com/media/catalog/product/g/r/groen-145018-oven-thermostat-k-8-coiled-48-13238-2.jpg

Product Notes

  • [ Type - K ] [ Temp 100-290 ] [ Bulb 8" Coiled ]
  • [ Cap 48" ] [ Size 3/8" Mpt Stuff Box ][Dip-Sealed]
  • Dial Black # 22-1218, Off-10-1, Flat Right
  • [ Dial Black W/ Silver Dial # 22-1002 Off-10-1 Mount
  • 4 Way ]
  • Dial # 22-1038 Off-300-100 For Model (Dee-4) Flat Right.
  • Dial # 22-1222 Off-300-100 Flat Down
  • Dial # 22-1108 Off-10-1 Flat Down, For All Others.
  • Groen
  • Kettle Series: Ae, Ah, Cah, Dah,
  • Dcae, Dcee, Dee, Dh, Ee, Em,
  • Hh, Tdb, Tdh.
U-LINE:
5300-080, K153-48
Write Your Own Review
You're reviewing:Groen 145018 Oven Thermostat K 8 Coiled 48
Your Rating
Customer Questions
What maintenance is required for the Groen 145018 Thermostat?

Inspect the oven thermostat for calibration drift and loose wiring regularly. Clean surrounding heat buildup and ensure secure mounting. Proper maintenance assists maintain accurate temperature control and better oven operation, preventing overheating and inconsistent cooking results.

What are common issues with the Groen 145018 Thermostat?

  • Temperature drift causing uneven heating performance.
  • Thermostat failure leading to no heat or continuous heating cycles.
  • Loose wiring or intermittent connection issues.
  • Inaccurate readings due to worn sensing coil degradation.

We strive to provide our customers with a hassle-free and efficient shopping experience. Our shipping policy ensures the timely delivery of your orders and complete customer satisfaction. View More

We are committed to ensuring your complete satisfaction with every purchase. We understand that circumstances may arise where you must return a product or request a refund. If for any reason you are not satisfied, you may return the item(s) according to the terms outlined below. View More

This Payment Policy outlines the terms and conditions governing all payments made for products purchased through our website. By making a purchase, you agree to be bound by this Payment Policy. View More

Installation Steps

Step1: Disconnect power and allow oven to cool fully.

Step2: Remove access panel and note wiring positions on old thermostat.

Step3: Detach faulty unit and install new thermostat, matching coil and capillary routing.

Step4: Reconnect wires securely and mount thermostat.

Step5: Restore power, test temperature control, avoid contact with live terminals.

Step6: Ensure capillary tube is not kinked and is properly secured away from heat sources.