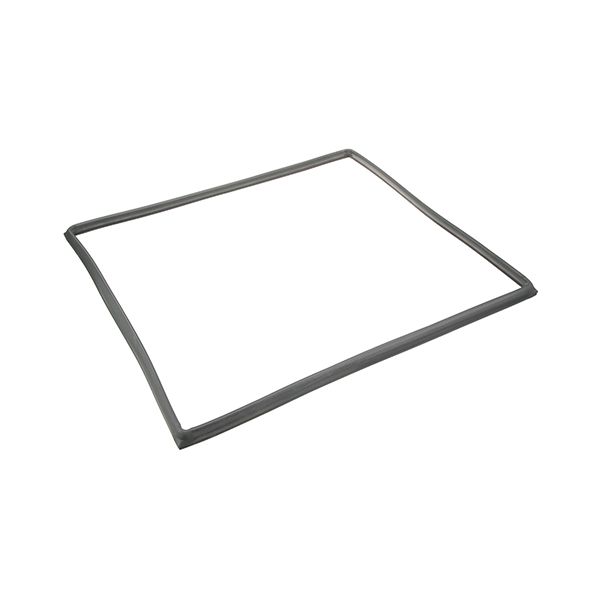
Rational 20-02-553P Door Gasket Silicone 26-3/4" X 30-1/2"

$171.69
In stock
SKU
20-02-553P
The Rational 20-02-553P Silicone Door Gasket is used to seal the perimeter of the door of the appliance and compresses against the frame when the door is closed, reducing the amount of heat and air flow between the inside and outside. It fits into the gasket channel around the door opening, and fits into the 26-3/4" by 30-1/2" dimensions to make contact. The gasket is placed on the front of the oven cavity and runs along the length of the door keeping a closed area.

Dimensions

  • Length: 15 In
  • Width: 6 In
  • Height: 4 In
  • Weight: 1.26 lbs
https://partsfe.com/media/catalog/product/r/a/rational-20-02-553p-silicone-door-gasket-for-combi-steamer-oven-26-3-4-x-30-1-2-32525-2.jpg

Product Notes

  • Silicone Door Gasket, 26-3/4" X 30-1/2"
  • Rational Combi-Steamer Oven Scc
Write Your Own Review
You're reviewing:Rational 20-02-553P Door Gasket Silicone 26-3/4" X 30-1/2"
Your Rating
Customer Questions
What maintenance is required for the Rational 20-02-553P Door Gasket?

Clean the gasket regularly with mild detergent and warm water to remove grease and food residue. Inspect for cracks, hardening, or tears that can affect sealing. Proper support ensures efficient retention and safe operation.

What are common issues with the Rational 20-02-553P Door Gasket?

  • Steam leakage due to worn gasket.
  • Door not sealing properly causing heat loss.
  • Cracking or hardening of material.
  • Warping or deformation under high heat.
  • Detachment from the frame during operation.

We strive to provide our customers with a hassle-free and efficient shopping experience. Our shipping policy ensures the timely delivery of your orders and complete customer satisfaction. View More

We are committed to ensuring your complete satisfaction with every purchase. We understand that circumstances may arise where you must return a product or request a refund. If for any reason you are not satisfied, you may return the item(s) according to the terms outlined below. View More

This Payment Policy outlines the terms and conditions governing all payments made for products purchased through our website. By making a purchase, you agree to be bound by this Payment Policy. View More

Installation Steps

Step1: Switch off and cool oven completely; disconnect power for safety.

Step2: Open door and carefully remove old gasket from retaining channel.

Step3: Clean channel thoroughly, removing grease and debris.

Step4: Align new gasket starting at top center and press into groove.

Step5: Work evenly around frame, ensuring tight, uniform seal.

Step6: Check corners are seated; avoid stretching material.

Step7: Restore power and test door closure for airtight fit.