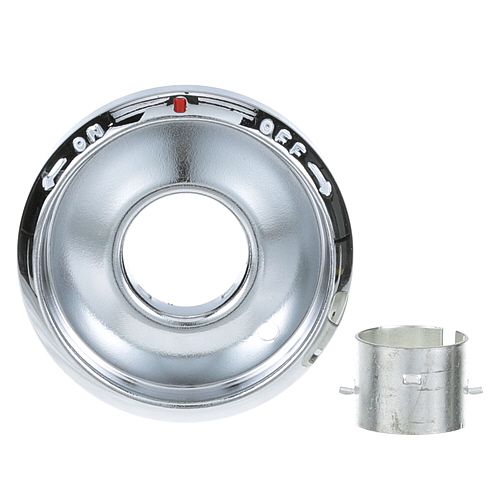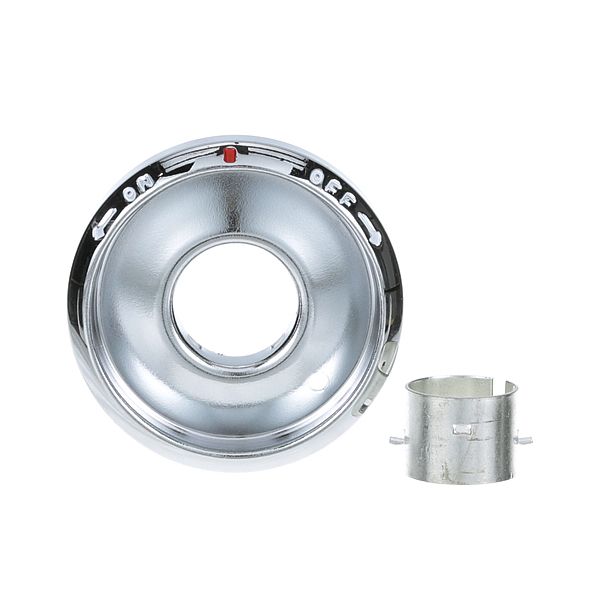
Rankin Delux GT-18 BJ Thermostat Bezel
Special Price $14.31 Regular Price $23.00
In stock
SKU
GT-18
Manufacturer:

The Rankin Delux GT-18 BJ Thermostat Bezel attaches to the control interface or display by offering a finished surface, keeping the components in place and guiding the interaction of the user. The bezel is fitted with controls or displays and fits around them ensuring that there is adequate spacing and that they do not move during use. It is made to fit in with compatible units and is attached to the panel with screws or clips. The trim element that enhances access to the controls when in normal use.
Dimensions
- Length: 2.375 In
- Width: 2.375 In
- Height: 0.438 In
- Weight: 0.075 lbs