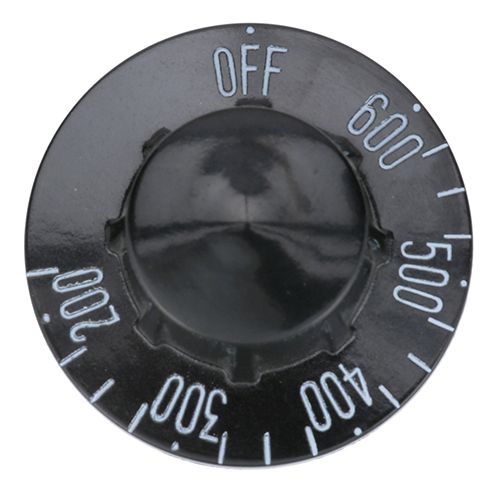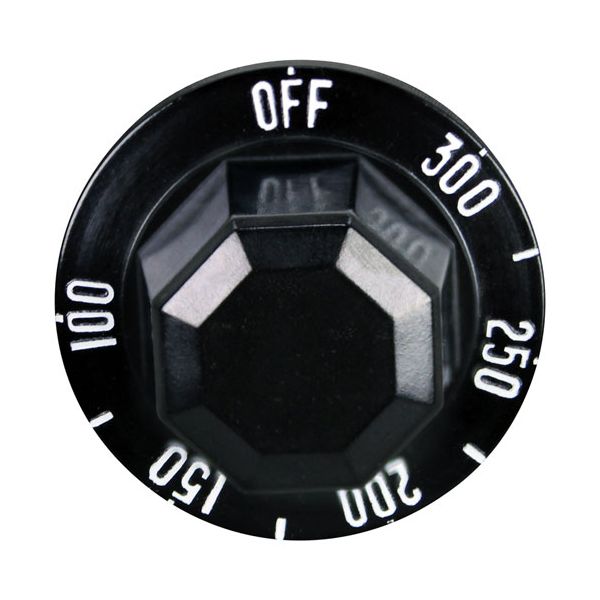
Duke TA-24 Food Warmer Thermostat Knob 100°F-300°F
Special Price $21.32 Regular Price $21.95
In stock
SKU
TA-24
Manufacturer:
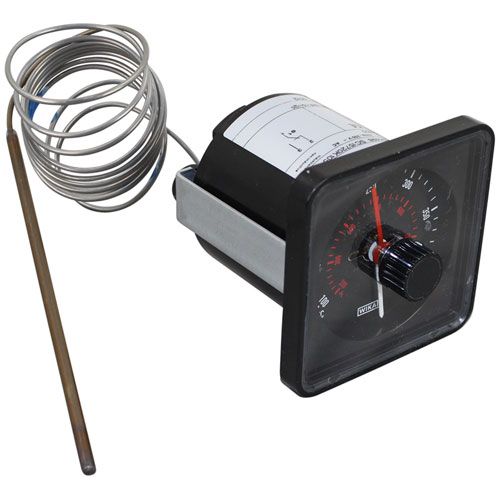
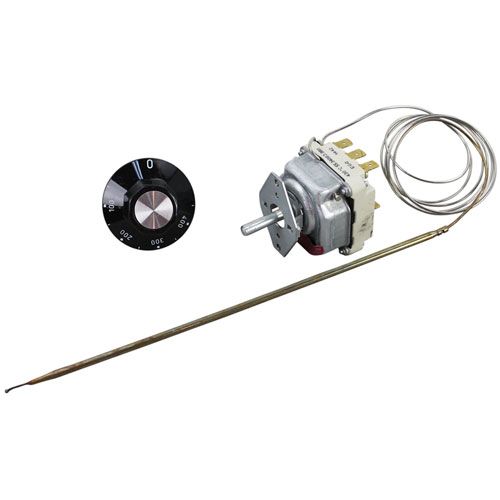
The Duke TA-24 Food Warmer Thermostat Knob 100°F-300°F adjusts the temperature setting by rotating the control shaft that adjusts the position of the thermostat mechanism within the equipment. This was fixed to the front control panel of the unit, which is over the control stem so that it is easily accessible to the operator. It is compatible with standard equipment and is secured using standard hardware. The knob is the user interface to choose and adjust the temperature settings in normal operation.
Dimensions
- Length: 2 In
- Width: 1 In
- Height: 2 In
- Weight: 0.1 lbs
Product Notes
- Black T'Stat Knob
- [ 2" Dia ] [ Off-300-100] [Mount .187] [ Flat Down],
- Duke/Franklin Thermotainer -
- Use T'Stat # 46-1061 Type D33( 3 Phase W/Light) Or
- Use T'Stat # 46-1062 Type Kp ( 1 Phase )
- Franklin Chef
- Groen
- Kettle Series: Dee.