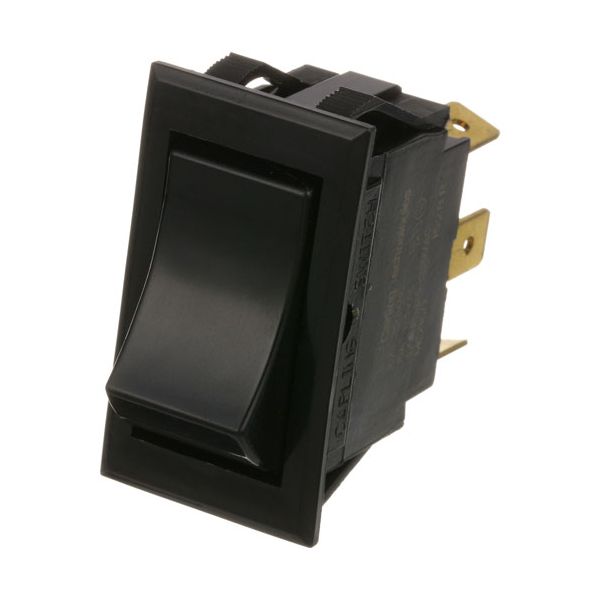
Royal Range 2525 SPDT Fan Switch 7/8" X 1-1/2"
Special Price $42.21 Regular Price $101.19
Out of stock
SKU
2525
Manufacturer:

The Royal Range 2525 Fan Switch 7/8" X 1-1/2" controls fan operation within compatible cooking equipment by directing electrical current between different circuit paths. It operates as a single-pole double-throw switch that changes connection states to activate, or deactivate ventilation components during equipment use. Designed for installation in compatible commercial ranges and ovens, this switch is positioned within the internal control assembly where airflow and cooling operations are managed. Its compact form is used in foodservice condition such as restaurant kitchens, bakeries and other commercial cooking facilities.
Dimensions
- Length: 1.875 In
- Width: 1.75 In
- Height: 1 In
- Weight: 0.1 lbs
Product Notes
- Rocker Switch, Spdt (On-On), 3 Tabs 1/4", Black,
- 10A-250V, 15A-125V Rocker, 7/8" X 1-1/2",
- Cleveland Steamer Convection Steamer: 21-Cet-8, 21-Cet-16.
- Imperial Oven Series: Icv, Icvd.
- Dcs Oven Fsco.
- Southbend Oven Eb/Eh, Sleb/Eh