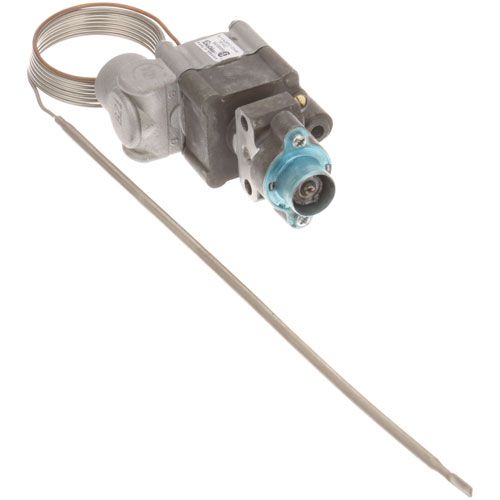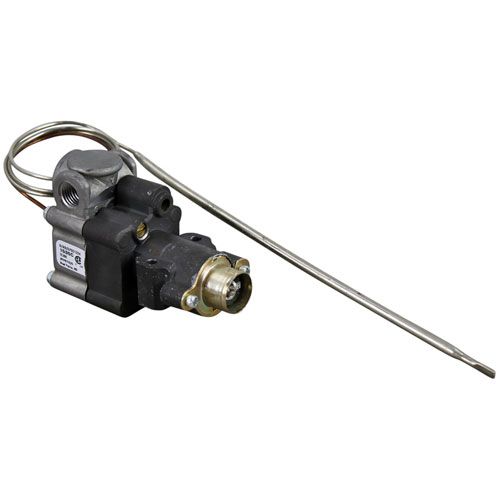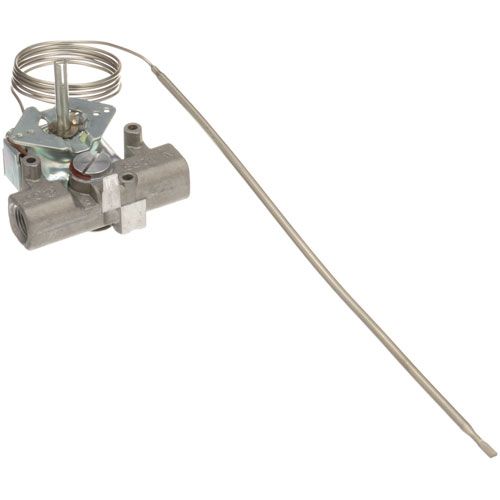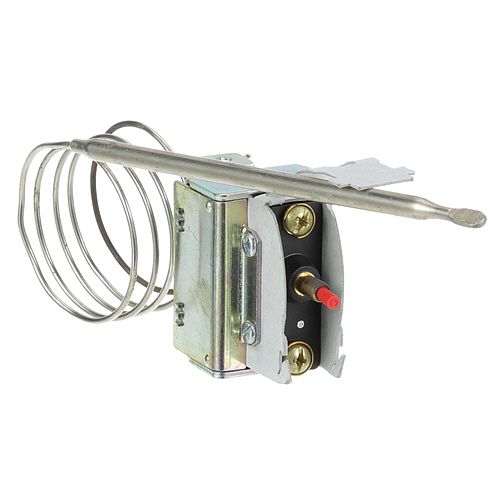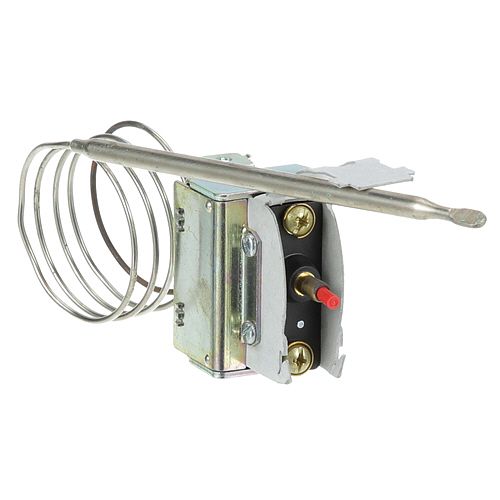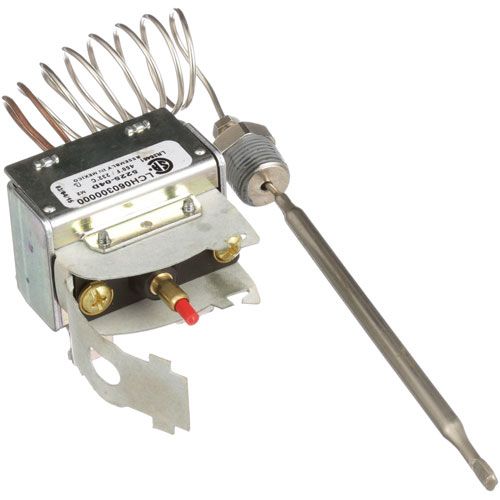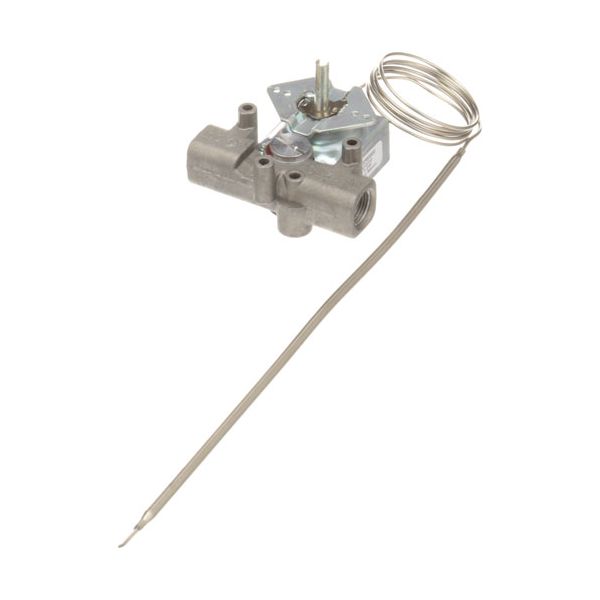
Vulcan Hart 00-922032 Convection Oven Thermostat 200°F-550°F GS
Dimensions
- Weight: 1.125 lbs
Used to regulate temperature in commercial gas convection ovens, this GS thermostat controls the flow of gas to maintain cooking temperatures within a range of 200°F to 550°F. It features 3/8" NPT gas inlet and outlet connections, a 36-inch capillary tube, and a 3/16" x 11" sensing bulb that monitors oven temperature and adjusts operation as needed. Commonly installed in commercial ovens, bakeries, and foodservice kitchens, the thermostat helps support heating consistency, accurate temperature management, and proper cooking performance across a variety of cooking applications. A worn or malfunctioning thermostat can cause inaccurate temperature control, uneven cooking, temperature fluctuations, or heating problems that may affect food quality. Replacing a faulty thermostat may help restore proper temperature regulation, improve heating consistency, and support stable oven operation during daily commercial use.
Equipment Compatibility:
Designed for commercial oven temperature control applications, the Vulcan Hart GS Thermostat includes compatible gas convection ovens and commercial cooking equipment. This GS Thermostat 00-922032 is compatible with commercial equipment from leading brands such as Vulcan Hart and Hobart, and more, where accurate temperature regulation is required for proper equipment operation.
Brand Compatibility:
This thermostat replaces multiple part numbers used across compatible equipment models from brands such as Vulcan Hart and Hobart. Complete cross-reference details are provided separately for identification and ordering purposes.
Product Specifications:
SKU: 00-922032
Manufacturer: Vulcan Hart
Product Type: Gas Thermostat
Temperature Range: 200°F to 550°F
Connection Size: 3/8" NPT Gas Inlet/Outlet
Capillary Length: 36"
Bulb Size: 3/16" x 11"
Application: Commercial Gas Convection Oven
Knob Reference: OEM Part Number 00-921686
Key Features:
Installation Feedback:
often mentions more consistent oven temperature control after replacement.
We strive to provide our customers with a hassle-free and efficient shopping experience. Our shipping policy ensures the timely delivery of your orders and complete customer satisfaction. View More
We are committed to ensuring your complete satisfaction with every purchase. We understand that circumstances may arise where you must return a product or request a refund. If for any reason you are not satisfied, you may return the item(s) according to the terms outlined below. View More
This Payment Policy outlines the terms and conditions governing all payments made for products purchased through our website. By making a purchase, you agree to be bound by this Payment Policy. View More
Step1: Turn off power to the appliance to avoid electrical shock.
Step2: Remove the existing thermostat, noting wire connections and mounting position.
Step3: Mount the new thermostat in the same location using screws or brackets.
Step4: Reconnect wires to the corresponding terminals according to the schematic.
Step5: Ensure all connections are secure and there are no exposed wires.
Step6: Restore power and test the thermostat for proper temperature control.