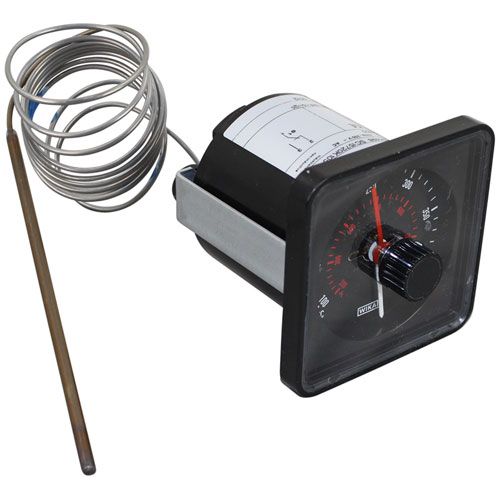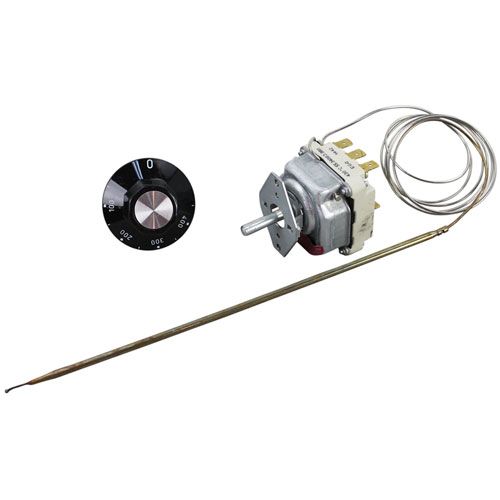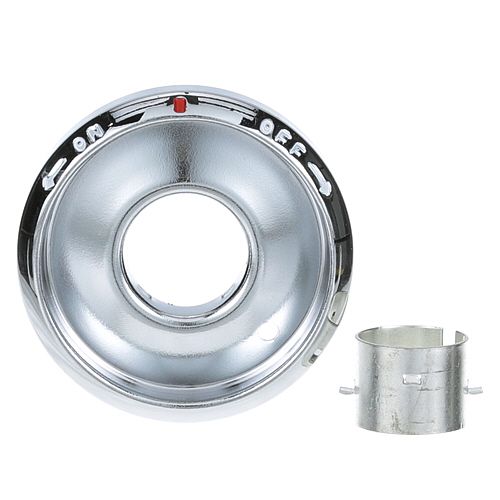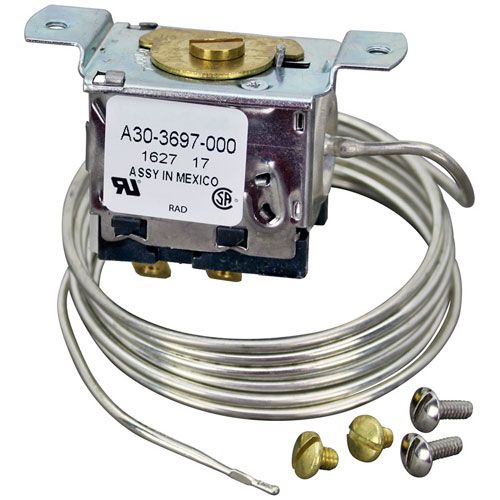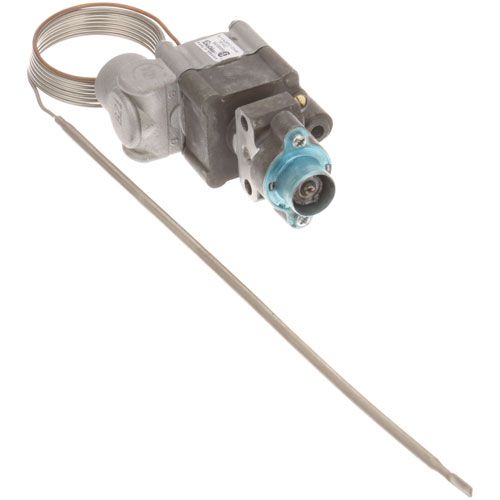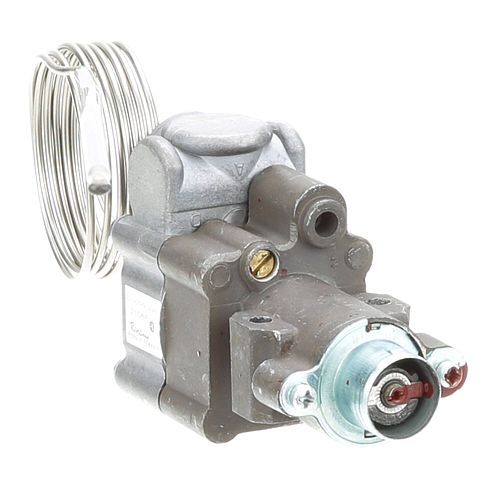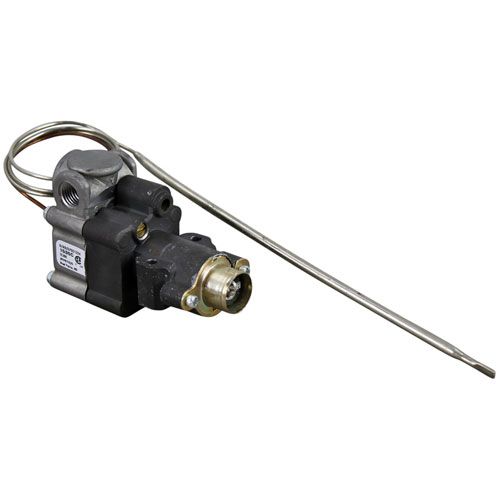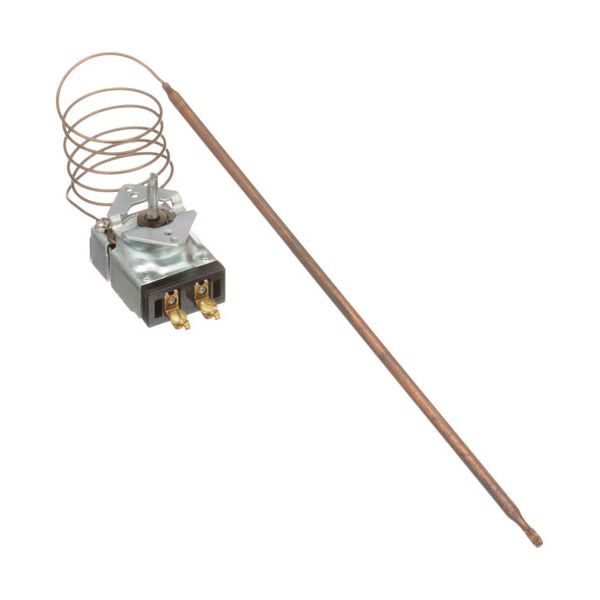
Duke TA-21 Food Warmer Thermostat W/O Knob 1PH

Special Price $327.20 Regular Price $424.95
In stock
SKU
TA-21
The Duke TA-21 Food Warmer Thermostat W/O Knob 1PH operates by means of a liquid-filled capillary system that contracts or expands due to internal cabinet temperatures. This variation causes an electrical switch to open or close and controls the flow of power to the heating elements to ensure a constant thermal condition. Installation is done inside the control housing of any compatible commercial warming equipment, which is mounted behind the front service panel where the sensor bulb protrudes into the heating chamber. This single-phase component makes it so that the unit can run within definite heat parameters.

Dimensions

  • Length: 1 In
  • Width: 1 In
  • Height: 1 In
  • Weight: 0 lbs
https://partsfe.com/media/catalog/product/d/u/duke-ta-21-thermostat-54682.jpg

Product Notes

  • [ Type - Kp ] [ Temp 125-325 ] [ Bulb 1/4" X 12" ]
  • [ Cap 36" ] Mount 1,
  • [Black Printed Dial # 22-1222 ]
  • Duke/Franklin Thermotainer
  • Franklin Chef
  • Warmer All Warmers With Serial #'S Beginning With A Or W.
  • Delfield Model?
  • Seco Model?
Write Your Own Review
You're reviewing:Duke TA-21 Food Warmer Thermostat W/O Knob 1PH
Your Rating
Customer Questions
What maintenance is required for the Duke TA-21 Thermostat?

Inspect wiring connections regularly to ensure secure contact and prevent overheating. Keep the thermostat clean and dust-free to maintain accurate temperature sensing. Avoid moisture exposure and calibrate periodically for accurate performance. Always disconnect power before servicing.

What are common issues with the Duke TA-21 Thermostat?

  • Inaccurate temperature readings due to sensor drift.
  • Unresponsive controls or display failure.
  • Wiring connection faults causing intermittent operation.
  • Short cycling of heating or cooling system.
  • Calibration errors leading to inconsistent regulation.

We strive to provide our customers with a hassle-free and efficient shopping experience. Our shipping policy ensures the timely delivery of your orders and complete customer satisfaction. View More

We are committed to ensuring your complete satisfaction with every purchase. We understand that circumstances may arise where you must return a product or request a refund. If for any reason you are not satisfied, you may return the item(s) according to the terms outlined below. View More

This Payment Policy outlines the terms and conditions governing all payments made for products purchased through our website. By making a purchase, you agree to be bound by this Payment Policy. View More

Installation Steps

Step1: Disconnect electrical power to the unit and allow it to cool completely before servicing.

Step2: Remove the control panel to access the existing thermostat and capillary tube assembly.

Step3: Carefully disconnect wiring from the old thermostat, labeling terminals if needed.

Step4: Remove the sensing bulb from its clamp and withdraw the thermostat assembly.

Step5: Install the new thermostat, positioning the bulb securely in the sensing area and routing capillary tubing properly.

Step6: Reconnect wiring, secure the unit, restore power, and test temperature control for safe operation.