
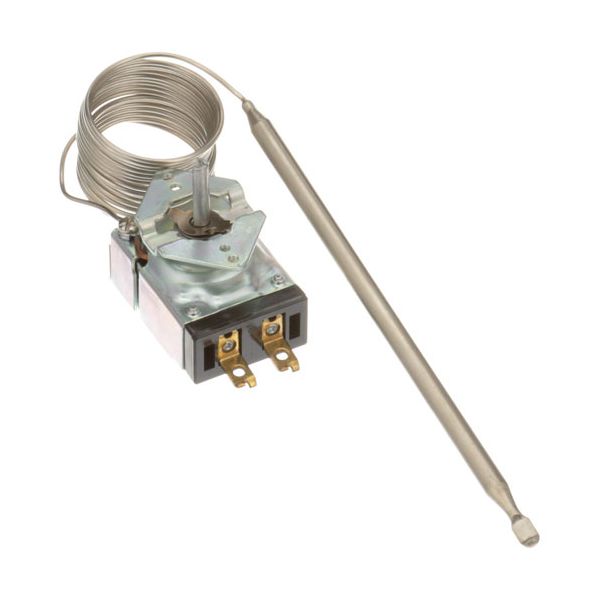
Vulcan Hart VH24145-20 Oven Thermostat K 5/16" X 8-1/16" 96" Cap

Special Price $195.99 Regular Price $301.98
In stock
SKU
VH24145-20
Vulcan Hart VH24145-20 Oven Thermostat is an essential part of commercial cooking equipment with precise temperature control, especially for Welbilt fryer models. This thermostat operates in a temperature range of 200 to 400°F and has a 5/16" x 8-1/16" capillary bulb with a 96" capillary length for flexible installation. The thermostat has a 1 1/4 inch diameter indicator knob with a flat design for easy temperature adjustment and a black thermostat knob with printed white numbers for easy viewing. The maintain consistent cooking temperatures, so that the food can be fried and the food quality will be much better.

Dimensions

  • Length: 9 In
  • Width: 1.75 In
  • Height: 2.5 In
  • Weight: 1 lbs
https://partsfe.com/media/catalog/product/v/u/vulcan-hart-vh24145-20-oven-thermostat-k-5-16-x-8-1-16-96-cap-22316.jpg

Product Notes

  • [ Type - K ] [ Temp 200-400 ][ Bulb 5/16" X 8-1/16"
  • Nickel ] [ Cap 96" ] [ Mount 1 ]
  • Dial # 22-1353, Indicator Knob, 1-1/4" Dia, Flat Up Left.
  • Dial # 22-1191, Black T'Stat Knob W/ White Printed Numbers
  • [ 2" Dia ] [ Off-400-200] [Mount .187"] [Flat Down ].
  • Dial # 22-1006, [ 2" Dia ] [ Off-400-200]
  • [Mount .187"] [Position 4 Way]
  • Garland
  • Fryer 36Es-(11,11Bl,11Blsf,11Sf), 36Fs-21, 680-(31F,31Fbl),
  • 780-(31F,31Sfbl), E22-(14F,28Ft), E24-(31F,31Sf).
  • Vulcan Fryer Vf, Vmf, Vtmf.
  • Welbilt Model ?
Write Your Own Review
You're reviewing:Vulcan Hart VH24145-20 Oven Thermostat K 5/16" X 8-1/16" 96" Cap
Your Rating
Customer Questions
What maintenance is required for the Vulcan Hart VH24145-20 Thermostat?

Inspect and calibrate the thermostat regularly to ensure accurate temperature control. Keep electrical connections tight and free from corrosion or grease buildup. Power off the oven before servicing and test performance using an accurate thermometer.

What are common issues with the Vulcan Hart VH24145-20 Thermostat?

  • Intermittent electrical connection faults or wiring damage.
  • Slow response to temperature changes or cycling inconsistencies.
  • Inaccurate temperature readings or calibration drift.
  • Thermostat failure is causing overheating or underheating.
  • Temperature overshoot or failure to maintain set point.

We strive to provide our customers with a hassle-free and efficient shopping experience. Our shipping policy ensures the timely delivery of your orders and complete customer satisfaction. View More

We are committed to ensuring your complete satisfaction with every purchase. We understand that circumstances may arise where you must return a product or request a refund. If for any reason you are not satisfied, you may return the item(s) according to the terms outlined below. View More

This Payment Policy outlines the terms and conditions governing all payments made for products purchased through our website. By making a purchase, you agree to be bound by this Payment Policy. View More

Installation Steps

Step1: Disconnect power and ensure oven is cool.

Step2: Remove rear panel and disconnect old thermostat wiring and capillary bulb carefully.

Step3: Install new oven thermostat, position sensing bulb in same location, route capillary tube without kinks.

Step4: Reconnect wiring to matching terminals and secure mounting hardware firmly.

Step5: Restore panel, power on, and test temperature settings for proper calibration.
