
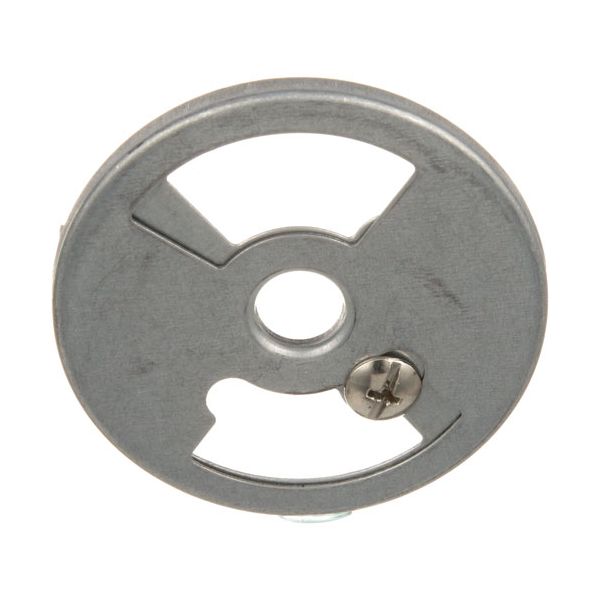
Vulcan Hart VH404060-3 Range Burner Air Shutter 2-3/4"OD CI Double Plate

$7.06
In stock
SKU
VH404060-3
The Vulcan Hart VH404060-3 Range Burner Air Shutter 2-3/4" OD CI Double Plate regulates the airflow combined with gas at the burner to provide proper combustion. It works by regulating the air intake aperture, which enables the balance between the gas and air to maintain the stable flame properties. The burner assembly has the air shutter mounted directly on the burner inlet. It is coordinated with the gas supply and burner parts of the range, which assist in keeping the heat production at the same level and allow the burner to work correctly when cooking.

Dimensions

  • Length: 0.989 In
  • Width: 0.984 In
  • Height: 0.121 In
  • Weight: 0.146 lbs
https://partsfe.com/media/catalog/product/v/u/vulcan-hart-vh404060-3-2-3-4-od-cast-iron-burner-air-shutter-double-plate-47653.jpg

Product Notes

  • 2-3/4" Od Air Shutter For Cast Iron Burner,
  • Type Double Plate, 2 Slots, Fits Burner 2-1/2" Dia,
  • 7/16" Hole Size, W/ Locking Ears.
  • For Same W/ Larger 9/16" Hole Use # 26-1515 Air Shutter.
  • Rankin-Delux Series Drb, Rb-8
  • Vulcan Vccb
  • Wolf Broiler Scb
  • Grill
  • Oven F, Fs, R, Wtr
MONTAGUE:
Write Your Own Review
You're reviewing:Vulcan Hart VH404060-3 Range Burner Air Shutter 2-3/4"OD CI Double Plate
Your Rating
Customer Questions
What maintenance is required for the Vulcan Hart VH404060-3 Burner Air Shutter?

Regularly inspect the burner air shutter for grease buildup, dirt, or obstructions that may affect airflow. Clean it gently to maintain a proper air-to-gas mixture. Ensure it is properly adjusted and secured. Always turn off the gas supply before servicing.

What are the common issues with the Vulcan Hart VH404060-3 Burner Air Shutter?

  • Improper air-to-gas ratio causing uneven flames.
  • Blockage from grease or debris is restricting airflow.
  • Loose or misadjusted shutter affecting combustion.
  • Burner producing soot or excessive smoke.
  • Inconsistent flame performance during operation.
  • Reduced heating efficiency due to weak air intake.

We strive to provide our customers with a hassle-free and efficient shopping experience. Our shipping policy ensures the timely delivery of your orders and complete customer satisfaction. View More

We are committed to ensuring your complete satisfaction with every purchase. We understand that circumstances may arise where you must return a product or request a refund. If for any reason you are not satisfied, you may return the item(s) according to the terms outlined below. View More

This Payment Policy outlines the terms and conditions governing all payments made for products purchased through our website. By making a purchase, you agree to be bound by this Payment Policy. View More

Installation Steps

Step1: Turn off gas supply and allow burner assembly to cool completely before servicing.

Step2: Remove burner grate and access the burner air shutter area carefully.

Step3: Loosen the retaining screw or locking ears holding the old air shutter.

Step4: Slide out the worn shutter and clean the mounting and air inlet area.

Step5: Position the new air shutter onto the burner inlet.

Step6: Adjust opening for proper air–gas mixture, then tighten securely.

Step7: Restore gas and test flame for steady blue combustion and stability.
