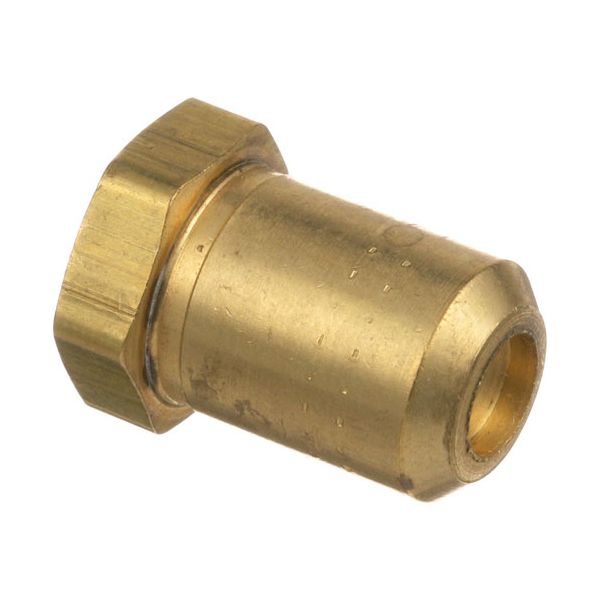
Garland 1020852 Orifice Hood #52
$13.06
In stock
SKU
1020852
Manufacturer:

The Garland 1020852 Orifice #52 High regulates the flow of LP gas to commercial burners to maintain the correct combustion and the uniformity of the flame. The gas moves through the accurately sized hole beneath the brass hood into the burner ports creating a controlled and constant flame. It is an essential part in gas delivery system of the appliance which assists in ensuring safe ignition and also uniform cooking performance of the appliance in normal operation.
Dimensions
- Length: 0.75 In
- Width: 0.25 In
- Height: 0.75 In
- Weight: 0.01 lbs
Product Notes
- Brass Hood Orifice,
- 3/8"-27 X 1/2" High X #52
- American Range Armg, Artg
- Imperial Oven Series: Ir W/Convection Oven.(Lp)
- Southbend Griddle Sgs
- Star Fryer 215B, 615F
- Star Griddle For Lp 824, 836, 848, 860, 872, (M/T/Ts/Tschs)