Vulcan Hart 00-719951-00052 Gas Griddle Orifice W/Brass Hood 3/8"-27 X 1/2" High 52

$13.06
In stock
SKU
00-719951-00052
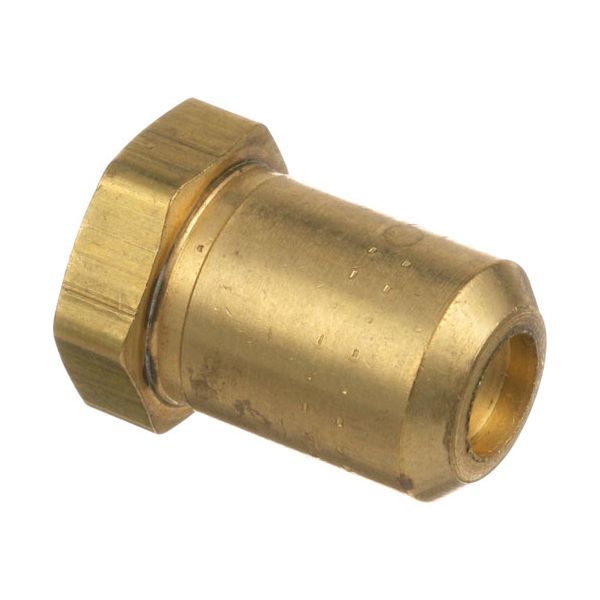
The Vulcan Hart 00-719951-00052 Gas Griddle Orifice With Brass Hood 3/8-27 X 1/2" High #52 works by controlling the amount of gas flow into the ignition system to reach controlled combustion. This part makes use of a threaded brass hood to ensure a steady fuel-to-air ratio required to get heating element to operational temperatures. This metal fitting is a metering part that is key as it makes sure that the appliance runs in line with its designed thermal requirements and fuel type requirements.

Dimensions

  • Length: 0.75 In
  • Width: 0.25 In
  • Height: 0.75 In
  • Weight: 0.01 lbs
https://partsfe.com/media/catalog/product/v/u/vulcan-hart-00-719951-00052-orifice-52-w-brass-hood-3-8-27-x-1-2-high-63829-2.jpg

Product Notes

  • Brass Hood Orifice,
  • 3/8"-27 X 1/2" High X #52
  • American Range Armg, Artg
  • Imperial Oven Series: Ir W/Convection Oven.(Lp)
  • Southbend Griddle Sgs
  • Star Fryer 215B, 615F
  • Star Griddle For Lp 824, 836, 848, 860, 872, (M/T/Ts/Tschs)
Write Your Own Review
You're reviewing:Vulcan Hart 00-719951-00052 Gas Griddle Orifice W/Brass Hood 3/8"-27 X 1/2" High 52
Your Rating
Customer Questions
What is the Best Electric Griddle?

Electric Griddle is an electronic equipment that uses an electric element as its heat source. It has a large cooking surface often made up of nonstick material. Electric Griddle has a surface which you do not find in the regular stovetop cookware. ...

What maintenance is required for the Vulcan Hart 00-719951-00052 Orifice?

Inspect orifice regularly for soot buildup or blockage that can disrupt gas flow and flame consistency. Clean carefully with proper orifice cleaning tools to avoid damage. Check hood condition and ensure secure fitting to maintain better and efficient operation.

What are common issues with the Vulcan Hart 00-719951-00052 Orifice?

  • Clogging from carbon deposits reducing gas flow.
  • Irregular flame or burner performance issues.
  • Wear or corrosion affecting hood stability.
  • Loose fitting causing ignition inconsistencies.

We strive to provide our customers with a hassle-free and efficient shopping experience. Our shipping policy ensures the timely delivery of your orders and complete customer satisfaction. View More

We are committed to ensuring your complete satisfaction with every purchase. We understand that circumstances may arise where you must return a product or request a refund. If for any reason you are not satisfied, you may return the item(s) according to the terms outlined below. View More

This Payment Policy outlines the terms and conditions governing all payments made for products purchased through our website. By making a purchase, you agree to be bound by this Payment Policy. View More

Installation Steps

Step1: Turn off gas supply and let appliance cool completely.

Step2: Remove burner assembly carefully using proper tools.

Step3: Unscrew existing orifice without damaging threads.

Step4: Inspect and clean mounting area and fittings.

Step5: Install new orifice and tighten securely by hand.

Step6: Reassemble burner components in original position.

Step7: Restore gas and check for leaks using soapy water solution.