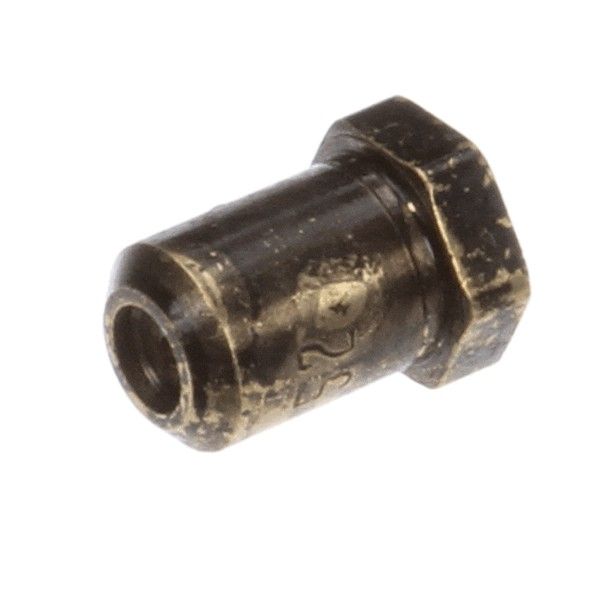
Star Mfg 2A-Y1255 Orifice Hood LP #52
$13.06
In stock
SKU
2A-Y1255
Manufacturer:

The Star Mfg 2A-Y1255 Orifice Hood LP #52 High directs gas to commercial burners to control flow to achieve proper combustion and uniform distribution of heat. It works by forcing fuel through an accuracy hole under the brass hood into the burner ports. It is an essential component of the gas delivery system of the appliance, which ensures safe ignition and stable work of the burner. The orifice is used to ensure that there is a normal performance of the cooking during normal usage.
Dimensions
- Length: 1 In
- Width: 1 In
- Height: 1 In
- Weight: 1 lbs