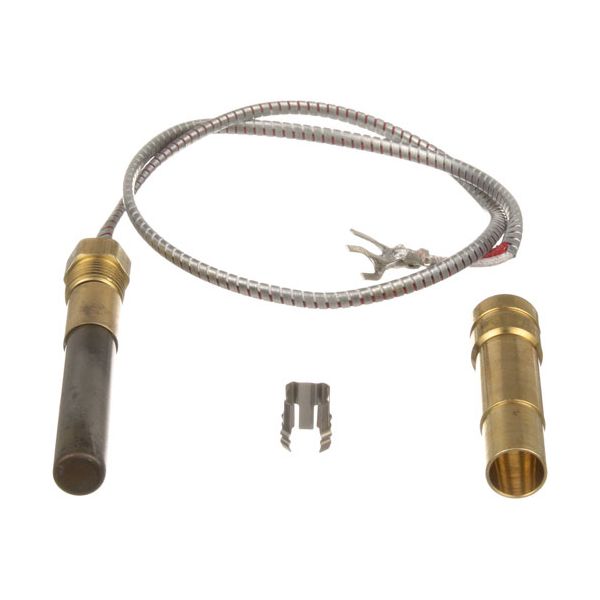
Pitco 60125501 Fryer Millivolt Thermopile 18" 2 Lead T-Pile-Armor
Special Price $62.22 Regular Price $101.00
In stock
SKU
60125501
Manufacturer:

The Pitco 60125501 Millivolt Thermopile 18" 2 Lead T-Pile-Armor is a thermoelectric sensor used in commercial gas fryers to generate a signal for operating safety control systems. It converts heat from the pilot flame into electrical energy, allowing the fryers millivolt system to maintain gas valve operation without external power. Installed in fryer assemblies, it supports ignition stability and continuous burner operations in commercial kitchens. It is used in commercial restaurants and food service frying equipment where accurate pilot sensing and control output are required for consistent fryer operation and temperature maintenance.
Dimensions
- Length: 5.7 In
- Width: 2.8 In
- Height: 0.5 In
- Weight: 0.1 lbs