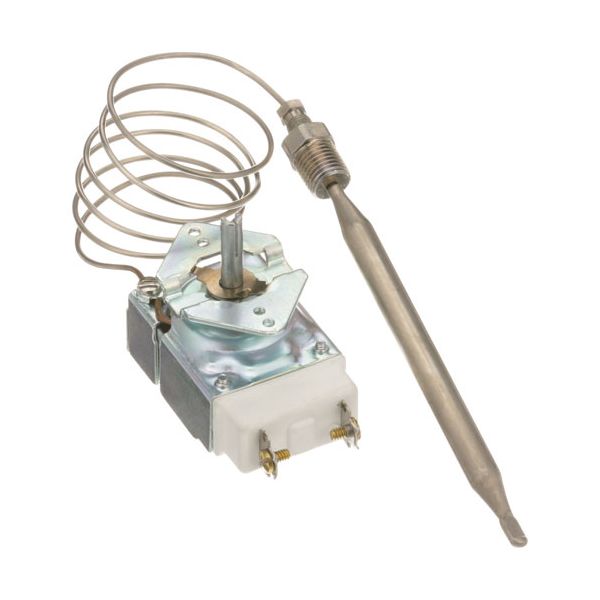
Controls fryer temperature in Imperial gas fryer systems designed for this thermostat configuration. The Imperial 1175 Gas Fryer Thermostat 400°F monitors cooking oil temperature through its sensing assembly and regulates the heating cycle according to the selected temperature setting. It features a 400°F temperature rating, 3/8" X 5" sensing element, 1/4" NPT stuffing box connection, and 36" capillary assembly. The thermostat responds to temperature changes and switches the heating circuit as needed to help maintain the selected operating temperature during normal fryer operation.
Sensing Element Placement:
The sensing element is positioned within the fryer to detect cooking oil temperature accurately. Proper placement helps the thermostat respond to actual oil temperature rather than surrounding equipment temperatures.
Mechanical Control Action:
Uses a mechanical temperature-sensing and switching mechanism to coordinate temperature changes with the heating circuit. This allows the thermostat to regulate fryer heating without requiring continuous manual adjustment.
Replacement Guidelines:
Replace the Gas Fryer Thermostat if it is damaged, worn, unresponsive, or no longer provides accurate temperature control. The part number 1175, 400°F temperature rating, 3/8" × 5" sensing bulb, 1/4" NPT stuffing box, and 36" capillary should be verified before replacement to ensure the correct thermostat is selected. Replace the thermostat if deterioration affects temperature sensing, control response, temperature regulation, or normal fryer operation.
Common Failure Symptoms:
- Inconsistent fryer temperature control.
- Difficulty maintaining the selected temperature.
- Irregular heating cycle operation.
- Incorrect temperature response.
- Temperature fluctuations during operation.
Equipment Compatibility:
The Imperial 1175 Gas Fryer Thermostat 400°F is used in Imperial gas fryers requiring this thermostat configuration. Verify the fryer model, thermostat specifications, sensing size, connection type, and capillary length before purchase.
Technical Specifications:
Brand: Imperial
Part Number: 1175
Component Name: Thermostat
Appliance Type: Gas Fryer
Temperature Rating: 400°F
Sensing Size: 3/8" X 5"
Connection Type: 1/4" NPT Stuffing Box
Configuration: RX