
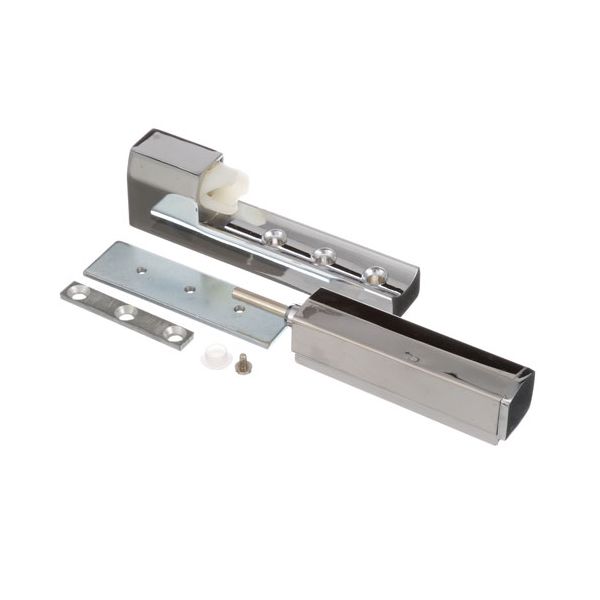
Standard Keil 2850-1013-1110 Door Hinge Assembly

Special Price $103.66 Regular Price $195.22
In stock
SKU
2850-1013-1110
Manufacturer:

The Standard Keil 2850-1013-1110 Door Hinge Assembly is a hardware part that is used to provide the movement of the doors on compatible commercial foodservice and refrigeration equipment. It provides a point of pivot where the doors or access panels can open and close with ease in normal operation. The hinge is typically an assembly that is fitted to ovens, cabinets and refrigerated systems in restaurant kitchens and institutions. It is used in the equipment to ensure the door is kept in place and closes uniformly against the frame to aid in proper sealing and access.

Dimensions

  • Length: 6 In
  • Width: 2 In
  • Height: 1.5 In
  • Weight: 1.08 lbs
https://partsfe.com/media/catalog/product/s/t/standard-keil-2850-1013-1110-hinge-assembly-24902-2.jpg
BAKERS AID:
CHG:
CHGR50-2850, R50-2850
FOGEL:
FRANKLIN CHEF:
HOBART:
01-3PB045, HOB01-3PB045
STANDARD KEIL:
STAR MFG:
Write Your Own Review
You're reviewing:Standard Keil 2850-1013-1110 Door Hinge Assembly
Your Rating
Customer Questions
What maintenance is required for the Standard Keil 2850-1013-1110 Hinge Assembly?

Regularly inspect the hinge assembly for signs of wear, corrosion, or misalignment to ensure smooth operation. Clean it periodically to remove dust and debris buildup. Apply appropriate lubrication to moving parts to reduce friction. Ensure proper installation and tighten any loose components to maintain safe functionality.

What are common issues with the Standard Keil 2850-1013-1110 Hinge Assembly?

  • Stiff or restricted movement.
  • Misalignment causing improper operation.
  • Excessive wear on hinge joints.
  • Loosening of mounting components.
  • Noise during operation.
  • Corrosion affecting performance.

We strive to provide our customers with a hassle-free and efficient shopping experience. Our shipping policy ensures the timely delivery of your orders and complete customer satisfaction. View More

We are committed to ensuring your complete satisfaction with every purchase. We understand that circumstances may arise where you must return a product or request a refund. If for any reason you are not satisfied, you may return the item(s) according to the terms outlined below. View More

This Payment Policy outlines the terms and conditions governing all payments made for products purchased through our website. By making a purchase, you agree to be bound by this Payment Policy. View More

Installation Steps

Step1: Align hinge on mounting surface and mark mounting hole positions.

Step2: Drill or tap holes as required ensuring correct alignment.

Step3: Remove the old hinge using appropriate screws or bolts hand-tight initially.

Step4: Attach the new mating component and check smooth opening and closing movement.

Step5: Fully tighten fasteners and check stability under load.

Step6: Apply light lubrication if needed wear gloves and support parts to check pinch injuries.