Hobart 00-348358-00001 Thermopile

Special Price $40.60 Regular Price $52.72
In stock
SKU
00-348358-00001
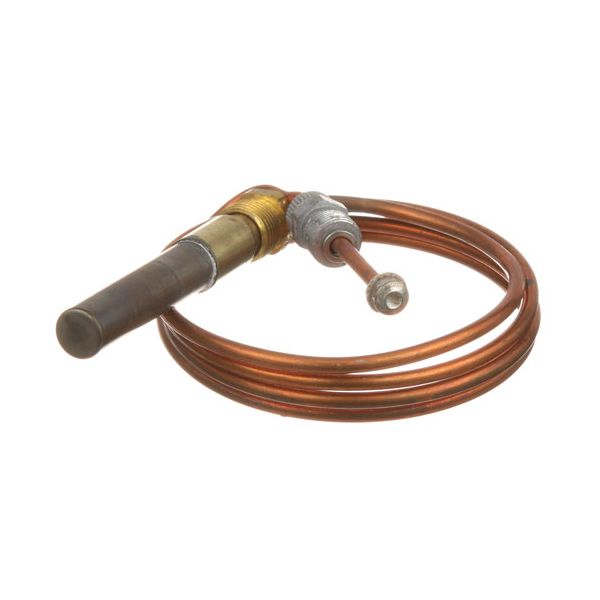
Hobart 00-348358-00001 Thermopile is a high quality 36" coaxial designed for use in commercial cooking equipment like Robertsaw and Vulcan. This thermopile operates at a voltage range of 250 to 750 millivolts, providing efficient conversion of thermal energy to electrical energy for reliable ignition and flame sensing of gas powered appliances. Easy to install and compatible with a variety of devices including the Wolf Fryer and Grill TMM series, its 3/8"-32 threads make it a simple and effective installation. The advantages of the Hobart thermopile include improved safety through accurate flame detection, improved appliance performance, and durability.

Dimensions

  • Length: 3.625 In
  • Width: 2.75 In
  • Height: 1.125 In
  • Weight: 0.2 lbs
https://partsfe.com/media/catalog/product/h/o/hobart-00-348358-00001-thermopile-36-coaxial-250-750-mv-56540-2.jpg

Product Notes

  • 36" Coaxial Thermopile, 250-750 Mv
  • Coaxial Thermopile Threads = 3/8"-32.
  • Robertshaw 1951-53F
  • Vulcan 1Grc35, 1Grc45, 1Grc65, 1Grd45, 1Grd65, 1Grs35,
  • 1Grs45, 1Grs65, Gr35F, Gr45F, Gr65F, Gr85F, Grc35F, Grc45F,
  • Grc65F, Grc85F, Grd35F, Grd45F, Grd65F, Grd85F, Grs35F,
  • Grs45F, Grs65F, Grs85F
  • Wolf Fryer Wtf-42, Ss-Wtf-42
  • Grill Tmm (36, 37, 38)
Write Your Own Review
You're reviewing:Hobart 00-348358-00001 Thermopile
Your Rating
Customer Questions
What maintenance is required for the Hobart 00-348358-00001 Thermopile?

Inspect the thermopile regularly for soot, corrosion, or loose wire connections that may affect millivolt output. Clean the sensing tip gently with a soft cloth and ensure the pilot flame properly contacts the thermopile surface. Check mounting threads for secure installation and avoid bending the coaxial lead. Turn off the gas supply and allow components to cool before servicing.

What are common issues with the Hobart 00-348358-00001 Thermopile?

  • Low or inconsistent millivolt output affecting operation.
  • Pilot flame not generating sufficient voltage.
  • Loose or damaged lead connections.
  • Improper placement in flame reducing efficiency.
  • Heat damage or residue buildup impacting performance.

We strive to provide our customers with a hassle-free and efficient shopping experience. Our shipping policy ensures the timely delivery of your orders and complete customer satisfaction. View More

We are committed to ensuring your complete satisfaction with every purchase. We understand that circumstances may arise where you must return a product or request a refund. If for any reason you are not satisfied, you may return the item(s) according to the terms outlined below. View More

This Payment Policy outlines the terms and conditions governing all payments made for products purchased through our website. By making a purchase, you agree to be bound by this Payment Policy. View More

Installation Steps

Step1: Turn off gas and electrical supply and allow equipment to cool fully for safety.

Step2: Remove front access panel to reach pilot assembly and thermopile placed.

Step3: Disconnect the old thermopile from gas valve terminals.

Step4: Install new thermopile, positioning tip directly in steady pilot flame.

Step5: Secure mounting bracket and route leads away from heat sources.

Step6: Restore gas and power, then check stable pilot flame and proper voltage output.