
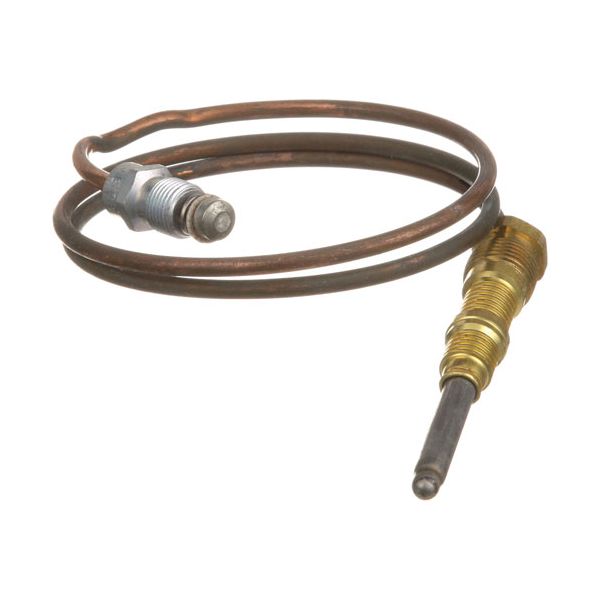
Hobart 412788-00003 Thermocouple 24"L 20-30mV 1900 Series HD

Special Price $25.98 Regular Price $33.75
In stock
SKU
412788-00003
The Hobart 412788-00003 Thermocouple is a temperature sensor that is intended to be used in 1900 Series HD commercial cooking equipment. This component is 24" long and rated 20-30 millivolts and operates based on the concept of sensing the heat of a pilot flame and providing a signal to manage gas flow. The thermocouple is installed as a safety measure in the gas control system, and is used to stop unburned gas from escaping in case the flame is lost. Its operation aids in providing stable operation of the burner, accurate ignition, and correct shutdown in fault conditions.

Dimensions

  • Length: 4.25 In
  • Width: 1 In
  • Height: 1 In
  • Weight: 0.1 lbs
https://partsfe.com/media/catalog/product/h/o/hobart-412788-00003-1900-series-hd-thermocouple-24-l-20-30-mv-73619-2.jpg

Product Notes

  • 1900 Series Heavy Duty Thermocouple 24" Long. 20-30 Mv
  • Coaxial Thermocouple Threads = 11/32"-32
  • Anets
  • Fryer Where Applicable
  • Cecilware
  • Fryer Gf(8,16,28), Fm28
Write Your Own Review
You're reviewing:Hobart 412788-00003 Thermocouple 24"L 20-30mV 1900 Series HD
Your Rating
Customer Questions
What maintenance is required for the Hobart 412788-00003 Thermocouple?

Maintain the thermocouple by regularly inspecting connections for corrosion or looseness and cleaning terminals to ensure accurate signal transmission. Check wiring insulation for damage and secure mounting to prevent vibration issues. Verify millivolt output periodically to maintain accurate performance.

What are common issues with the Hobart 412788-00003 Thermocouple?

  • Weak or intermittent signal output due to worn junction or contamination.
  • Incorrect temperature readings from damaged thermocouple wires.
  • Loose connections causing signal fluctuation.
  • Corrosion at terminals leading to inconsistent operation.

We strive to provide our customers with a hassle-free and efficient shopping experience. Our shipping policy ensures the timely delivery of your orders and complete customer satisfaction. View More

We are committed to ensuring your complete satisfaction with every purchase. We understand that circumstances may arise where you must return a product or request a refund. If for any reason you are not satisfied, you may return the item(s) according to the terms outlined below. View More

This Payment Policy outlines the terms and conditions governing all payments made for products purchased through our website. By making a purchase, you agree to be bound by this Payment Policy. View More

Installation Steps

Step1: Turn off gas/electric supply and allow equipment to cool completely before servicing.

Step2: Remove access panel and disconnect old thermocouple leads, noting routing.

Step3: Install new thermocouple in original bracket, ensuring probe sits in flame path.

Step4: Secure connections to control valve terminals; avoid over-tightening.

Step5: Reassemble panel and restore power, then test ignition and flame response.

Step6: Check stable flame signal and ensure no gas leaks using proper leak solution.
