Norlake Walk-In Cooler Repair Guide: Common Failures, Parts, and Solutions
A Norlake walk-in cooler is a commercial refrigeration system used in restaurants, grocery stores, and foodservice facilities to store perishable products under controlled refrigeration conditions. It maintains cooling by continuously removing heat from the insulated storage space through a closed refrigeration cycle.
Because the unit operates for long hours under constant load and is frequently opened during daily use, components gradually wear down over time. This often leads to practical issues such as uneven cooling inside the box, ice buildup on internal components, longer compressor run times, or warm air entering through worn or damaged door seals.
This blog explains common Norlake walk-in cooler failures, key Norlake replacement parts, and simple troubleshooting solutions.
Understanding How a Norlake Walk-In Cooler Operates
A Norlake walk-in cooler operates using a standard refrigeration cycle to remove heat from an insulated storage space. The system is designed to maintain controlled cooling by continuously transferring heat from inside the box to the surrounding environment through a closed-loop process.
The refrigeration cycle works in a continuous sequence:
-
Refrigerant absorbs heat from the air inside the cooler at the evaporator coil
-
The compressor increases the pressure and temperature of the refrigerant to move it through the system
-
Heat is released to the outside air through the condenser coil
-
The expansion device regulates refrigerant flow back into the evaporator coil
-
Fans circulate air across the evaporator coil to support uniform heat transfer inside the box
This cycle runs automatically whenever the system is powered, ensuring consistent heat removal and stable operating conditions within the cooler.
Shop high-quality commercial kitchen equipment parts at PartsFe to keep your refrigeration and cooking systems running efficiently. Find reliable replacement parts like thermostats, fan motors, door gaskets, and defrost controls for consistent performance and reduced downtime.
Most Common Norlake Walk-In Cooler Failures
Most Norlake walk-in cooler issues develop gradually due to continuous operation, airflow restrictions, or component wear. The system often keeps running even when performance starts dropping, so early signs are important to identify and address.
The following are the most common failure conditions seen in Norlake walk-in coolers during regular operation:
Temperature Not Holding Steady in Walk-In Cooler
This appears as uneven cooling or product temperatures slowly rising inside the box. Common causes include:
-
Condenser coil blocked with dust or grease, reducing heat release
-
Faulty thermostat or temperature sensor giving inaccurate readings
-
Frequent door openings with slow recovery time
This issue usually indicates the system is not removing heat efficiently, causing unstable cooling conditions inside the cooler.
Ice Formation on Evaporator Coil
Ice buildup blocks airflow across the coil and reduces heat transfer efficiency. It is commonly caused by:
-
Defrost cycle not activating or completing properly
-
Weak evaporator fan airflow
-
Refrigerant imbalance affecting coil temperature behavior
Once ice forms, the system may continue running but cooling performance drops significantly.
Compressor Running Continuously in Walk-In Cooler
Long compressor run cycles usually indicate the system is struggling to reach the required temperature. Common causes include:
-
Low refrigerant due to leakage
-
Dirty condenser coil increasing operating pressure
-
Compressor wear reducing pumping efficiency
This condition increases energy usage and accelerates compressor wear.
Warm Air Entering Through Cooler Door
Air leakage around the door allows warm air to enter and disrupt internal cooling conditions. Common signs include:
-
Condensation around door edges
-
Frost forming along the frame
-
Increased compressor run time after door usage
This is typically caused by worn or misaligned door gaskets.
Electrical or Control Issues in Norlake Cooler
Electrical faults can interrupt normal operation or prevent the system from running correctly. Common causes include:
-
Failed relays or contactors
-
Loose or damaged wiring connections
-
Faulty sensors or control board errors
These issues often result in intermittent cooling or sudden shutdowns.
Addressing these issues early helps prevent major system damage, reduces strain on key components, and maintains stable cooling performance in daily commercial use.
Critical Norlake Walk-In Cooler Parts That Frequently Need Replacement
Several key components in a Norlake walk-in cooler experience regular wear due to continuous operation and heavy commercial use. When these parts begin to fail, they directly affect cooling performance, airflow, and overall system efficiency.
Below is a breakdown of the most commonly replaced components and their impact on system performance:
|
Component |
Function in System |
Common Issue |
Impact on Performance |
|
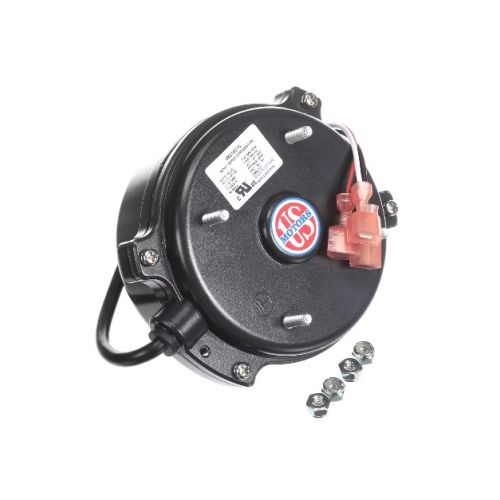
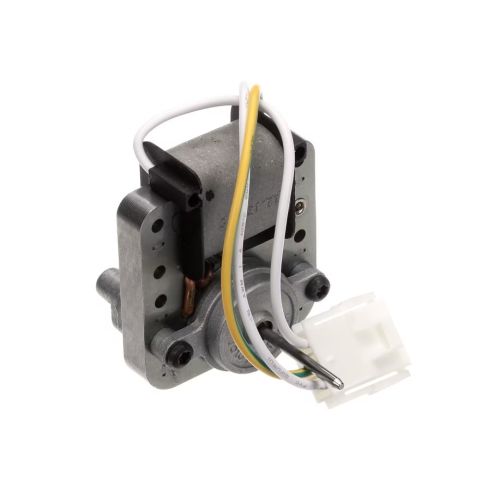
Evaporator Fan Motor |
Circulates cold air inside the cooler |
Weak or failed motor |
Uneven cooling and poor airflow |
|
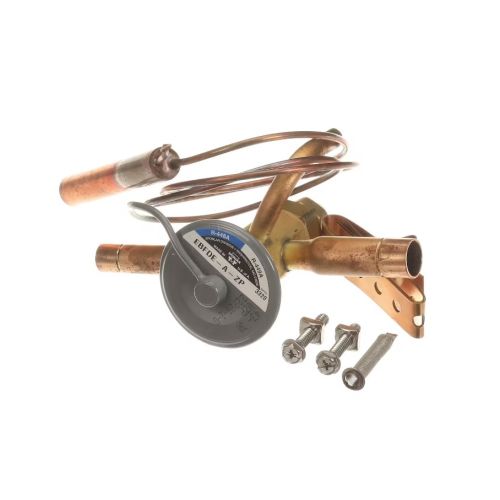
Thermostat/ Temperature Sensor |
Controls internal temperature |
Inaccurate readings |
Overcooling or undercooling |
|
Door Gaskets |
Seals the cooler door |
Cracks or wear |
Warm air leakage and energy loss |
|
Defrost Heater / Timer |
Prevents ice buildup |
Malfunction or failure |
Ice accumulation on coils |
|
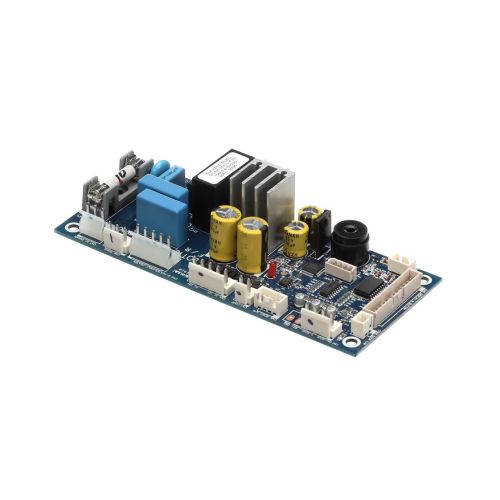
Relays / Contactors |
Controls electrical power to the system |
Electrical failure |
System intermittent or no operation |
|
Compressor |
Drives refrigeration cycle |
Overheating or failure |
Complete loss of cooling |
Regular inspection and timely replacement of these components help maintain efficient operation and prevent unexpected breakdowns.
How to Diagnose and Fix Common Norlake Walk-In Cooler Problems
When a Norlake walk-in cooler starts showing performance issues, following a structured troubleshooting process helps quickly identify the cause and restore proper operation. Most problems are linked to airflow restrictions, temperature control faults, or minor electrical issues.
Step 1: Turn Off the Power Supply
Switch off the power at the breaker before inspecting any internal components. This ensures safety and prevents electrical hazards while checking wiring and internal parts.
Step 2: Check Thermostat and Temperature Settings
Verify that the thermostat or controller is set correctly. Incorrect settings or control faults can cause temperature fluctuations. If the controller fails to respond or displays persistent errors, recalibration or replacement may be necessary.
Step 3: Inspect Door Gasket and Sealing
Examine the door gasket for cracks, gaps, or hardened areas. Poor sealing allows warm air to enter the cooler. Replace damaged gaskets to restore an airtight seal and improve efficiency.
Step 4: Check Airflow Inside the Cooler
Ensure evaporator fans are operating correctly and that air circulation is not blocked by stored products. Restricted airflow often results in uneven cooling and ice formation on the evaporator coil.
Step 5: Clean Condenser and Evaporator Coils
Remove dust, grease, or debris from both coils. A restricted condenser reduces heat rejection, while a dirty evaporator coil limits heat absorption and overall cooling performance.
Step 6: Inspect the Defrost System Operation
If ice is present on the evaporator coil, check whether the defrost cycle is functioning properly. Defective defrost heaters, timers, or sensors should be replaced to prevent recurring frost buildup.
Step 7: Restore Power and Verify System Startup
Turn the power back on safely and confirm the unit receives proper electrical supply. Check the breaker, control panel, and system response to ensure the cooler is actually starting and running.
Step 8: Observe Compressor Operation
Continuous running, short cycling, or failure to start may indicate refrigerant issues or component wear. Professional diagnosis and replacement of faulty capacitors, relays, or compressors may be required.
Following these steps helps detect common issues early and maintain efficient and reliable cooler performance.
When to Call a Professional Technician
However, some issues require advanced expertise and should not be handled without proper training.
-
Compressor not starting, running continuously, or tripping frequently
-
Suspected refrigerant leak or low refrigerant levels
-
Electrical faults in relays, contactors, wiring, or control boards
-
Cooling issues continuing even after basic troubleshooting
-
Ice buildup not clearing after defrost checks
-
Unusual noises, burning smell, or repeated shutdowns
-
Sealed system repairs or major component replacement
In these situations, a qualified technician is needed to ensure safe repair and prevent further damage.
Summary: Keeping Your Norlake Walk-In Cooler Running Efficiently
A Norlake walk-in cooler works best when its key components are properly maintained and kept in good condition. Regular care of airflow, temperature controls, coils, and door seals helps maintain stable cooling and reduces the chances of unexpected breakdowns.
Most issues develop slowly, so early detection and timely maintenance are important for avoiding major repairs. Simple steps like cleaning coils, checking gaskets, and monitoring temperature performance can significantly improve efficiency and extend equipment life.
Key takeaways:
-
Regular maintenance helps prevent major failures
-
Clean coils and proper airflow improve cooling efficiency
-
Door seals and temperature settings should be checked often
-
Early troubleshooting reduces downtime and repair costs
-
Complex issues should be handled by professionals
FAQs
Why is my Norlake walk-in cooler not maintaining temperature?
This is usually caused by dirty coils, faulty thermostats, refrigerant issues, or warm air entering through damaged door gaskets.
How do I troubleshoot a Norlake walk-in cooler that keeps icing up?
Check airflow inside the unit, inspect the defrost system, clean coils, and ensure evaporator fans are working properly.
When should a walk-in cooler fan motor be replaced?
Replace the fan motor if it becomes noisy, stops running, or causes weak or uneven airflow inside the cooler.
How can regular maintenance prevent costly walk-in cooler repairs?
Routine cleaning of coils, checking door seals, and inspecting electrical and refrigeration components helps detect issues early and prevents major system failures.
|
Disclaimer: This blog is for informational purposes only and is intended to provide general guidance on Norlake walk-in cooler maintenance, troubleshooting, and repair. Actual equipment conditions may vary. |