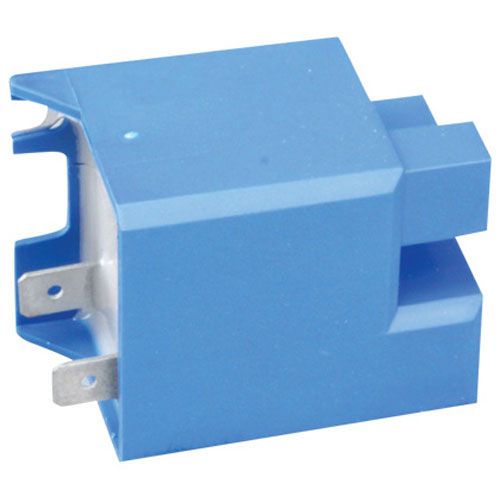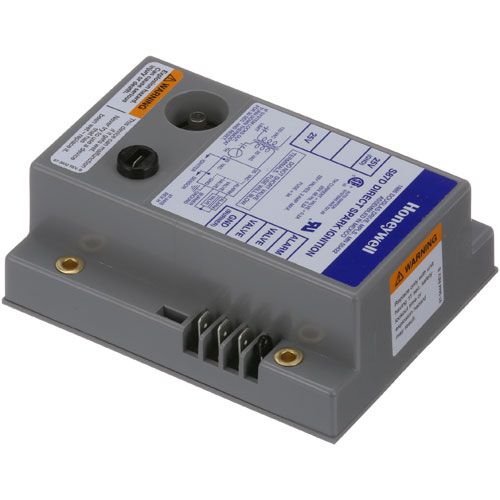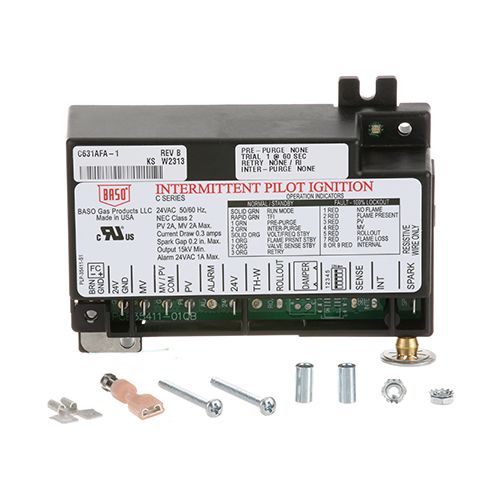
Pitco 60152001 Fryer Ignition Control Module 24V 50/60HZ 90 Second Lockout
Special Price $114.22 Regular Price $220.00
In stock
SKU
60152001
Manufacturer:

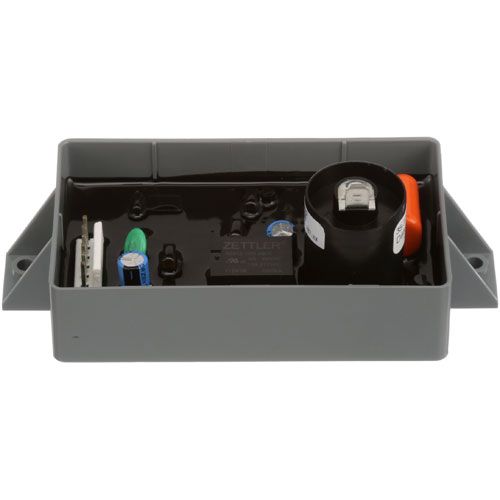
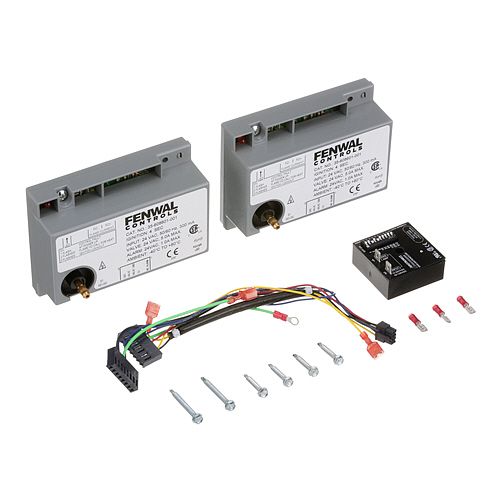
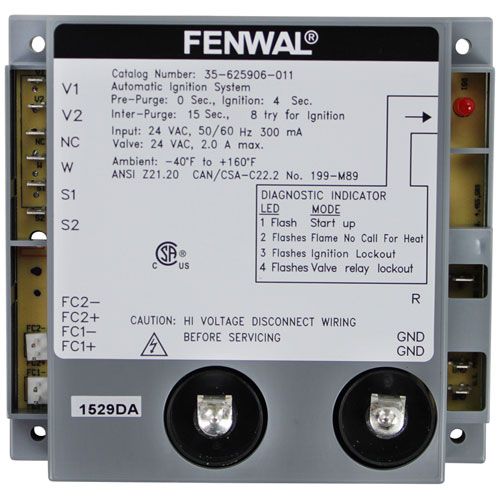
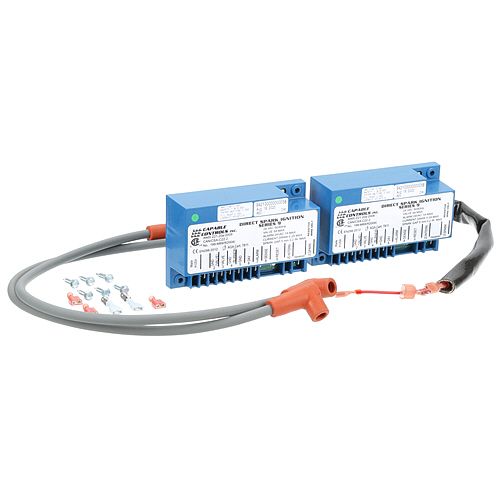
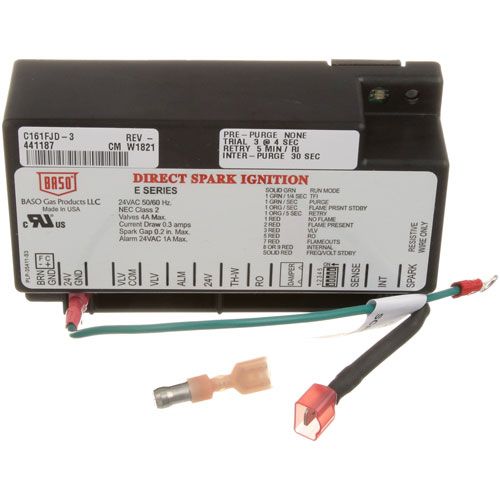
The Pitco 60152001 Ignition Control Module is used to manage the startup sequence of commercial fryer burners by generating the ignition spark and supervising flame detection during heating cycle. It operates through an electronic control circuit that activates the igniter monitors, flame signal feedback and shuts off gas flow if ignition is not confirmed within the programmed timing window. Designed as a 24V, 50/60Hz unit with a 90-second lockout feature this module is installed inside compatible fryer control compartments where it connects to ignition electrode gas valves, and safety wiring within the appliance system.
Dimensions
- Length: 5 In
- Width: 3.25 In
- Height: 1.5 In
- Weight: 0.4 lbs
Product Notes
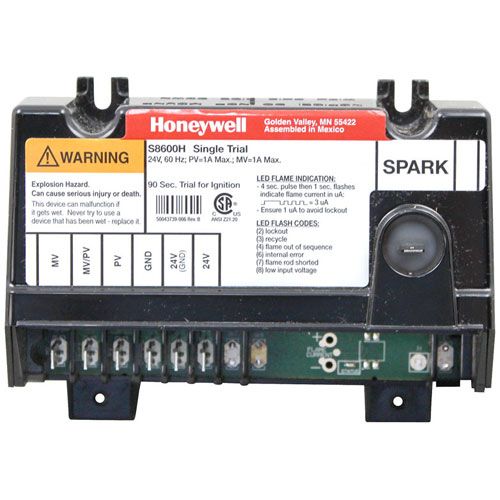
- Ignition Control Module, 24V, 50/60Hz, 90 Second Lockout,
- 4-7/8" X 3-1/8" White Box, W/ Pilot Light
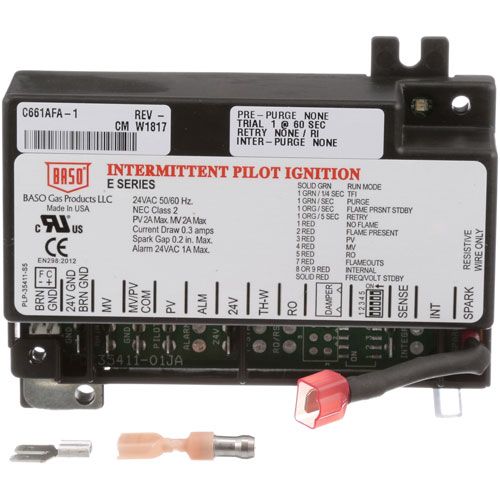
- Pitco Fryer Sgh50
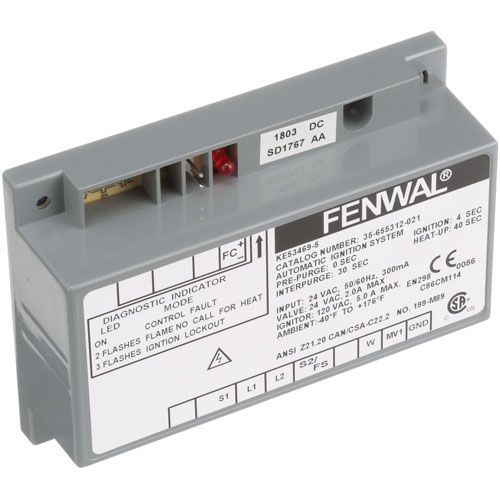
- Pitco Now Uses A White Colored Spark Module.
- Mounting Holes Different. Will Need To Drill New Hole(S).
- New Style 24Vac, 4-7/8" X 3-1/8", W/Pilot Light.
- Same Terminals As Old Box,
- New Style White Box Pitco # 60152001
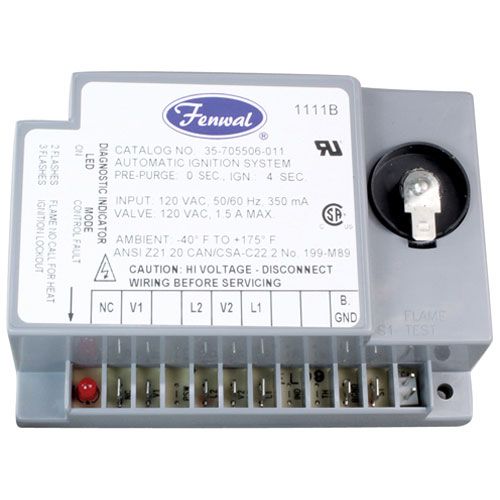
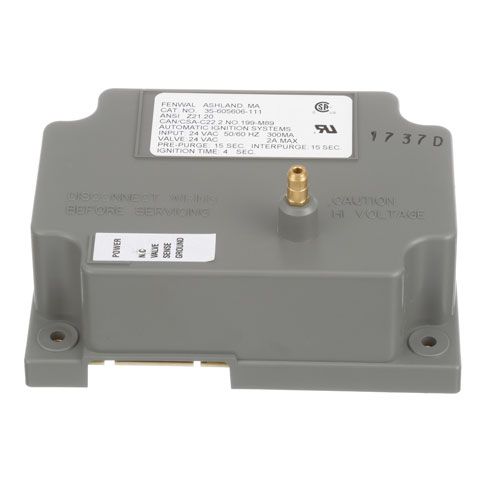
- Old Style Gray Box Pitco #60108601
- 24V, 5-1/4" X 3-1/4" Grey Box