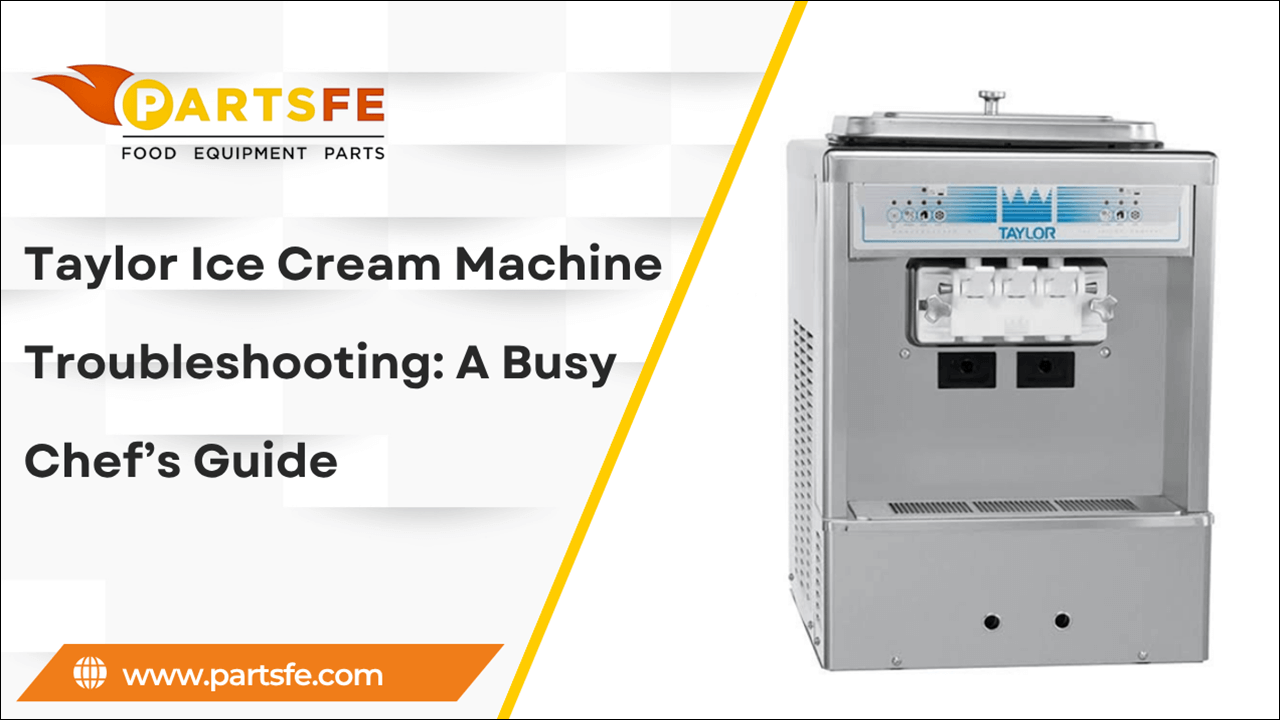
Taylor Ice Cream Machine Troubleshooting: A Busy Chef’s Guide
In a fast-paced kitchen, reliability is everything, especially when it comes to your Taylor ice cream machine. These machines are trusted in restaurants, cafes, and dessert shops around the world for their consistency and performance. But like any equipment, they can run into issues that disrupt service and impact customer satisfaction. Whether it’s a freezing problem, mix inconsistency, or confusing error codes, knowing how to troubleshoot quickly is essential. This guide is designed specifically for busy chefs and kitchen staff who need straightforward solutions without the technical jargon. With clear, practical steps, you'll learn how to identify common problems, perform basic fixes, and keep your Taylor ice cream machine parts running smoothly so you can focus on serving great ice cream, not fixing broken machines.
Understanding the Key Components and Functions of Your Taylor Ice Cream Machine
To effectively operate your machine and master Taylor ice cream machine troubleshooting, it’s important to understand its main components and how they work together. Every component is essential to reliably producing smooth, creamy ice cream. Below is a summary of the main elements and how they work:
-
Mix Hopper: This is where the ice cream mix is poured. It holds the mix before it’s drawn into the freezing cylinder.
-
Freezing Cylinder: The heart of the machine, where the mix is rapidly cooled and churned into ice cream.
-
Dasher: A rotating paddle inside the freezing cylinder that scrapes the frozen mix from the walls and incorporates air, giving ice cream its texture and volume.
-
Compressor: Responsible for cooling the freezing cylinder, ensuring the mix freezes to the right consistency.
-
Condenser: Helps remove heat from the refrigerant as it’s vital for efficient machine operation.
-
Control Panel: Allows the operator to manage settings, monitor temperatures, and view error codes.
-
Auger or Beater: In some models, this moves the mix through the machine evenly to prevent freezing in unwanted areas.
-
Dispensing Handle: Used to serve the finished product directly into cones or cups.
Understanding these components helps busy chefs quickly identify and resolve common Taylor ice cream machine issues, keeping service smooth and efficient.
Looking for essential parts to keep your Taylor ice cream machine running smoothly? PartsFe stocks high-quality replacement components like scoop cream box lid, ice cream cab, seals, and bearings to minimize downtime. Trusted by top brands including Taylor, Manitowoc, and Schaefer, PartFe delivers fast shipping and expert support right to your kitchen.
Common Issues Faced by Busy Chefs with Taylor Ice Cream Machines
Taylor ice cream machines are essential in busy kitchens, but they can sometimes run into problems that slow down service. Knowing the common issues helps chefs troubleshoot quickly and keep operations smooth.
-
Machine Not Freezing Properly: Taylor ice cream machine not freezing can be caused by low refrigerant levels, dirty condensers, or compressor issues, resulting in soft or runny ice cream.
-
Error Codes Displayed: Taylor machines have built-in diagnostics, but error codes can be confusing. Common errors include temperature sensor faults or motor overloads.
-
Mix Leakage: Leaks can occur due to worn seals or improper assembly, leading to messes and wasted product.
-
Dasher or Auger Not Rotating: If these parts stop working, the ice cream won’t churn properly, causing an inconsistent texture.
-
Unusual Noises: Grinding or rattling sounds might indicate mechanical problems such as motor wear or debris caught in moving parts.
-
Slow Freezing Times: Often due to dirty or blocked condensers, poor maintenance, or incorrect machine settings.
-
Machine Not Dispensing: Could be caused by clogs in the dispensing valve or improper mix viscosity.
Regular cleaning, maintenance, and knowing these common issues help busy chefs keep their Taylor machines running smoothly and customers happy.
How to Diagnose Common Problems in Your Taylor Ice Cream Machine
Quickly diagnosing Taylor ice cream ice machine issues helps busy chefs reduce downtime and keep dessert service flowing smoothly. Below are common problems explained with their problem statements, causes, signs, and fixes to help you troubleshoot efficiently:
Machine Fails to Freeze Properly
The machine is unable to freeze the mix to the proper consistency.
Cause: Refrigerant leaks, compressor failure, or dirty condenser coils reduce cooling efficiency.
Signs:
-
Ice cream is soft or runny
-
Freezing cycle takes longer than usual
-
Temperature doesn’t reach the set point
Fixes:
-
Verify Refrigerant Levels: If the levels are low, have a technician check and replenish the refrigerant.
-
Clean Condenser Coils: Regularly clean coils to ensure efficient heat exchange.
-
Inspect Compressor: Test and repair, or replace the compressor if it’s malfunctioning.
-
Verify Machine Settings: Ensure temperature and cycle settings are correctly configured.
Frequent Error Codes (e.g., E2, E3, E4)
The machine frequently displays error codes and stops operating unexpectedly.
Cause: Sensor malfunctions, motor overheating, or electrical faults trigger error messages.
Signs:
-
Control panel displays error codes.
-
Machine stops operation unexpectedly
-
Inconsistent freezing or dispensing
Fixes:
-
Consult Error Code Manual: Refer to the manual to identify specific error meanings.
-
Power Cycle the Machine: Restart to clear temporary faults.
-
Inspect Sensors and Wiring: Check for damaged sensors or loose wiring and repair as needed.
-
Seek Professional Service: Contact a technician for persistent or complex issues.
Mix Overflows or Leaks Around Hopper
Mix spills or leaks out from the hopper area during operation.
Cause: Worn seals, improper hopper installation, or overfilled mix cause leaks.
Signs:
-
Mix spills or leaks around the hopper area
-
Sticky residue or puddles under the machine
-
Messy or unstable machine appearance
Fixes:
-
Replace Worn Seals: Inspect and swap out damaged seals or gaskets.
-
Reinstall Hopper Correctly: Ensure the hopper is securely and properly positioned.
-
Avoid Overfilling: Only fill the hopper up to the recommended level.
-
Clean Spillages Promptly: Maintain cleanliness to prevent buildup and safety hazards.
Dasher or Auger Stops Turning Mid-Cycle
The internal dasher or auger stops rotating during operation.
Cause: Motor burnout, broken drive belts, or mechanical jams halt rotation.
Signs:
-
No churning noise during freezing
-
Mix remains liquid or inconsistent
-
Machine may display a motor error
Fixes:
-
Check and Replace Drive Belts: Drive belts should be inspected for wear or damage and replaced as needed.
-
Test and Replace Motor: Verify motor operation; replace if defective.
-
Clear Mechanical Jams: Remove hardened mix or debris blocking movement.
-
Lubricate Moving Parts: Follow manufacturer guidelines to maintain smooth operation.
Machine Makes Loud or Unusual Noises
The machine produces loud or unusual noises while running.
Cause: Worn bearings, loose parts, or debris cause grinding or rattling sounds.
Signs:
-
Loud grinding, buzzing, or rattling noises
-
Excessive vibration during operation
-
Possible overheating alerts
Fixes:
-
Tighten Loose Screws and Parts: Secure any components that may have loosened.
-
Replace Worn Bearings: Swap out damaged bearings to reduce noise.
-
Clean Internal Components: Remove any debris trapped inside the machine.
-
Check Motor Mounts: Ensure the motor is securely fastened to prevent vibration.
Slow or No Dispensing of Product
The machine dispenses ice cream slowly or not at all.
Cause: Blocked dispensing valves or improper mix consistency prevent proper flow.
Signs:
-
Weak or stopped product flow
-
Hard buildup near the dispensing valve
-
Inconsistent texture at the spout
Fixes:
-
Clean Dispensing Valve Thoroughly: Disassemble and remove any blockages.
-
Adjust Mix Viscosity: Modify mix thickness by adding water or stabilizers if needed.
-
Replace Worn Seals and Gaskets: Ensure valves seal properly for smooth dispensing.
-
Maintain Proper Freezing Temperature: Keep the machine at the correct temperature to avoid blockages.
Taylor Ice Cream Machine Pump Not Working
The pump responsible for circulating the mix inside the machine stops working or runs inconsistently.
Cause: Electrical faults, motor failure, clogged pump, or broken wiring.
Signs:
-
No sound or movement from the pump during operation
-
Ice cream mix is not circulating, causing uneven texture
-
Error codes about pump or motor failure
Fixes:
-
Verify Electrical Connections: Make sure that the pump's wiring and connectors are all safe and intact.
-
Inspect Pump for Blockages: Turn off the machine, open access panels, and clean any debris clogging the pump.
-
Test Motor Operation: Listen for motor noise; if silent, consider motor replacement.
-
Reset and Restart: Power cycle the machine to clear temporary faults before further diagnosis.
Taylor Ice Cream Machine One Side Not Working
One side of a dual-cylinder or dual-hopper Taylor ice cream machine stops freezing or dispensing.
Cause: Motor or compressor failure on one side, electrical issues, or faulty control board components.
Signs:
-
One hopper or freezing cylinder produces ice cream normally; the other does not
-
Temperature imbalance between the two sides
-
Error codes indicating side-specific faults
Fixes:
-
Inspect Side-Specific Motors and Compressors: Check operation and replace any malfunctioning parts.
-
Check Electrical Wiring and Connectors: Look for loose or damaged wires servicing the affected side.
-
Swap Control Board or Sensors if Needed: Faulty electronics may need professional replacement.
-
Balance Settings and Restart: Verify settings for both sides are correct and reboot the machine.
By understanding and addressing these common Taylor ice cream machine problems, busy chefs can keep their equipment running efficiently and minimize costly downtime.
Check out this guide on Manitowoc ice machine issues to learn how to identify and resolve common problems quickly and efficiently.
Quick Fixes Busy Chefs Can Perform on Taylor Ice Cream Machines
When time is tight, busy chefs need simple and fast, effective fixes to keep their Taylor ice cream machine parts running smoothly without waiting for a technician. Here are practical and fast solutions with step-by-step instructions:
Restart the Machine:
-
Turn off the machine using the main power switch.
-
Allow the system to reset by waiting for a minimum of 30 seconds.
-
Restart the computer and see if the issue goes away.
Check and Refill Mix Levels:
-
Open the hopper lid and visually check the mix level.
-
If low, add the recommended ice cream mix up to the fill line.
-
Avoid overfilling to prevent spillage and machine errors.
Clean the Hopper, Valve, and Dispensing Nozzle:
-
Unplug and turn off the machine.
-
Remove the hopper and dispensing valve according to the manual.
-
Use a gentle brush to remove any residue after rinsing the affected areas with warm water.
-
Use a fresh cloth to clean the dispensing nozzle.
-
Reassemble all parts securely before restarting the machine.
Inspect and Replace Seals, Gaskets, and Air Filters:
-
Examine the gaskets and seals surrounding the valves and hopper for wear or cracks.
-
Replace any damaged seals immediately to avoid leaks.
-
Locate the air filter and remove dust or debris by tapping gently or rinsing if washable.
-
If the filter is damaged or extremely dirty, replace it.
Tighten Loose Screws or Handles:
-
Using a screwdriver, check all visible screws, handles, and panels for looseness.
-
Tighten any loose screws carefully without over-tightening.
Lubricate Moving Parts:
-
For information on the suggested food-safe lubricant, consult the manufacturer's instructions.
-
Apply lubricant sparingly to dasher shafts and seals.
-
Wipe off excess lubricant to avoid contamination.
Verify Machine Settings:
-
Access the control panel.
-
Check the temperature, freezing cycle, and mix consistency settings.
-
Adjust settings as needed to match manufacturer recommendations.
Reset Error Codes:
-
For model-specific instructions, consult the user manual.
-
Use the control panel buttons to reset error codes or perform a system reboot.
-
Seek professional assistance if the error continues.
Following these quick fixes can help busy chefs minimize downtime and maintain smooth operation during busy hours, reducing the need for costly Taylor ice cream machine repair.
Signs It’s Time to Call a Professional Technician for Your Machine
You may avoid expensive repairs and extended downtime by knowing when to call a technician. Here are real signs that require expert attention:
-
Machine Won’t Start: When the machine fails to power on despite checking power sources and resetting.
-
Refrigeration Failure: If the machine is running but the mix isn’t freezing at all, it indicates compressor or refrigerant issues.
-
Persistent Error Codes: Error codes that don’t clear after multiple resets suggest sensor or control board failures.
-
Unusual Smoke or Smells: Any visible smoke or burnt smell coming from the machine is a sign of major motor or electrical issues.
-
Leaking Refrigerant or Fluid: Signs of fluid leaks around the compressor or coils require immediate professional service.
-
Loud Mechanical Noises: Grinding, squealing, or knocking sounds coming from the motor or internal components.
-
Pump or Motor Completely Dead: If key parts like the mix pump or dasher motor stop working despite basic troubleshooting.
-
Frequent Overheating and Shutdowns: The machine overheats regularly and shuts down unexpectedly, signaling cooling system failures.
-
Electrical Issues: Sparks, tripped breakers, or flickering power specific to the machine’s circuit.
For a safe and efficient diagnosis and repair, it is advisable to get in touch with a competent specialist if you observe any of these.
Pro Tips for Keeping Your Taylor Ice Cream Machine Running Smoothly
Proper maintenance ensures your Taylor ice cream machine parts deliver consistent quality and avoids unexpected breakdowns. These essential tips help busy chefs keep their machines in top shape every day:
-
Clean the Machine Daily: Remove and clean all removable parts like the hopper, dasher, and dispensing valve thoroughly. This prevents mix buildup and harmful bacterial growth.
-
Use Proper Mix Ratios: Always follow the manufacturer’s recommended mix preparation instructions carefully. Incorrect ratios can cause freezing problems and clogging inside the machine.
-
Verify Refrigerant Levels: To guarantee effective cooling, have a technician check the levels of refrigerant regularly. Component damage and decreased freezing performance can result from low refrigerant.
-
Lubricate Seals and O-Rings: Apply food-grade lubricant to seals and O-rings as part of routine maintenance. Proper lubrication prevents cracks and leaks that could affect pressure and freezing.
-
Examine and Replace Worn Parts: Regularly look for wear or damage on belts, gaskets, and hoses. Early replacement of worn parts helps prevent unexpected malfunctions during peak maintenance hours.
-
Keep Air Vents Clean: Remove dust, lint, and debris from air vents and cooling fans regularly. Clean vents prevent overheating and maintain the machine’s cooling efficiency.
-
Avoid Overfilling the Hopper: Fill the hopper only up to the recommended level to prevent overflow. Overfilling stresses the motor and can lead to leaks or poor freezing.
-
Run Weekly Cleaning Cycles: Use manufacturer-approved cleaning solutions for deep cleaning inside the machine. Weekly cleaning cycles help remove hidden buildup and maintain hygiene.
-
Train Staff Properly: Ensure all operators know the correct machine settings and basic troubleshooting steps. Well-trained staff reduce operational errors and machine misuse.
-
Schedule Preventive Maintenance: Arrange professional checkups annually or biannually to identify and fix issues early. Preventive servicing extends machine life and reduces costly repairs.
Following these tips can help busy chefs reduce downtime and consistently produce high-quality ice cream.
Check out this article on how to clean your Taylor ice cream machine to ensure optimal performance, hygiene, and longer machine life.
Conclusion
Effectively troubleshooting your Taylor ice cream machine parts allows busy chefs to minimize downtime and maintain consistent dessert quality during peak hours. You may maintain your machine operating smoothly and dependably by being aware of frequent problems, recognizing when to call a professional, and completing quick fixes. Regular maintenance and proactive care not only extend the machine’s lifespan but also ensure that your kitchen operates efficiently, helping you deliver delicious ice cream to your customers without interruption. Staying proactive with your machine’s care ultimately saves time and money, allowing you to focus on creating exceptional culinary experiences. Keep in mind that a properly maintained machine is essential to the uninterrupted operation of your company.
FAQs
How do you reset the beater on a Taylor ice cream machine?
Turn off the machine and unplug it. Wait a few minutes, then plug it back in and restart the machine to reset the beater.
Why is my Taylor ice cream machine failing heat mode?
Heat mode can fail due to a faulty heating element, a bad thermostat, or electrical issues in the control board. Also, dirty or clogged components may cause the machine to not heat properly.
What does beater overload mean on a Taylor ice cream machine?
Beater overload means the motor is struggling because the beater is stuck or there’s too much product inside. It’s a protective alert to prevent motor damage from excessive resistance.